

If you’ve ever peeled back your sheets and thought, “I should really clean this, but how?” You aren’t alone. Mattresses are one of those things we rely on every single night and somehow forget they need care, too. Between sweat, skin oils, dust, pet hair, and the occasional spill or accident, even a well-loved mattress can quietly start working against your sleep instead of supporting it.
However, you don’t need fancy equipment, harsh chemicals, or an entire weekend to get results. Keeping your mattress clean is far more manageable than it sounds with a few smart habits and the right approach, especially for busy adults, families, renters, and homeowners who want real results without overcomplicating things.
Why Cleaning Your Mattress Matters More Than You Think
Before getting into the how, it helps to understand the why. A dirty mattress doesn’t just look unappealing, it can trap odors, allergens, and moisture that affect your sleep quality over time. Regular mattress cleaning helps reduce dust mites and allergens, eliminates lingering smells, extends the life of your mattress, and makes your bedroom feel noticeably fresher and more relaxing.
1. Start With a Full Strip-Down and Vacuum
This is your foundation step, so please don’t skip it.
Why It Works
Vacuuming removes loose dirt, dust, pet hair, and skin flakes before you add any moisture. That alone can make a noticeable difference.
How To Do It
- Strip off all bedding and wash it separately
- Use an upholstery attachment if you have one
- Go slowly, especially along seams and edges
2. Blot Spills Immediately, Never Rub
Fresh stains are always easier to handle than old ones. When something spills, reach for a clean, dry cloth and blot gently to absorb as much liquid as possible. Avoid scrubbing or rubbing, which only pushes moisture deeper into the mattress and can lead to odors or mildew later on.
3. Use Baking Soda for Everyday Deodorizing
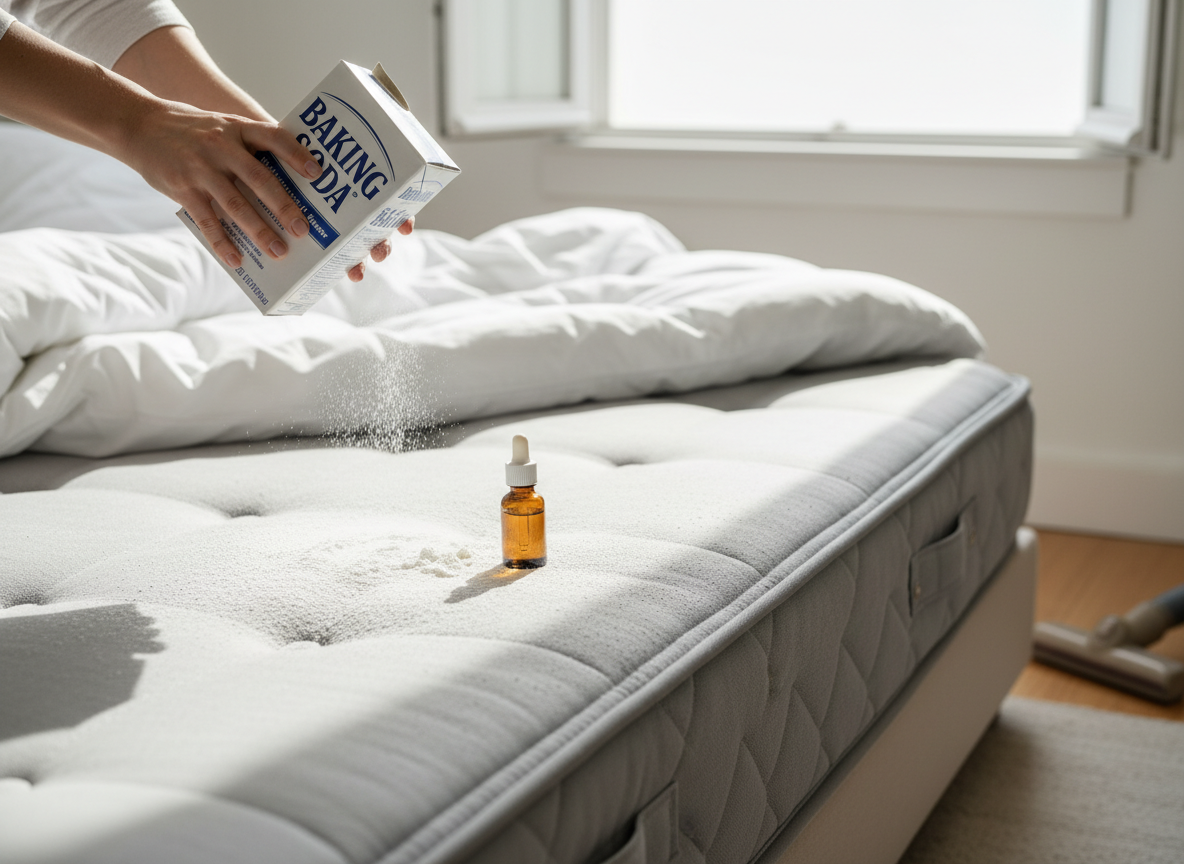
One of the easiest and most natural ways to clean a mattress is with baking soda, especially if odors are your main concern. Baking soda absorbs moisture and neutralizes smells without adding fragrance or harsh chemicals.
Sprinkle a light, even layer over the mattress and let it sit for at least 30 minutes, which can be longer if you have the time. Vacuum thoroughly afterward. If you like a subtle scent, mixing a few drops of lavender or eucalyptus oil into the baking soda before sprinkling works beautifully.
4. Spot-Clean Stains With a Gentle Soap Solution
For food, drink, or general grime stains, keep it simple.
What You Need
- Mild dish soap
- Cold or lukewarm water
- Clean cloth
Method
Mix a few drops of soap with water, lightly dampen a cloth without soaking it, gently blot the stain, and allow the area to air dry.
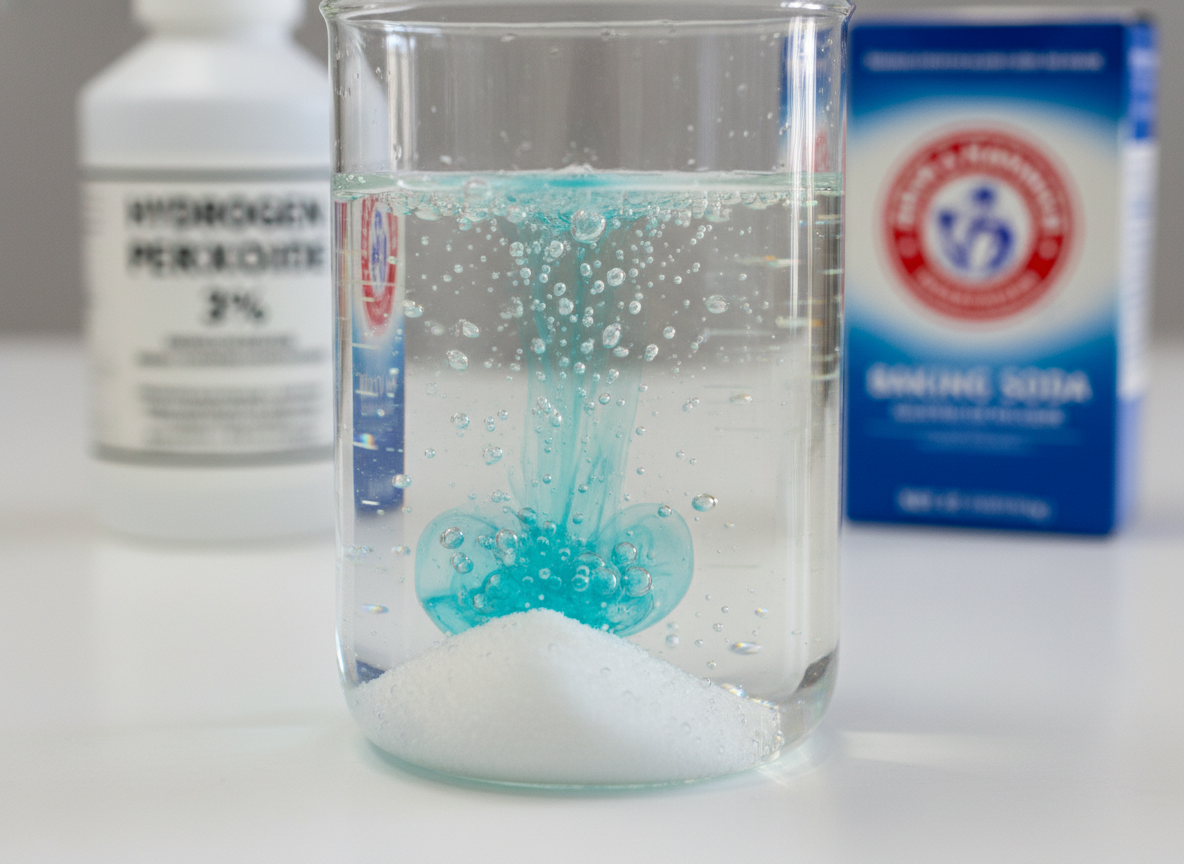
5. Tackle Sweat and Yellowing With Hydrogen Peroxide
Sweat stains happen, even if you shower before bed. Over time, they can cause yellowing and discoloration. The solution is to use a light mixture of hydrogen peroxide, a small amount of baking soda, and a drop of dish soap. Apply sparingly, blot gently, and allow the mattress to fully dry before vacuuming away any residue.
6. Remove Urine Stains and Odors the Right Way
What Works Best
- White vinegar (for odor neutralization)
- Baking soda (for absorption)
Quick Approach
Blot the area to remove excess moisture, then lightly spray a 1:1 mixture of vinegar and water. Blot again to lift odors and residue, sprinkle baking soda over the spot, let it sit until completely dry, and finish by vacuuming thoroughly. Whether it’s kids, pets, or life happening, urine stains need both stain removal and odor control.
7. Use Enzyme Cleaners for Biological Stains
For tougher issues like vomit, blood, or pet accidents, enzyme cleaners are especially effective. They break down organic matter instead of just masking odors. To control moisture, apply the cleaner to a cloth rather than spraying it directly onto the mattress, then blot gently and allow it to work as directed.
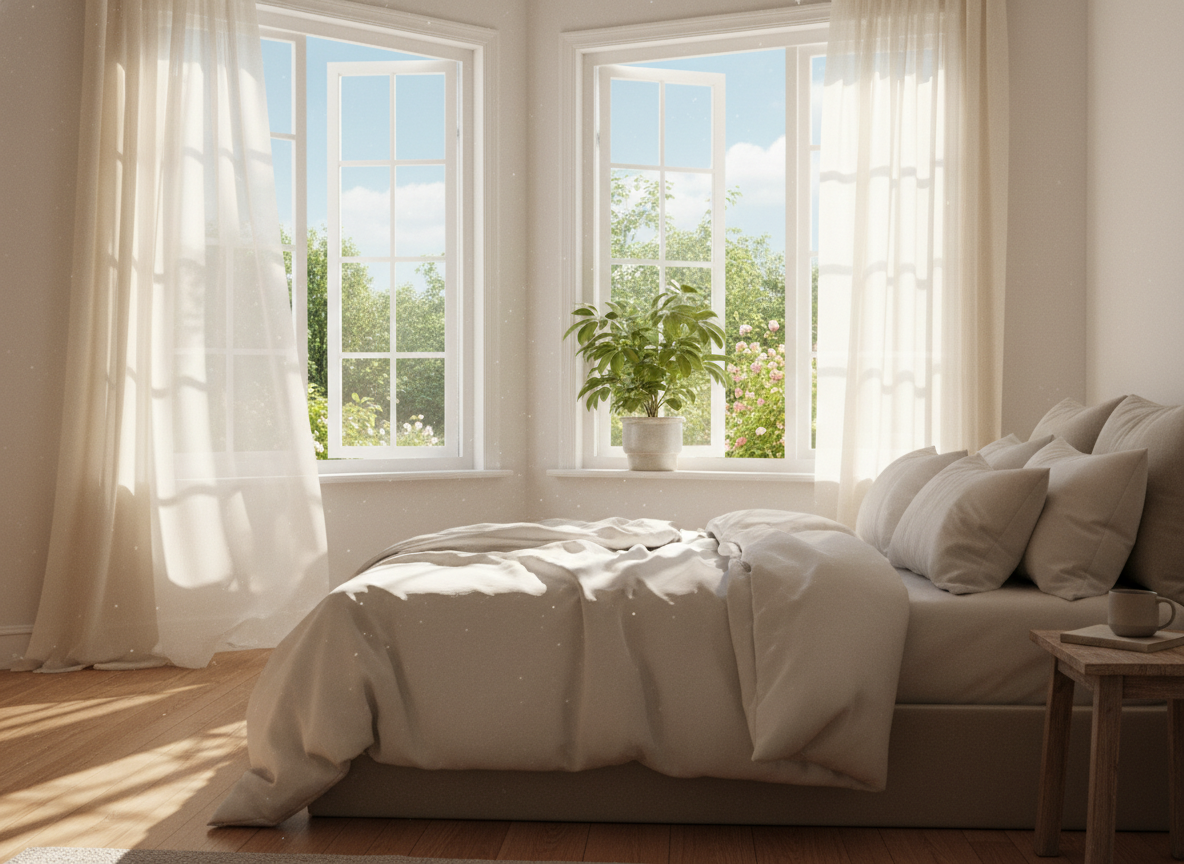
8. Let Air and Sunlight Do Some of the Work
Sometimes the simplest solution really is fresh air. After deodorizing or spot-cleaning, open windows, use a fan, or allow sunlight to hit the mattress briefly to help speed up drying and reduce mild odors. You should just avoid prolonged direct sunlight on foam mattresses, which can cause damage.
9. Rotate Your Mattress
Here’s the thing: uneven wear can trap odors and moisture in the same spots. Rotating your mattress head-to-foot every three to six months helps distribute pressure more evenly and extends its lifespan. Remember to only flip the mattress if it’s designed to be flipped.
10. Prevent Future Messes With a Washable Protector
This is the step that saves the most time long-term. Using one significantly reduces how often you need deep cleaning and helps protect your investment. A breathable, waterproof mattress protector blocks spills, sweat, and allergens while being easy to remove and wash.
How Often Should You Clean a Mattress?
Here’s a realistic schedule that works for most households:
- Vacuum: Every 1–2 months
- Deodorize with baking soda: Every 3 months
- Spot clean stains: As needed
- Deep clean: 1–2 times per year
If you have pets, allergies, or kids, bump that up slightly.
Helpful Tips for Cleaning Your Mattress (So You Don’t Make It Worse)
Before you grab a spray bottle and go all in, a few small habits can make a big difference in how effective and safe your mattress cleaning actually is. These tips come from real-world trial and error. First, less moisture is always better. Mattresses are thick, absorbent, and slow to dry. Oversaturating them can trap moisture deep inside, which is how musty smells and mildew start. Whatever cleaner you use, apply it to a cloth first instead of spraying directly onto the mattress. Next, always blot instead of scrubbing. It’s tempting to attack a stain aggressively, but rubbing pushes it deeper into the layers. Gentle pressure, patience, and repetition work far better than force.
If you’re short on time, focus on high-contact areas first:
- The center where you sleep
- The side you typically lie on
- Seams and edges where dust collects
You don’t have to clean every inch every time to see results. It also helps to clean on a dry, warm day when you can open windows or use fans. Airflow matters just as much as the cleaner you choose. If the mattress isn’t completely dry, don’t remake the bed yet, trapped moisture is the enemy. Finally, test first, especially if you’re using hydrogen peroxide, vinegar, or enzyme cleaners. A quick spot test in an inconspicuous corner can save you from discoloration or fabric damage.
When You Should Call a Professional Mattress Cleaning Service
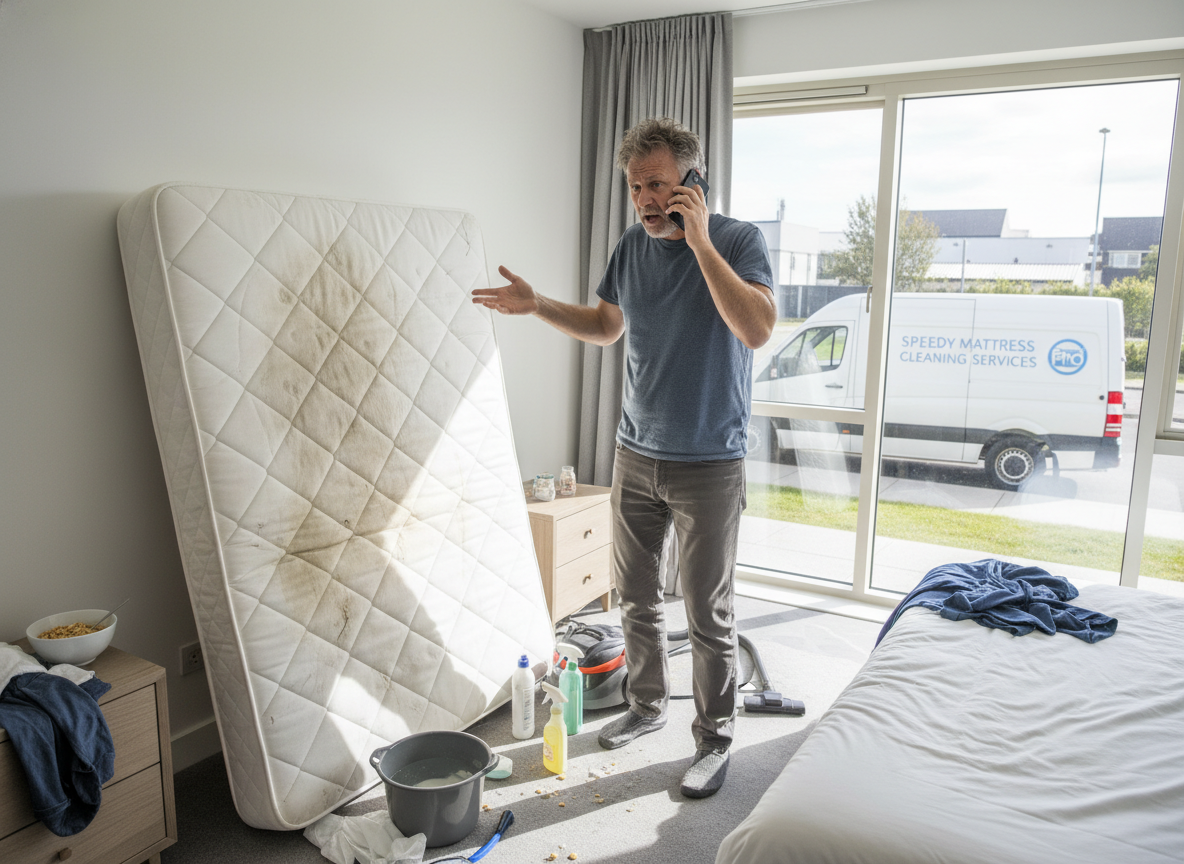
DIY mattress cleaning works well for routine upkeep and minor stains. But there’re situations where calling in a professional isn’t overkill, it’s the smarter move. You should strongly consider professional mattress cleaning if:
- The mattress was heavily soaked (pet accidents, spills that reached the foam layers)
- Strong odors linger even after multiple cleaning attempts
- Mold or mildew smells are present (especially in humid climates)
- Allergies or asthma symptoms worsen, despite regular cleaning
- Bed bugs or pests are suspected (DIY methods won’t solve this safely)
Professional services use commercial-grade equipment that extracts moisture more effectively and sanitizes deeper layers without oversaturation. In many cases, they can restore a mattress that feels beyond saving. That said, there’s a line. If a mattress has visible mold growth, deep structural damage, or permanent sagging or breakdown. It may be time to replace it rather than clean it. No amount of scrubbing can fix a mattress that’s reached the end of its life.
Final Thoughts
Cleaning a mattress doesn’t have to feel overwhelming or gross. When you break it into small, manageable steps, it becomes just another part of taking care of your home and yourself. A clean mattress won’t just look better, it’ll smell better and feel better. Plus, you’ll probably sleep better.
Related Articles
Non-Toxic Cleaning Methods: Simple Ways to Create a Safer Home

