

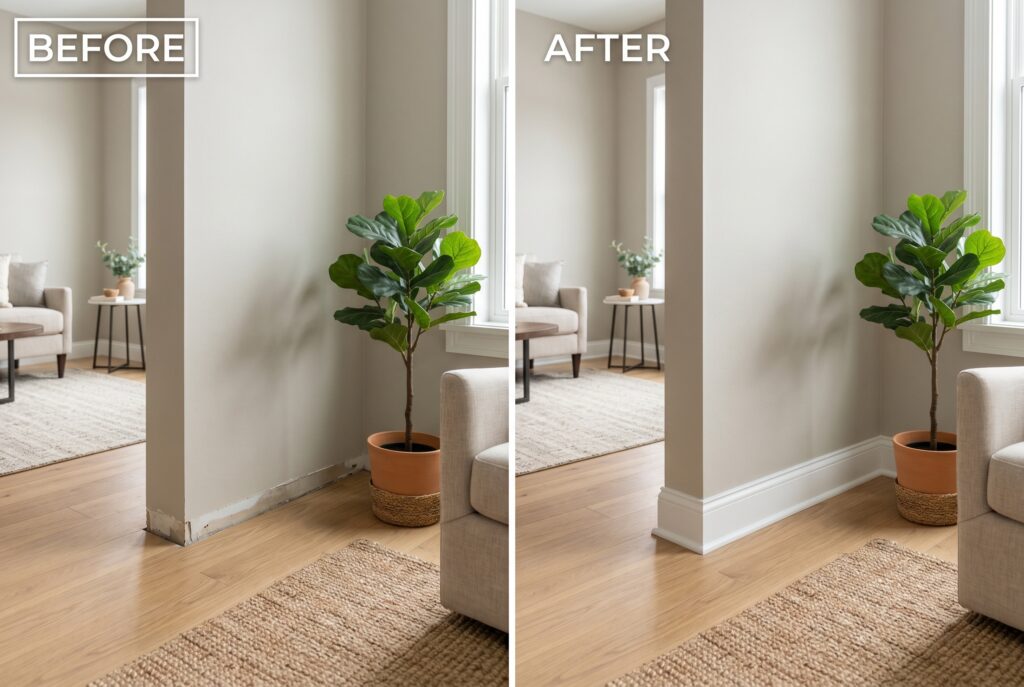
Living in a home with missing or damaged trim creates a sense of incompletion that lingers for years. How to install baseboards is a fundamental skill for homeowners seeking to bridge the gap between floors and walls with professional precision.
Mastering baseboard installation serves as the ultimate weekend project for those wanting to increase property value through personal effort. Success in this endeavor relies on a commitment to detail, starting with the 10% waste rule: purchasing an extra 10% of material ensures that any cutting errors or wood defects do not stall the project.
Essential Tools & Material Science: Choosing Your Profile
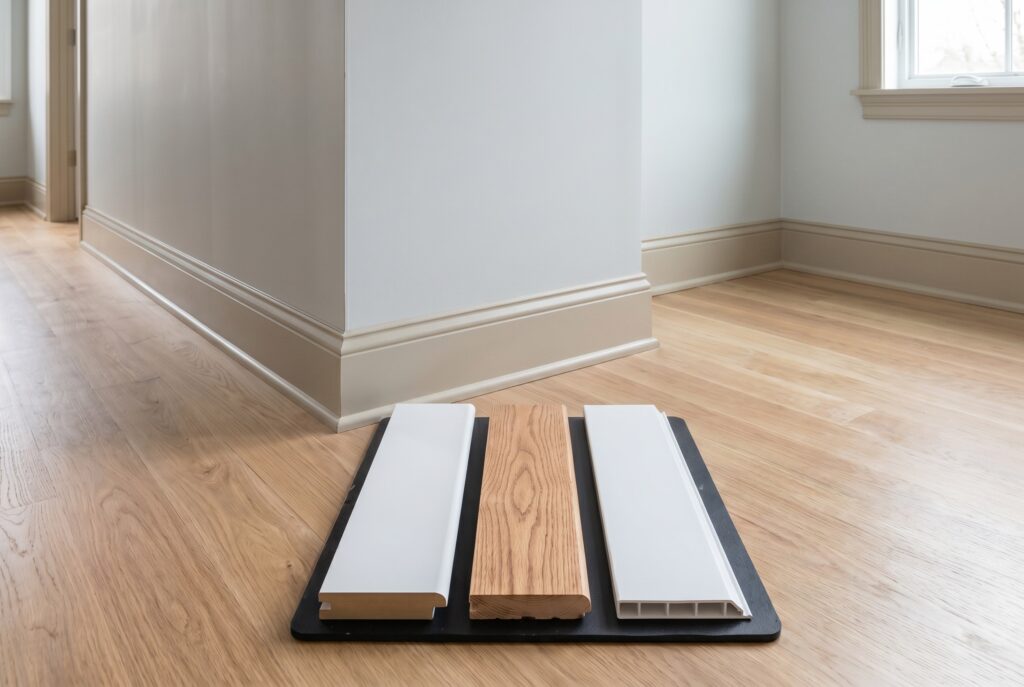
Selecting the right material is just as critical as the installation itself. While Tom Silva tips often emphasize the timeless quality of solid wood, modern homeowners frequently lean toward composites for their stability and ease of use.
MDF vs. Wood vs. PVC Baseboards
The environment of the room dictates the best material choice
- MDF (Medium Density Fiberboard): Often the preferred choice for DIYers because it comes pre-primed, stays perfectly straight, and remains highly cost-effective.
- Natural Wood: Ideal for stained finishes, though it requires more attention during the acclimation phase to prevent warping.
- PVC (Polyvinyl Chloride): The superior option for an aesthetic bathroom or damp basement, as it is entirely waterproof and resistant to rot.
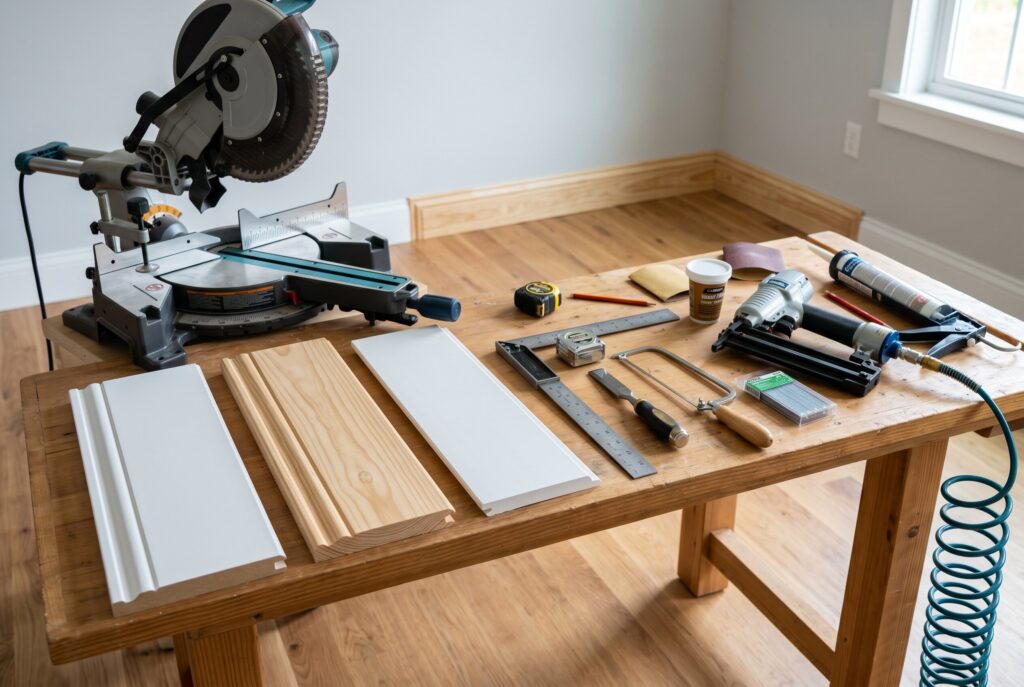
Necessary Gear
Gathering professional-grade Home Depot baseboard tools transforms a difficult task into a manageable one. A high-quality miter saw provides the necessary accuracy for complex angles. For fastening, a cordless Milwaukee brad nailer using 18-gauge nails provides speed without the clutter of air hoses.
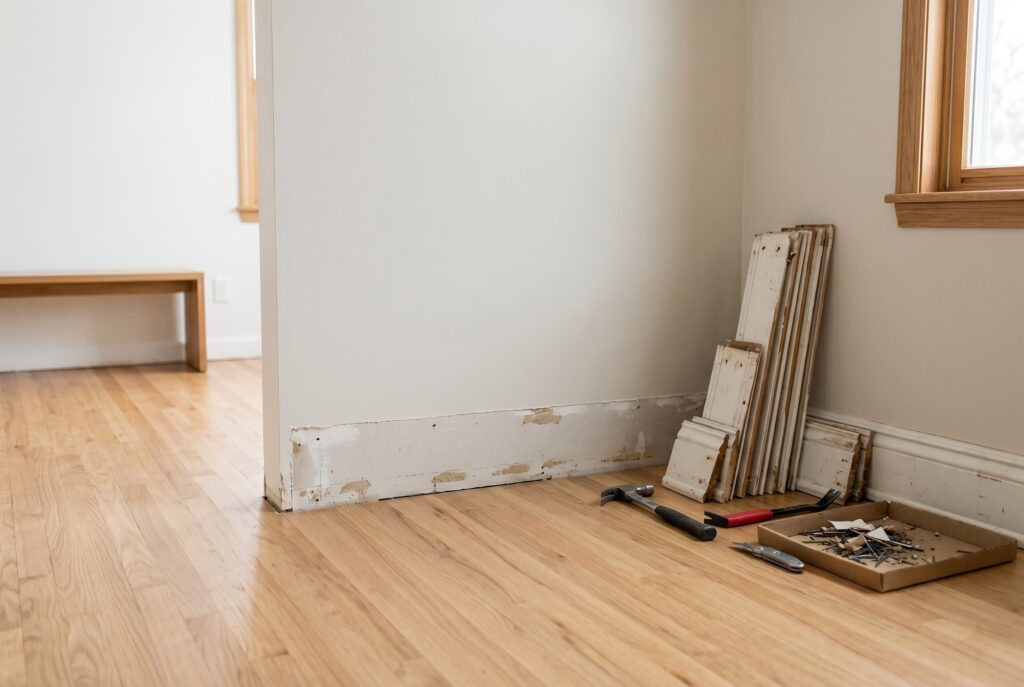
Preparation: The Secret to a Gap-Free Finish
Clean wall-to-floor transitions depend heavily on the work done before a single nail is driven. After removing old trim and cleaning the area, the new boards must undergo acclimation. Leaving the material in the target room for 48 to 72 hours allows the wood to adjust to the local humidity levels, which prevents future gaps caused by shrinking or expanding.
Finding the high point of the floor is a professional technique that avoids a slanted appearance. By starting the installation at the highest point and leveling outward, the result remains visually consistent even if the house has settled over time.
Step-by-Step Execution: Master the Professional Cuts
The actual process of installing trim involves three primary types of joins.
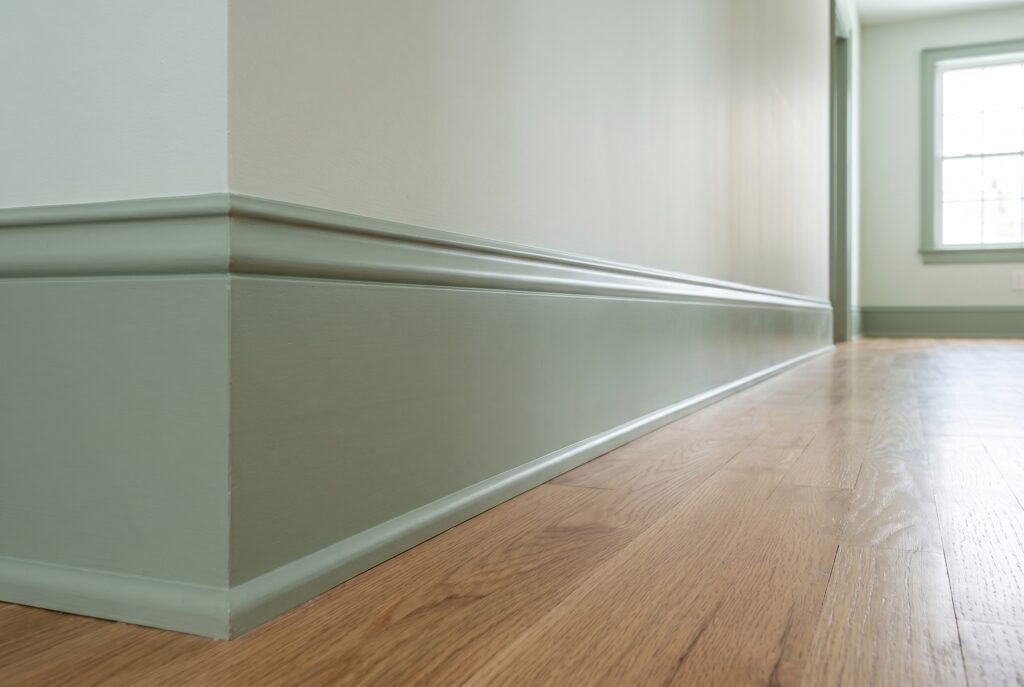
Cutting Inside Corners: Coped Joints vs. Mitered Joints
While many beginners attempt to miter inside corners at 45-degree angles, the results are often disappointing because walls are rarely perfectly square.
Coped joints involve cutting one board flat against the corner while the second board is carved to fit the profile of the first. This method ensures the joint remains tight even as the home naturally shifts with the seasons.
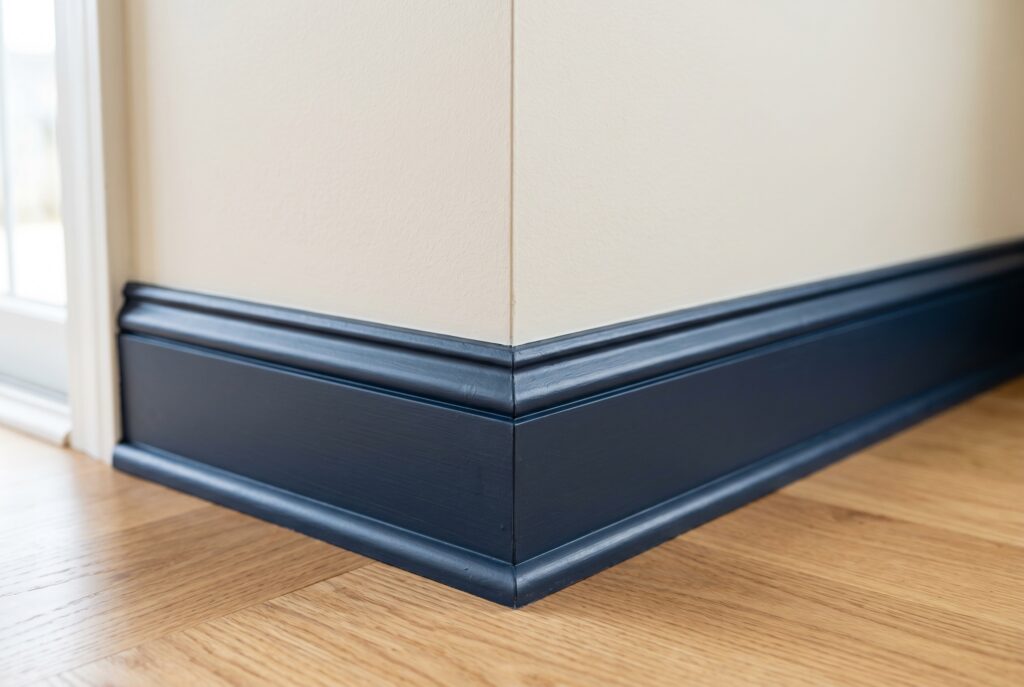
Mastering Outside Corners

Outside corners are highly visible and require precision. Cutting opposite 45-degree angles on the miter saw is standard, but applying a small amount of wood glue to the meeting edges before nailing creates a permanent bond.
Dealing with Long Walls
When a single wall exceeds the length of the available trim, scarf joints are used to hide the seam. By overlapping two boards at 45-degree angles rather than using a flat butt joint, the transition becomes nearly invisible once sanded and painted.
Troubleshooting: What to Do When Walls Aren’t Straight
Rare is the home with perfectly flat walls. If a board refuses to sit flush against a bowed wall, using a stud finder to locate the nearest solid wood allows the nailer to pull the trim tight. For minor imperfections, the common professional mantra provides great comfort: “Caulk covers a multitude of sins.” High-quality acrylic caulk fills the tiny gaps between the trim and the wall, providing a seamless finish that looks intentional.
The 2026 Finish: Modern Trends & Maintenance
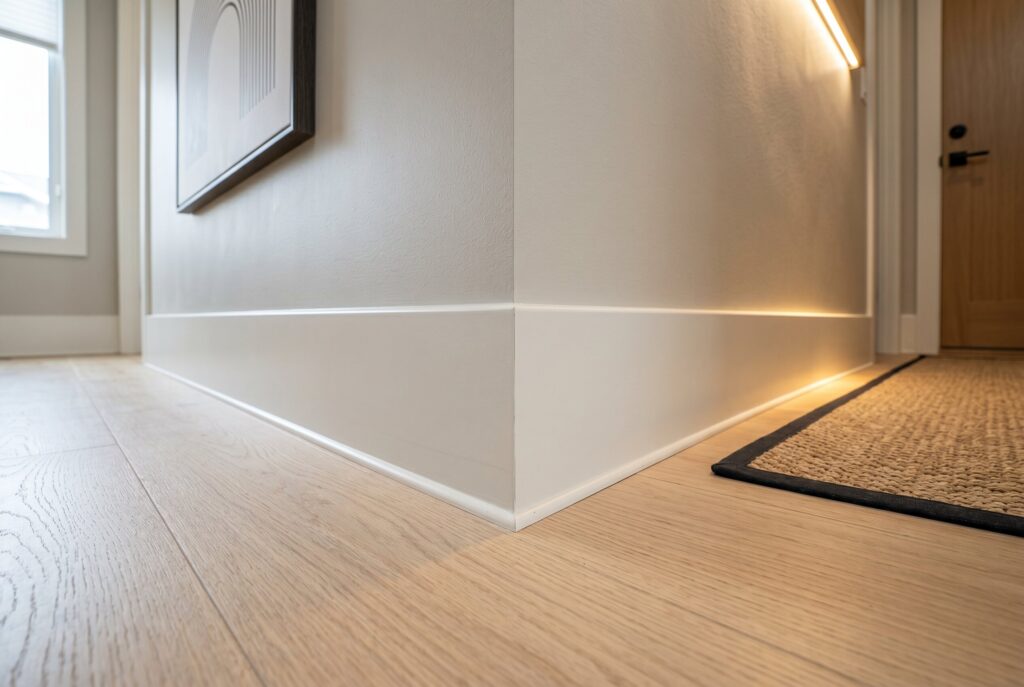
The year 2026 sees a strong preference for minimalist aesthetics. Trends have shifted toward square baseboard trim and flat profile baseboards, which provide a clean look that complements modern architecture. Color drenching, where the trim is painted the same color as the walls, is also gaining popularity for its sophisticated and expansive feel.
Maintaining the finish is just as important as the installation. Knowing how to clean baseboards ensures they remain a highlight of the home for decades. Utilizing a dedicated baseboard cleaner or a simple damp microfiber cloth removes dust and scuffs without damaging the paint or the underlying material.
Conclusion & Next Steps
A perfect set of baseboards begins with preparation rather than just the final cut. By choosing the right materials, allowing for acclimation, and using techniques like coping, any homeowner can achieve a result that rivals professional work.
Before heading to the store, creating a detailed cut list based on accurate room measurements is the best way to ensure a smooth project from start to finish.

