

Installing a smart thermostat is one of the smartest moves you can make to enhance both your home’s comfort and energy efficiency. Whether you’re tired of high heating and cooling bills or simply want more control over your home’s temperature, a smart thermostat can help you achieve both. It can learn your preferences, adjust based on your schedule, and provide remote access to control your home’s climate.
In this article, we’ll guide you through the process of installing your smart thermostat, step by step, and give you practical tips on how to optimize its usage for maximum comfort and savings.
1. Why Choose a Smart Thermostat?
Before diving into the installation steps, it’s important to understand why a smart thermostat is a worthwhile investment. Smart thermostats are designed to enhance the overall comfort of your home while also helping you save on energy costs.
Key Benefits
- Remote control: Adjust your home’s temperature from anywhere using your smartphone.
- Energy efficiency: Automate temperature adjustments based on your schedule, reducing energy consumption when you’re not at home.
- User-friendly: Many models learn your preferences and adjust accordingly, offering optimal comfort without manual intervention.
- Savings: By optimizing your heating and cooling systems, smart thermostats can lower your energy bills.
By choosing a smart thermostat, you’re making an eco-friendly decision that also leads to financial savings in the long run.
2. Gather Your Tools and Materials
Before starting, you’ll need a few essential tools and the right smart thermostat that suits your home’s needs. Make sure to double-check compatibility with your existing heating and cooling system.
What You’ll Need
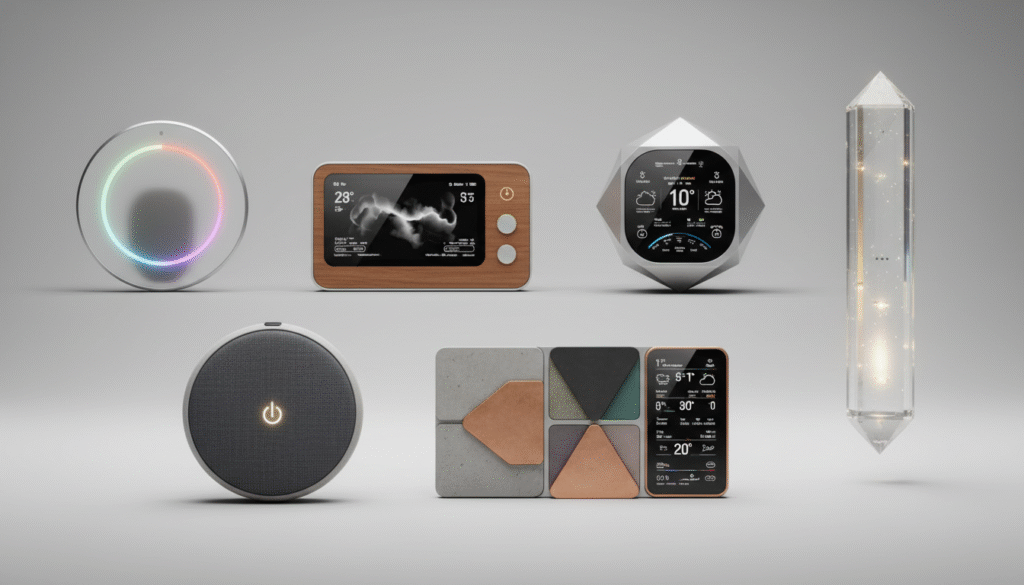
- Smart thermostat: Choose one that works with your current HVAC system (e.g., Nest, Ecobee, Honeywell).
- Screwdriver: To remove the old thermostat and install the new one.
- Voltage tester: To make sure there’s no electrical current running to the thermostat before removal.
- Wire labels: To keep track of each wire connection as you disconnect the old unit.
- Smartphone or tablet: For setup and app configuration.
Having everything ready will ensure a smooth installation process, and reduce the chance of running into issues halfway through.
3. Step-by-Step Installation Process
Step 1: Turn Off Power to the HVAC System
Safety is always a priority when working with electrical components. Start by turning off the power to your heating and cooling system at the circuit breaker. This will prevent any accidental electrical issues while you work.
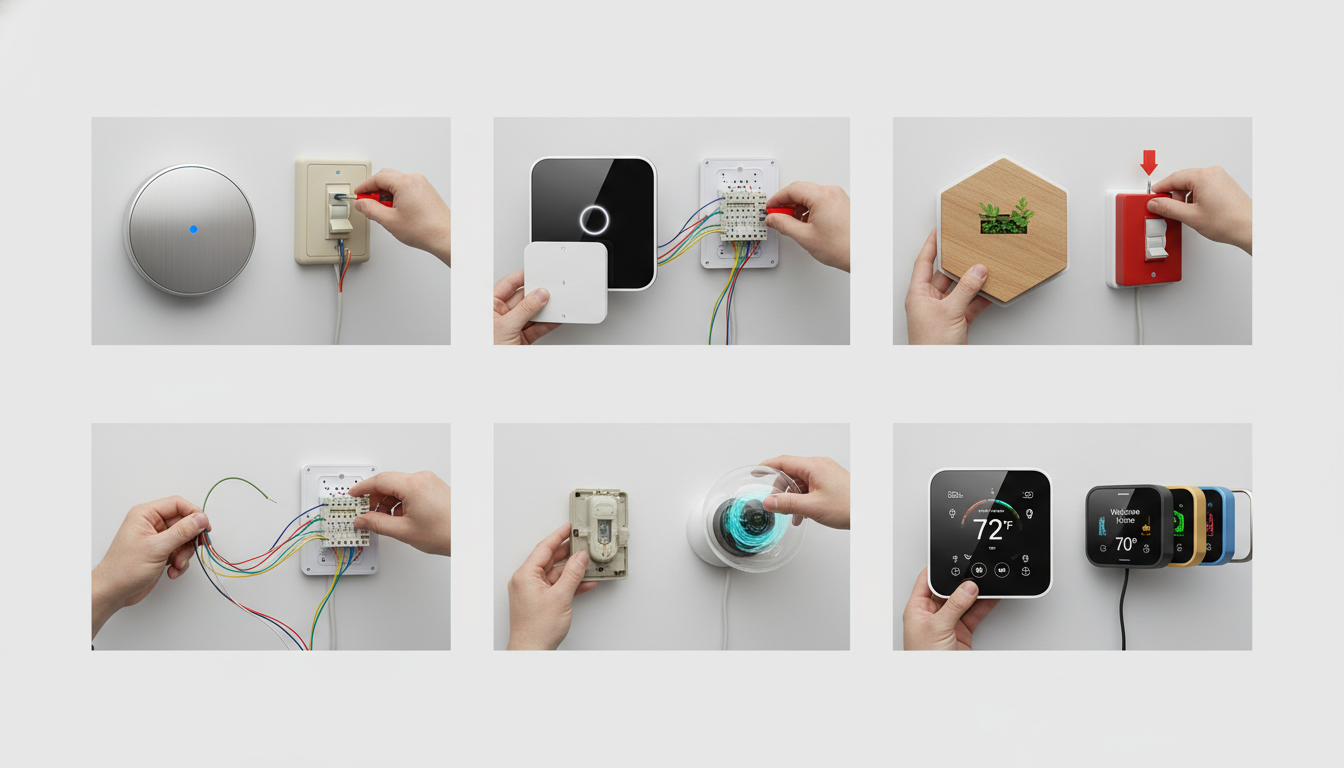
Step 2: Remove the Old Thermostat
Once the power is off, unscrew the old thermostat from the wall. After removing the cover, you’ll see the wires connected to the thermostat terminals. It’s essential to label each wire according to its terminal (R, C, Y, etc.) for easy identification during the new installation. If you’re unsure where each wire goes, take a picture or refer to the user manual of the old thermostat to guide you.
Step 3: Install the New Base Plate
Now, take the base plate of your new smart thermostat and mount it on the wall, ensuring it’s level and aligned with the screws. Some smart thermostats come with a template to guide this process.
Step 4: Connect the Wires
Carefully connect each labeled wire to the corresponding terminal on your new thermostat’s base plate. Make sure the wires are tightly secured to prevent any loose connections.
Step 5: Mount the Thermostat and Turn the Power Back On
Once the wires are securely connected, attach the thermostat to the base plate. Then, turn the power back on at the circuit breaker and your smart thermostat should power up and be ready to configure.
4. Configuring Your Smart Thermostat
Step 1: Power Up and Connect to Wi-Fi
Once the thermostat is installed and powered on, follow the on-screen instructions to connect it to your home’s Wi-Fi network. You’ll need your network credentials (SSID and password) to complete this step.
Step 2: Download the App and Set Up Your Thermostat
Download the manufacturer’s app for your thermostat model (e.g., Nest app, Ecobee app) on your smartphone or tablet. Create an account if required, and follow the prompts to pair your thermostat with the app. This will enable you to control your thermostat remotely from anywhere.
Step 3: Customize Your Settings
This is where you can start personalizing your thermostat. Most smart thermostats allow you to:
- Set a temperature schedule based on your daily routine.
- Enable features like geofencing, which adjusts the temperature when you leave or return home.
- Set energy-saving modes during periods when you’re not at home.
By adjusting these settings to suit your schedule, your thermostat will automatically optimize your home’s temperature, saving you energy and money.

5. Maximizing Your Smart Thermostat’s Efficiency
1. Set Temperature Schedules Based on Your Routine
You don’t need to manually adjust the temperature every time you leave the house. Set up a temperature schedule that adjusts throughout the day, based on your work and home hours. For example, set the thermostat to lower the temperature when you’re at work and raise it before you return home.
2. Enable Learning Features
Many smart thermostats learn your temperature preferences over time. Enable this feature so your thermostat will adjust automatically, saving you the hassle of manual settings.
3. Monitor Your Energy Usage
Smart thermostats usually come with energy usage reports that show you how much energy you’ve used over the past week or month. Use these reports to adjust your settings and make sure you’re getting the most out of your energy savings.
6. Troubleshooting Tips for Smart Thermostat Installation
If you run into any issues during the installation or setup process, don’t worry. Here are some common problems and quick solutions:
No Power
Ensure the power is back on at the circuit breaker. Double-check that the wires are securely connected and the thermostat is properly mounted on the base plate.
Wi-Fi Connection Issues
If the thermostat isn’t connecting to your Wi-Fi, make sure your router is within range and working. Restart both your Wi-Fi router and thermostat if necessary.
Thermostat Not Responding
If the thermostat is unresponsive, try resetting it by following the manufacturer’s instructions in the app or manual. You can also troubleshoot via the app or contact customer support.
7. Maintaining Your Smart Thermostat
Once your smart thermostat is installed and configured, make sure to regularly update the firmware to ensure it stays efficient and functional. Check the manufacturer’s app for any updates or troubleshooting tips.
Conclusion: Optimize Comfort and Save Energy with Your New Smart Thermostat
Installing a smart thermostat is a simple yet highly effective way to save energy, improve home comfort, and reduce your heating and cooling bills. By following this easy step-by-step guide, you can have your new device up and running in no time.
With its customizable settings, remote control features, and energy-saving capabilities, a smart thermostat is one of the best home upgrades you can make. Not only will it help you maintain the perfect temperature year-round, but it’ll also help you reduce energy consumption, making it a win-win for both your home and the environment.

