

There was a time when “smart home” sounded like something reserved for tech enthusiasts with complicated setups and endless troubleshooting. These days smart homes are far more approachable thanks to Alexa.
Whether you live in a small apartment, a busy family home, or somewhere in between, an Alexa-powered smart home can simplify everyday routines without demanding constant attention. You don’t need to be tech-savvy or replace everything at once. You just need a clear plan.
This guide walks you through exactly how to turn your home smart with Alexa step by step, so it feels helpful instead of overwhelming.
What an Alexa Smart Home Actually Does (and What It Doesn’t)
At its best, an Alexa smart home quietly removes friction from daily life. For example, lights turn off when you forget, the house settles down at bedtime, and mornings feel less rushed.
With Alexa, you can:
- Control lights, plugs, thermostats, cameras, and TVs with your voice
- Create routines that automate multiple actions at once
- Check in on your home when you’re away
- Centralize control in one app instead of juggling five
What it doesn’t require:
- Permanent installation (great news for renters)
- A full-home overhaul on day one
- Constant tinkering once it’s set up properly
Think of Alexa as the conductor, which means the devices do the work and Alexa keeps them in sync.
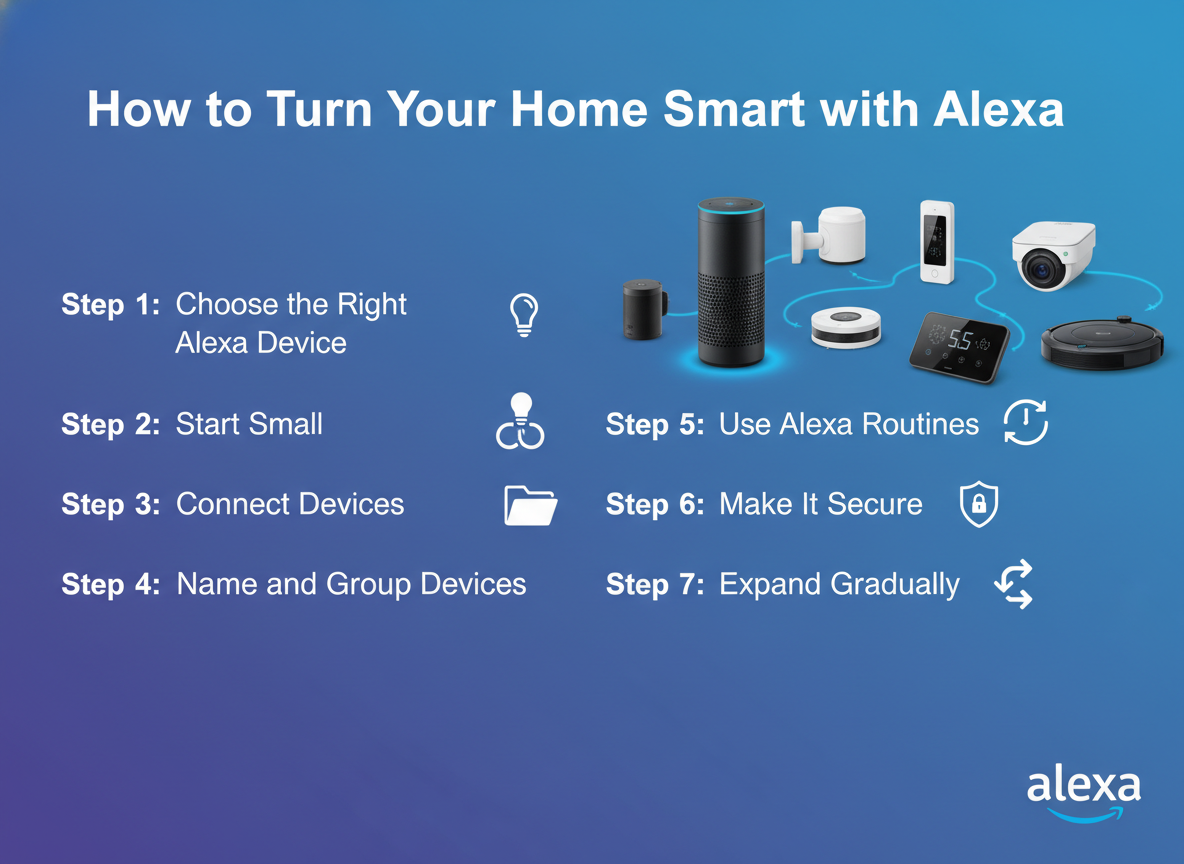
Step 1: Choose the Right Alexa Device for Your Space
All Alexa devices use the same voice assistant, but the hardware experience can feel very different depending on the model you choose. Sound quality, screen size, and placement all affect how naturally Alexa fits into your daily routines.
Best Alexa Options For Most Homes
- Echo Dot or Echo Pop: It’s compact, affordable, and easy to place anywhere. It handles voice commands, timers, routines, and smart home control. It’s ideal for bedrooms, home offices, apartments, or as a first Alexa device.
- Echo (standard model): A step up in audio quality, making it better for kitchens, living rooms, or open spaces where you want music to sound fuller. It’s a solid “main hub” option if you plan to talk to Alexa often throughout the day.
- Echo Show (with screen): It adds visual feedback for things like camera feeds, video calls, timers, recipes, and quick smart home controls. This model works especially well in kitchens, entryways, or family spaces where glancing at a screen is useful.
If you’re just getting started, one device is more than enough. Many people begin with a single Echo Dot, see how often they use it, and then add another device later where it makes sense.
Step 2: Start Small with the Right Smart Devices
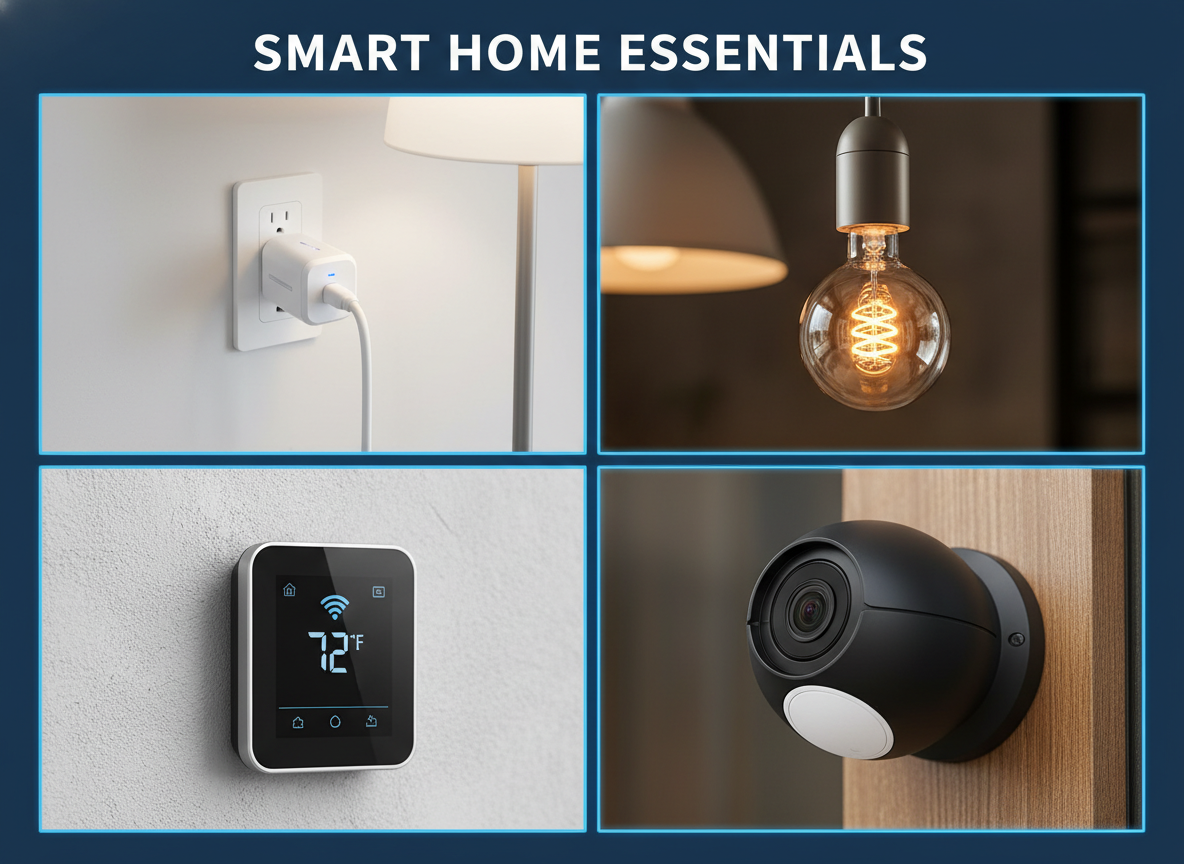
Here’s where many people go wrong: buying too much smart devices at once. Instead, start with devices that give immediate payoff, including:
- Smart plugs: Turn lamps, fans, or coffee makers into smart devices
- Smart bulbs: Dimming, color changes, and schedules without rewiring
- Smart thermostat (if compatible): Comfort and energy savings
- Indoor camera or doorbell (optional): Give you peace of mind
Step 3: Connect Devices the Simple Way
Most Alexa-compatible devices follow the same basic setup flow.
How to Add Devices to Alexa
- Plug in the device and install the manufacturer’s app
- Connect it to your Wi-Fi and name it clearly (e.g., “Living Room Lamp”)
- Open the Alexa app
- Tap Devices → + → Add Device
- Choose the device type or brand
- Follow the prompts and let Alexa discover it
You can also use a simple voice command by saying, “Alexa, discover my devices.” Most of the time, that’s all it takes. If something doesn’t connect right away, the Alexa app will walk you through the setup step by step so you aren’t stuck guessing.
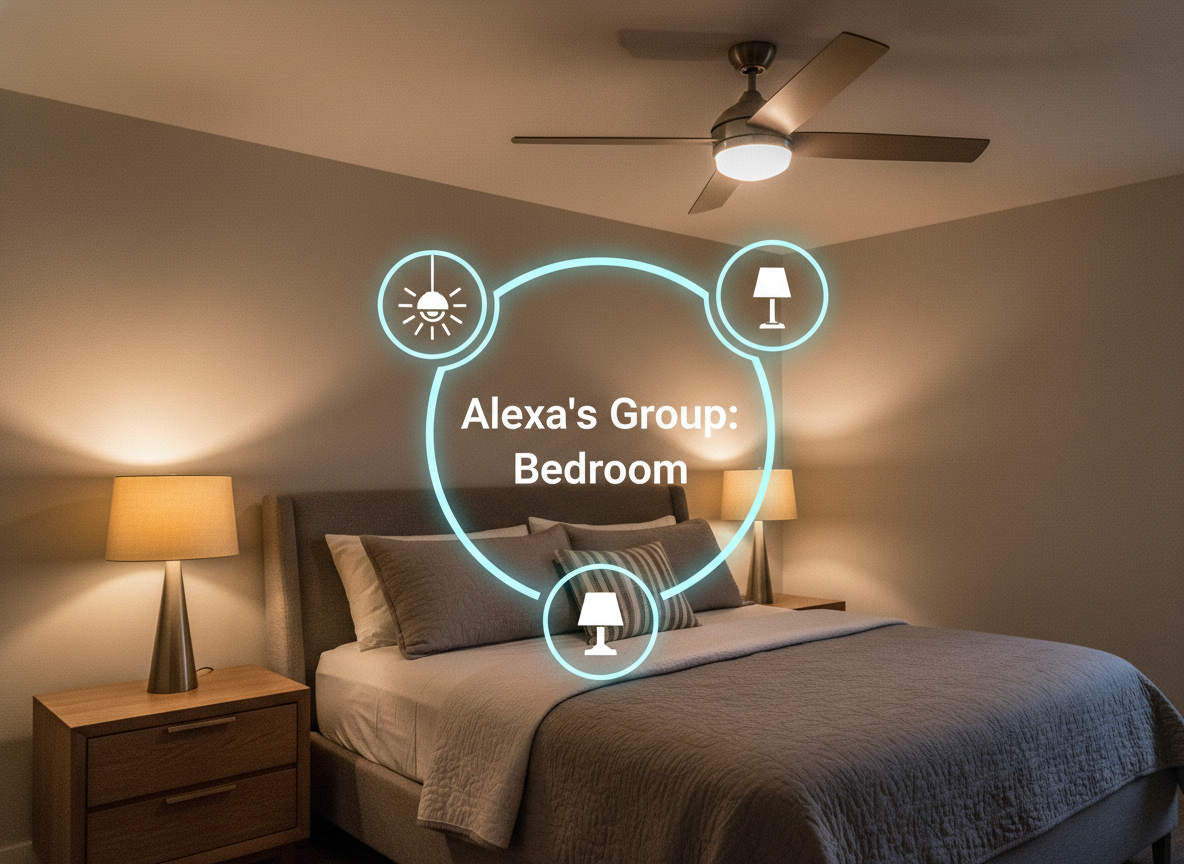
Step 4: Name and Group Devices Like a Human Would
This step might sound boring, but it’s one of the most important parts of setting up a smart home. Sloppy naming is the reason Alexa gets confused and responds with things like, “A few things share that name…” In contrast, clear, thoughtful names make voice control feel natural instead of frustrating. Stick to plain language like “Kitchen Lights” instead of technical labels, avoid using similar names across different rooms, and don’t reuse generic terms like “lamp” everywhere. A little clarity here saves a lot of repetition later.
Groups are what really make everything click. By grouping devices by room, you can control several things with a single command. For example, create a group called “Bedroom” and add the bedroom lights, bedside lamp, and fan. From that point on, saying “Alexa, turn off the bedroom” handles everything at once. That’s usually the moment when a smart home stops feeling like a collection of gadgets and starts feeling genuinely smart.
Step 5: Use Alexa Routines to Automate Daily Life
Routines are where Alexa really shines. They let a single phrase, or even an automatic trigger, set off several actions at once, which is what makes a smart home feel effortless. A simple “Good morning” can turn on the lights, give you the weather, and start the coffee, while “I’m leaving” can shut things down, adjust the thermostat, and lock the doors. Alexa’s routines are especially appealing to tinkerers because you can stack actions, fine-tune timing, and mix devices from different brands without much friction. That said, only two or three thoughtful routines usually make a noticeable difference right away.
Step 6: Make It Secure Without Making It Stressful
Smart homes shouldn’t feel like surveillance centers, and Alexa’s security features work best when they stay in the background instead of constantly demanding attention. Alexa supports security in subtle, practical ways, like Guard alerts that notify you if smoke alarms or glass breaking are detected, or presence-based routines that turn lights on when you’re away to make your home look lived-in.
As for privacy, Alexa does collect usage data but you can review voice history, limit what’s stored, and adjust privacy controls directly in the app. Spending five minutes setting this up once can go a long way toward making your smart home feel both helpful and comfortable.
Step 7: Expand Gradually (and Intentionally)
The best Alexa smart homes don’t happen all at once, they grow gradually as you get more comfortable. After you’ve lived with your setup for a bit, you might add a second Echo in another room, swap a few bulbs for a smart switch, or experiment with motion-triggered lighting in high-traffic areas. It’s also a good time to explore Matter-compatible devices, which give you more flexibility down the road. There’s no need for strict brand loyalty here. Alexa works best when you mix and match devices that genuinely fit your space, your habits, and your budget.
Common Mistakes to Avoid
Even well-intentioned smart home setups can drift into frustration if a few basics are overlooked. Here are the most common pitfalls to avoid:
- Buying devices without checking Alexa compatibility: Not every “smart” product plays nicely with Alexa. Always look for Works with Alexa (or Matter support) before buying to avoid dead-end gadgets.
- Naming devices too similarly: Repeating names like “lamp,” “light,” or “speaker” across rooms confuses Alexa and leads to constant clarifying questions.
- Creating too many routines at once: It’s tempting to automate everything immediately, but overloading routines makes troubleshooting harder. Start with one or two you’ll actually use, then build from there.
- Ignoring Wi-Fi quality: Weak or inconsistent Wi-Fi causes most smart home problems. If devices disconnect or lag, the issue is often the network, so check it carefully.
- Expecting perfection on day one: Smart homes need small tweaks as your habits change. A missed command or awkward routine is a part of dialing things in.
A smart home is a living system that gets better as you make small, thoughtful adjustments over time.
Final Thoughts: A Smart Home Should Feel Effortless
A smart home’s goal is creating a house that quietly supports how you live. With Alexa, you can absolutely reach this goal. Your home’s lights turn off automatically. You leave the house without wondering if you forgot something. Your mornings feel calmer. Let’s start small and keep it practical, the setup will serve your life.
Related Articles
- Alexa vs Google vs Siri: Which Smart Home Assistant is Best for Your Home?
- How to Make Your Home Smart with Google: Step-by-Step Guide for Easy, Automated Living
- How to Turn Your Home Smart with Siri: Easy Step-by-Step Guide for Secure, Automated Living
- How to Automate Household Chores with Smart Devices: Save Time and Simplify Daily Tasks

