

A lot of DIY fire pit ideas make the project look dangerously simple: stack a few blocks on grass, throw in some wood, and call it finished. That kind of build may look fine for one weekend, but it can sink, smoke, crack, or create a fire hazard.
If you want to know how to build a fire pit that lasts, think like a contractor. The strength of the project comes from what people don’t see: safe placement, proper excavation, a compacted gravel base, heat-rated materials, drainage, airflow, and enough curing time before the first fire.
This guide covers how to make a fire pit for a backyard that feels permanent, safe, and polished. Whether you’re planning an in ground fire pit, a raised block ring, or a DIY smokeless fire pit, the goal is the same: build a fire feature that draws people in without putting the property at risk.
The Fatal Warning: Avoid the Exploding Rock Hazard
Before learning how to make a fire pit, learn what not to put inside it. Never use river rocks, wet stones, soft porous rocks, or random landscaping stones in the fire zone. Some rocks hold moisture inside tiny pores. When heated, trapped water turns to steam, expands rapidly, and can cause the rock to crack or explode. That’s not a cosmetic problem. It can send sharp fragments toward people sitting nearby.
Use fire-rated materials where flames and intense heat will touch the structure. Firebrick, lava rock, and a steel fire ring are safer choices than decorative stones. Also call 811 before digging so underground gas, power, water, or communication lines can be marked. A beautiful fire pit isn’t worth a damaged utility line.
The 7-Step Contractor Blueprint
Step 1: Site Prep and Safety Marking
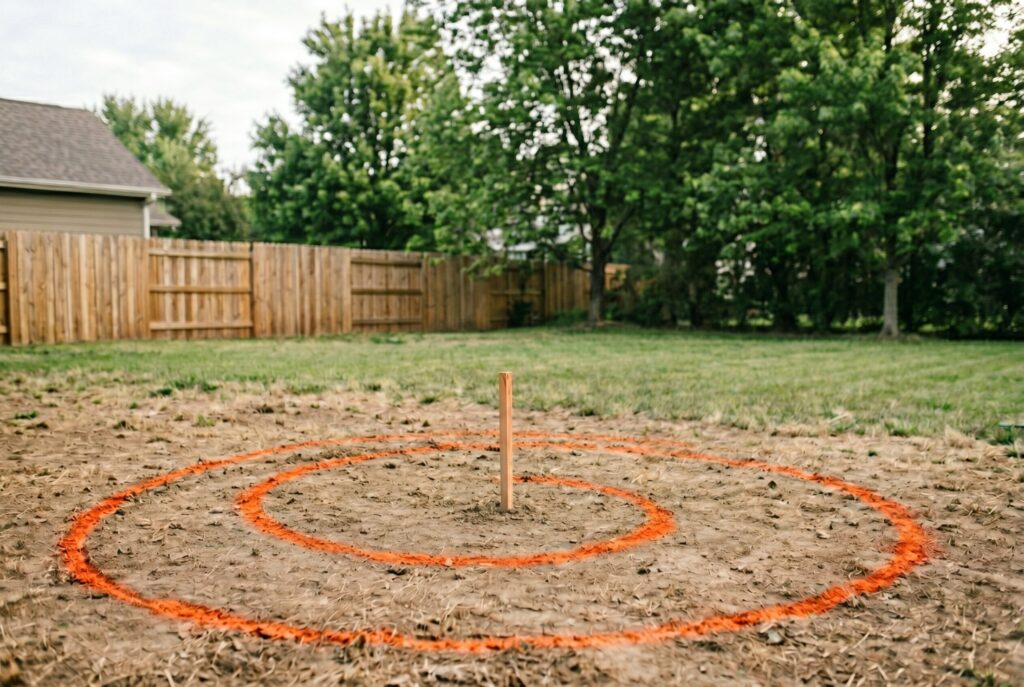
Choose the fire pit location carefully. Keep it away from the house, fences, sheds, low branches, dry brush, wood decks, and property lines. Local rules may require specific clearance distances or permits, so check zoning and fire regulations before building.
To mark a perfect circle, drive a stake into the center of the site. Tie a string to it, measure the radius, then walk the string around with marking paint. This simple stake-and-string method creates a clean footprint without expensive templates.
Step 2: Excavating the Base
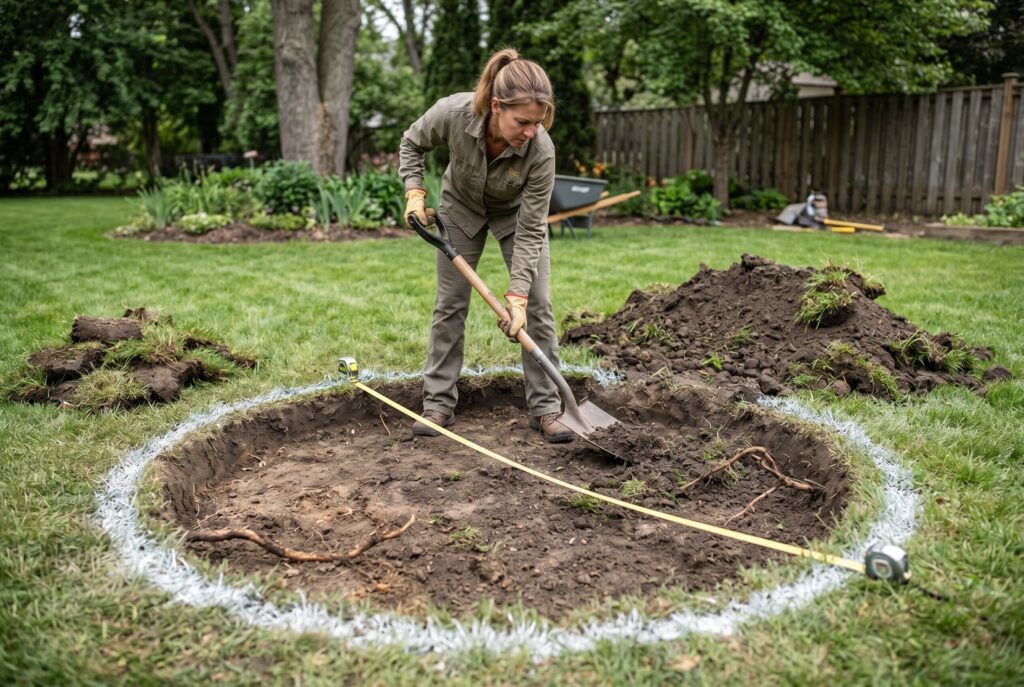
A contractor-grade build starts below ground. Dig inside your marked circle about 6 to 8 inches deep. Remove grass, roots, loose soil, and soft spots.
This excavation gives the fire pit a stable base instead of letting it sit on shifting lawn. It also creates space for drainage material, which helps prevent water from pooling under the structure. Poor drainage is one of the main reasons DIY fire pits sink or crack over time.
Step 3: Laying the Gravel Foundation
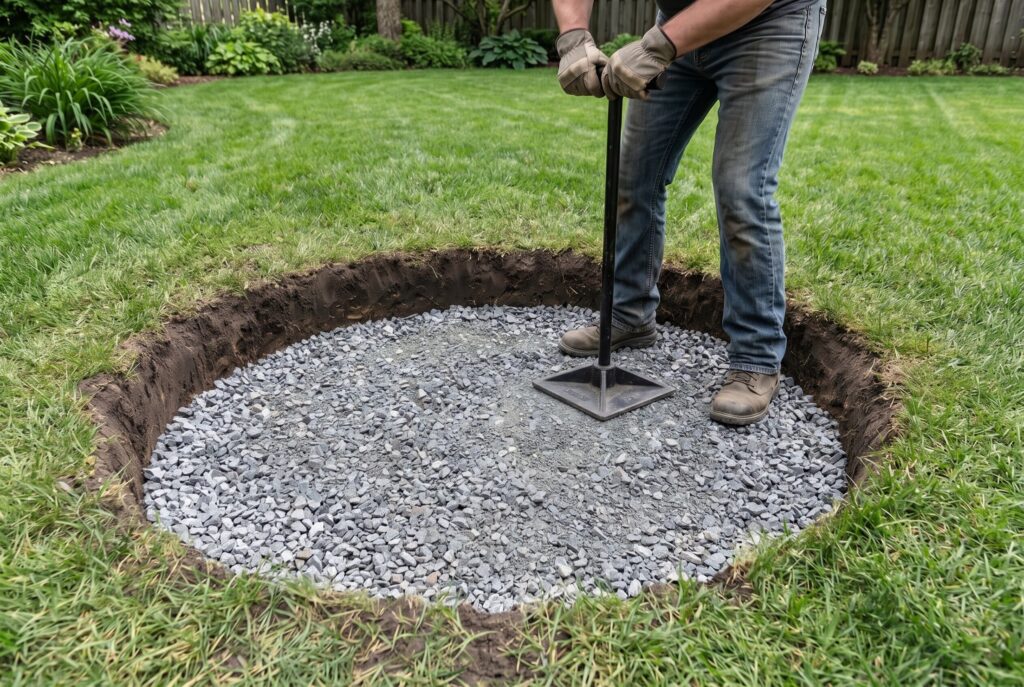
Add 2 to 3 inches of crushed stone or paver base to the bottom of the excavated area. Spread it evenly, then compact it firmly with a hand tamper.
This layer does two jobs. First, it creates a stable foundation for the blocks. Second, it lets rainwater drain instead of sitting beneath the fire pit. If you live in a freeze-thaw climate, drainage matters even more because trapped water can expand and damage the structure. Add a thin layer of leveling sand if needed, but don’t make the base soft. The first course of blocks needs firm support.
Step 4: Setting the First Course
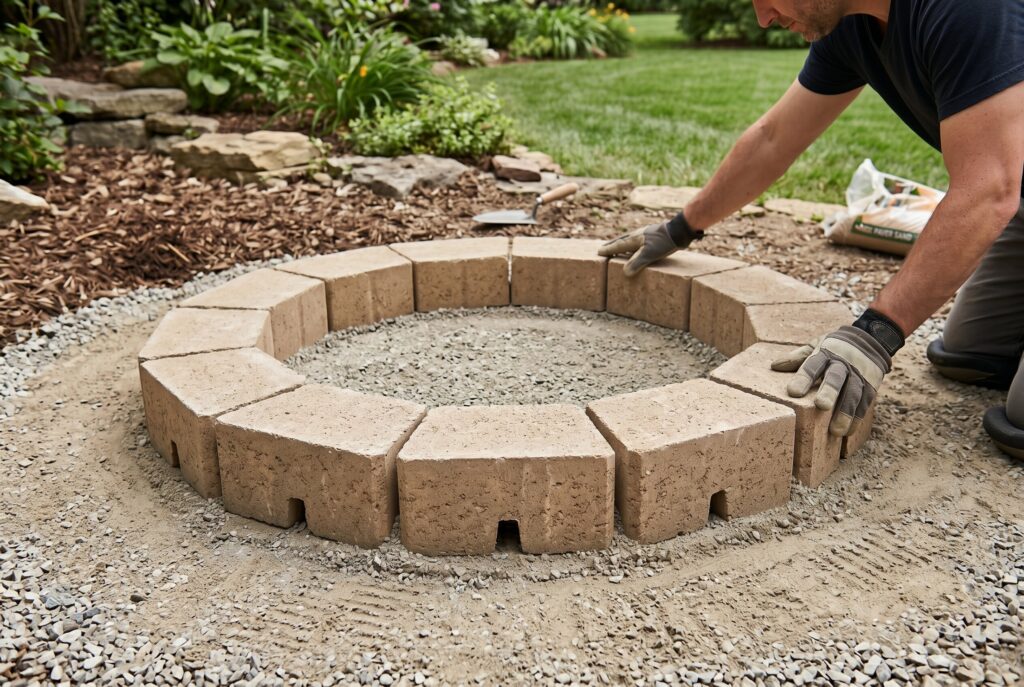
The first row determines the entire build. Place trapezoidal retaining wall blocks around the circle, checking each one with a level. Adjust the base beneath individual blocks until the ring is even. Take your time here. A crooked first course becomes more obvious with every layer stacked above it.
For a DIY smokeless fire pit effect, leave small gaps between several blocks on the bottom course. These air inlets feed oxygen to the base of the fire, helping wood burn hotter and cleaner. Better airflow means less smoke, especially when paired with dry seasoned wood.
Step 5: Inserting the Steel Ring
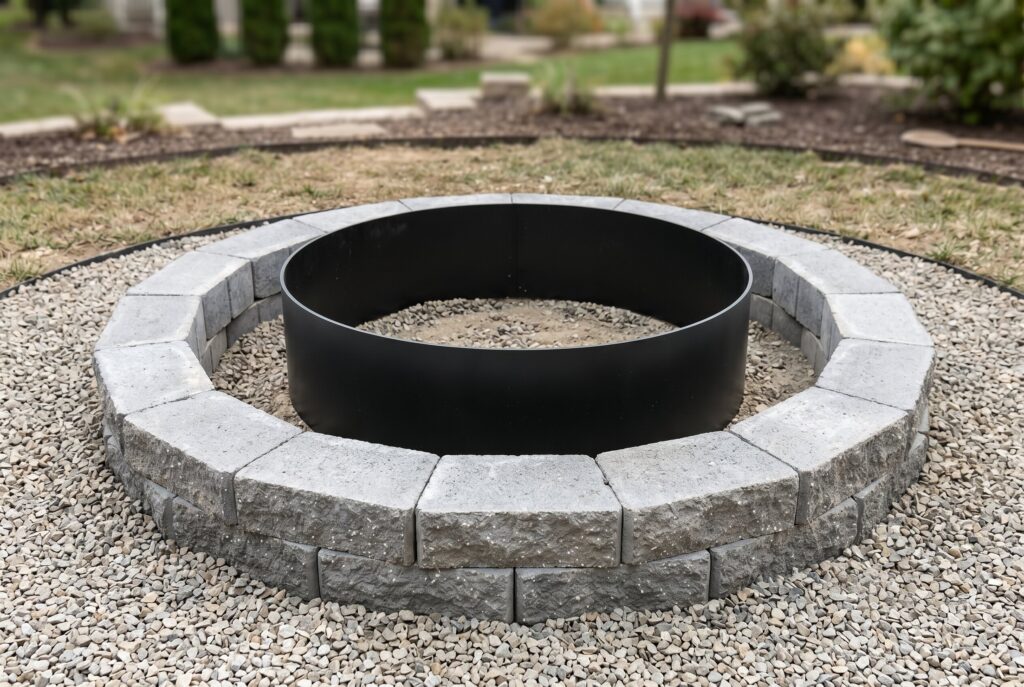
A steel fire ring isn’t required for every design, but it’s a smart upgrade. It protects outer masonry blocks from direct flame, helps reflect heat inward, and makes the circle easier to maintain. Set the ring in the center and build the blocks around it. Leave enough room for expansion, because metal and masonry respond differently to heat. If you skip the steel ring, consider lining the interior with firebrick for better long-term heat resistance.
Step 6: Stacking and Gluing
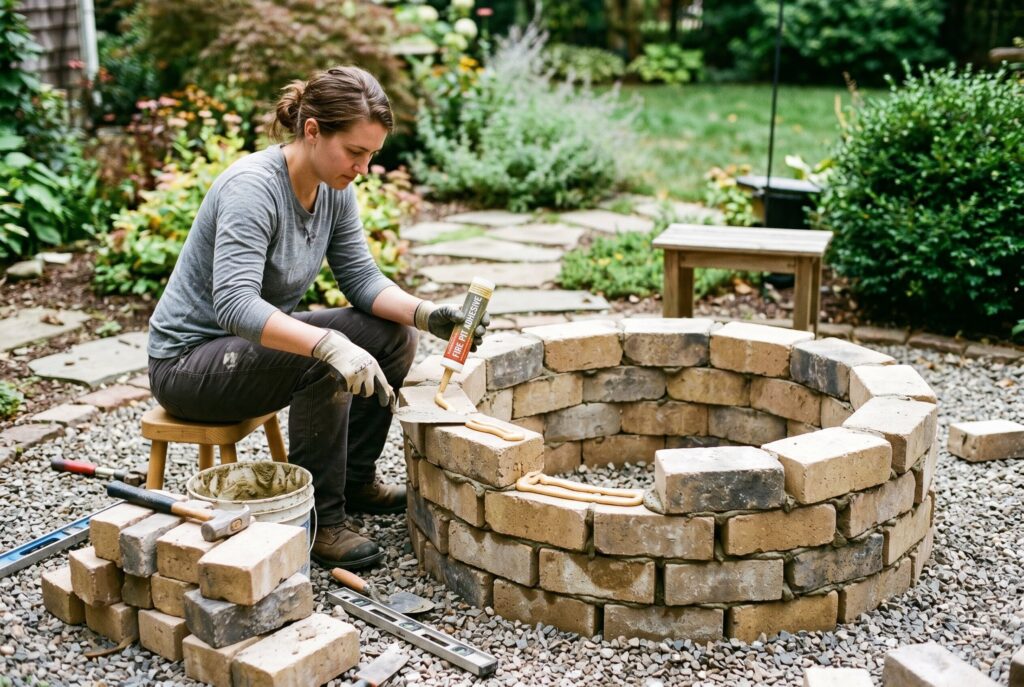
Stack the next courses with staggered joints, like brickwork. This makes the wall stronger and cleaner visually. Use outdoor landscape adhesive rated for heat exposure around fire features. Don’t use ordinary household glue. Avoid relying on mortar unless the design specifically calls for proper refractory materials. Fire pits expand and contract with heat, so flexible adhesive often performs better for simple block builds. Keep checking level as you go. Small corrections are easier before the adhesive cures.
Step 7: Capping and Lava Rock
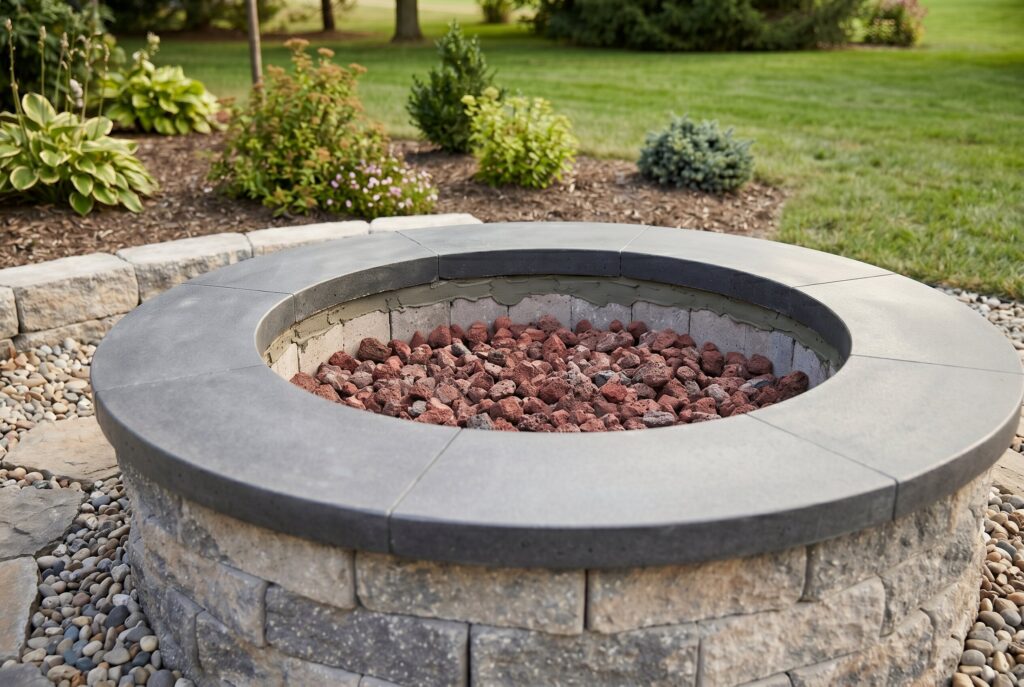
Finish the top with capstones if your block system allows it. Caps make the fire pit look polished and create a safer, flatter edge around the ring. After the adhesive cures, add lava rock inside the pit. Lava rock helps distribute heat, improves drainage, and protects the base. Don’t overfill the pit. Leave enough depth for logs to sit securely below the rim. Wait at least 48 hours before lighting the first fire so adhesive can cure properly.
Low Cost Fire Pit Landscape Design
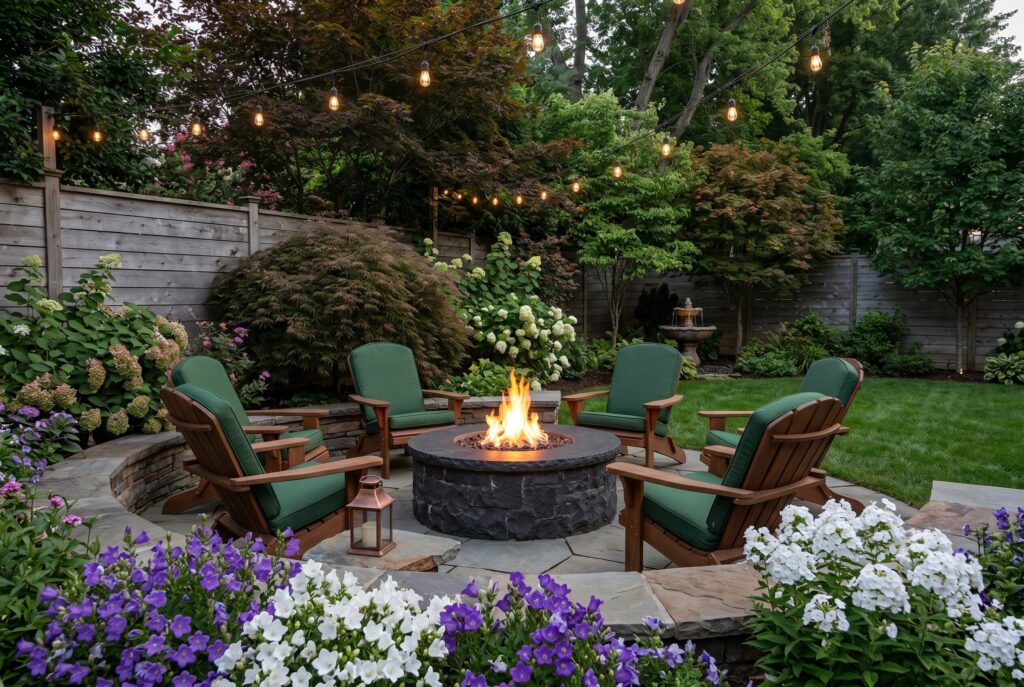
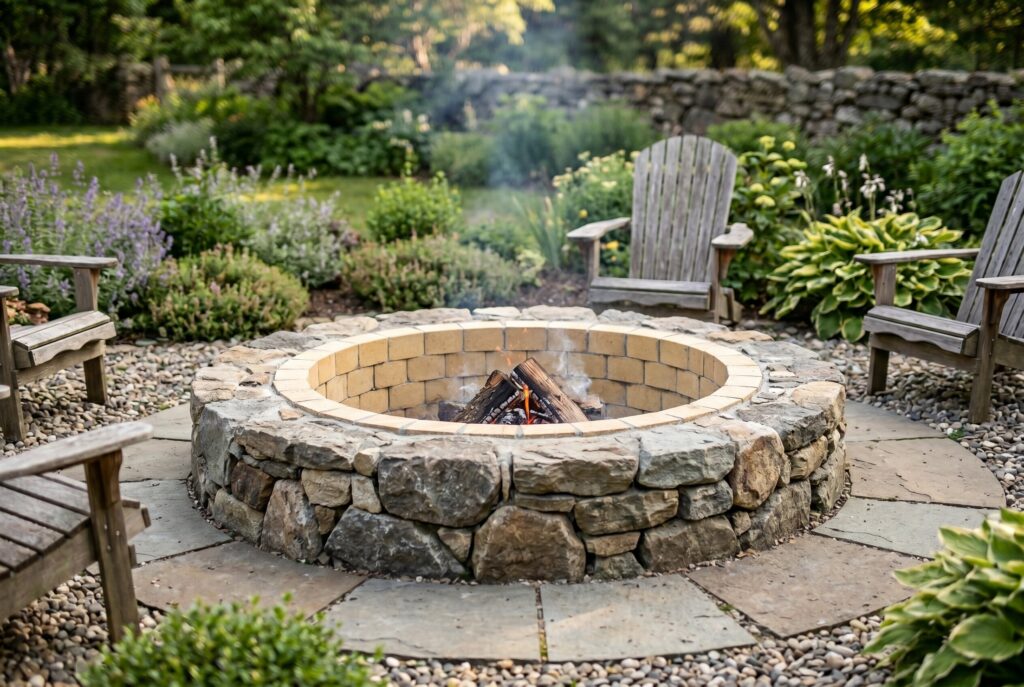
The best fire pit ideas don’t stop at the ring itself. A fire pit should feel connected to the yard. For low cost fire pit landscape design, extend the cleared area 3 to 4 feet beyond the fire pit and cover it with pea gravel, crushed stone, or decomposed granite. This creates a fire-resistant zone and visually defines the gathering area.
Good fire pit seating ideas make the space usable. Arrange Adirondack chairs, curved wood benches, or built-in masonry benches in a wide circle. Leave enough walking room behind seats so guests can move without stepping too close to the flames.
For outdoor fire pit ideas that feel finished, add solar path lights, a log rack, a side table for drinks, and a few weatherproof cushions. These details turn a fire pit into a true outdoor room. If you prefer an in ground fire pit, keep the surrounding surface especially clear and visible. Ground-level flames can be easier to trip into if the edge isn’t defined with stone, gravel, or lighting.
Conclusion
Building a fire pit is about more than appearance. A strong gravel base provides stability, while proper airflow helps the fire burn more efficiently. Use fire-safe materials, avoid river rocks, and consider adding a steel ring or firebrick liner for extra protection. Before lighting the first fire, allow any adhesive to fully cure to ensure a safe and durable result.
Once the build is complete, use dry seasoned wood and try the top-down fire method: larger logs on the bottom, smaller kindling above, and tinder at the top. This helps the fire burn hotter and produce less smoke. Done right, a backyard fire pit becomes more than a weekend project. It becomes the place people naturally gather when the evening cools down.

