

Is there anything more frustrating than a simple home project turning into a major repair? Removing trim often feels straightforward until the sound of crumbling drywall signals a mistake. Avoiding this outcome requires the right technique and a specific baseboard removal tool.
Whether the goal is learning how to clean baseboards or prepping for a complete flooring overhaul, the process of how to remove baseboard remains a critical first step. Success depends on the ability to remove baseboards without damage, ensuring the walls stay pristine and the molding remains salvageable for future use.
The Secret to Damage-Free Removal: Why Professional Tools Matter
The primary goal of any renovation is progress, not more problems. Standard pry bars are designed for demolition, but they often fail when precision is required.
The Surface Area Advantage: Why Standard Pry Bars Fail
Standard pry bars have a narrow point of contact that concentrates force into a single tiny spot. This mechanical flaw often results in punctures or deep dents in the drywall.
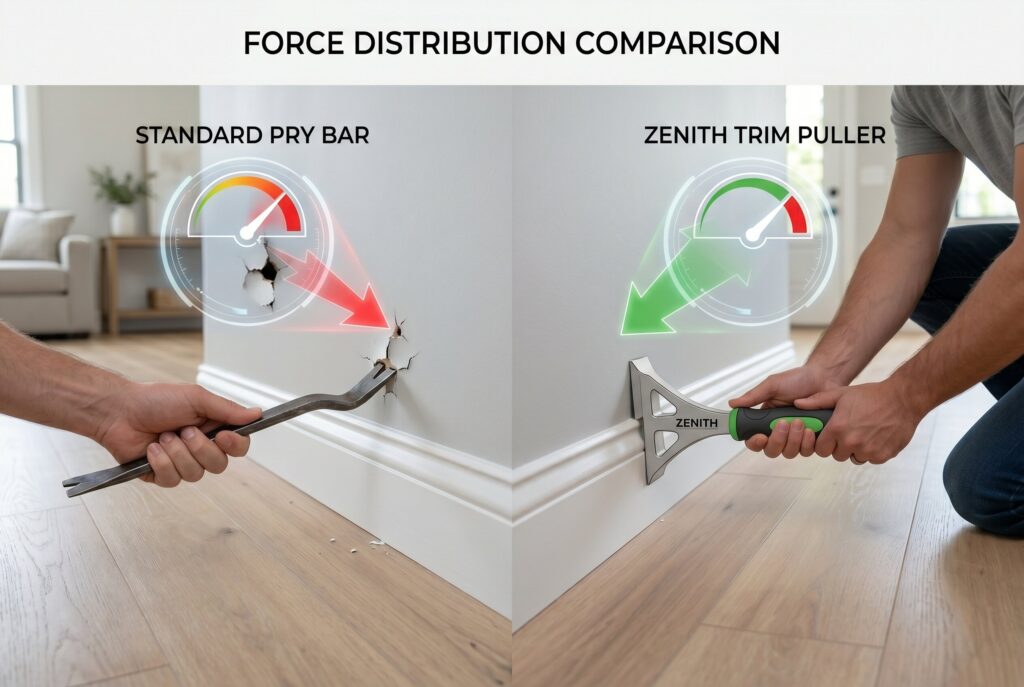
A specialized trim puller, such as the Zenith trim puller, features a much wider integrated wedge. This design distributes pressure over a larger area, allowing the molding to lift away without the tool sinking into the wall.
Scoring the Seal: Why Cutting Caulk is Non-Negotiable
Before any prying begins, addressing the caulk is a professional requirement. Over time, paint and caulk create a powerful bond between the trim and the wall. Failing to perform scoring caulk with a sharp utility knife will result in the paper facing tearing right off the drywall. This simple step prevents the peeling of paint or the destruction of expensive wallpaper.
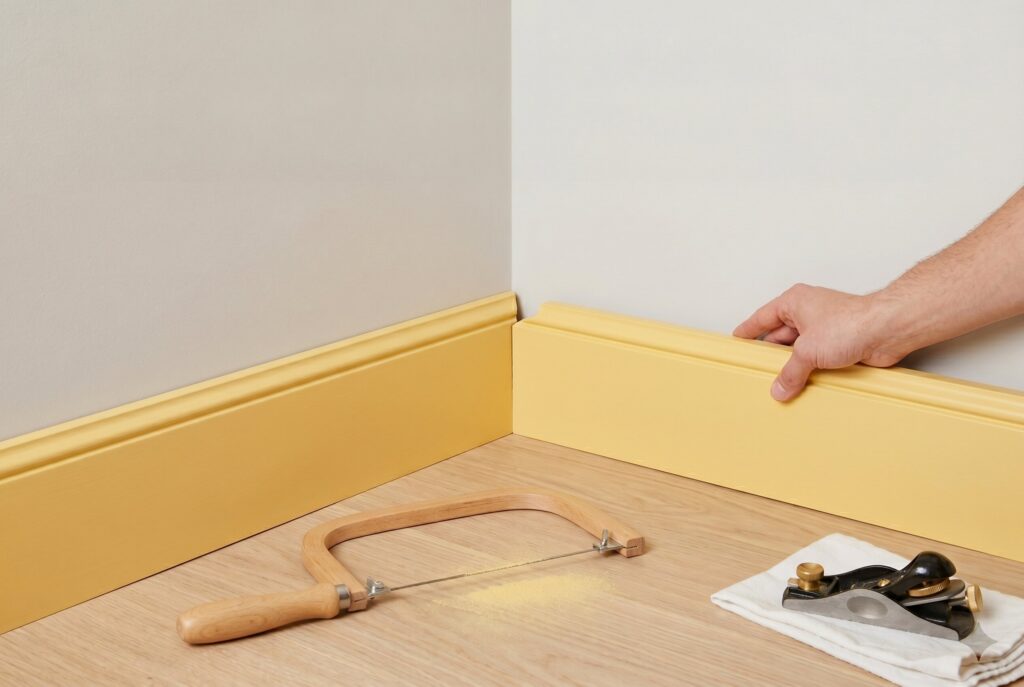
Step-by-Step Guide: Using a Trim Puller Like a Pro
The mechanics of the task are simple but require patience. Preparation should include gathering a baseboard cleaner for later maintenance and ensuring safety gear like gloves is available.
Find the Loose Link: Why Starting at Outside Corners is Effective
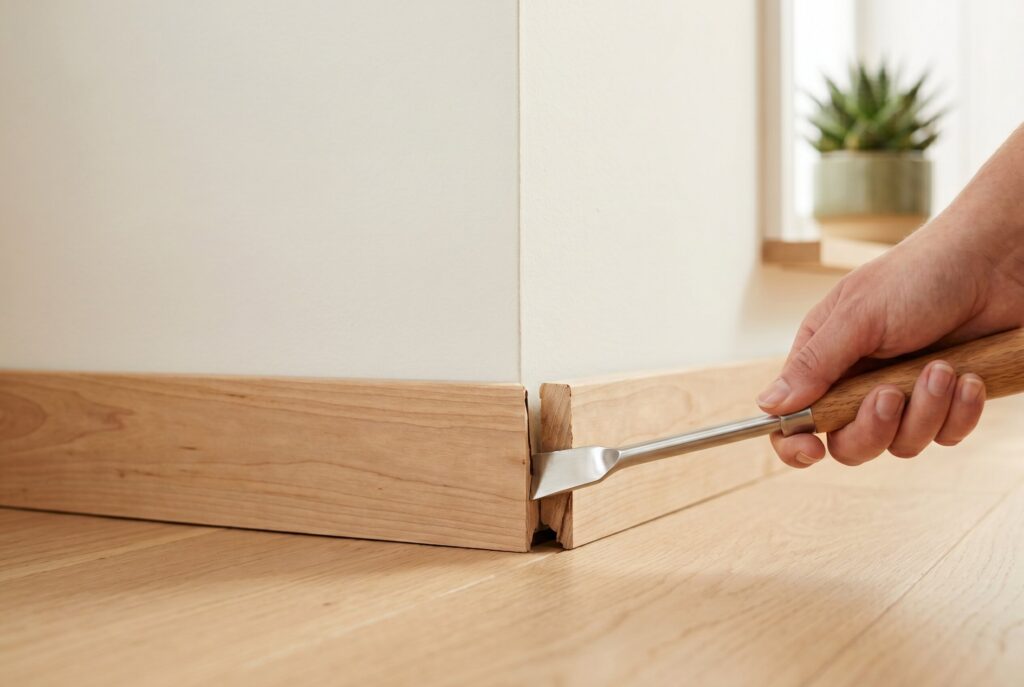
Every run of molding has a natural starting point. Outside corners are typically the loosest and easiest to manipulate, providing a perfect entry point for a baseboard removal tool. Starting in the middle of a wall or at a tight inside corner increases the risk of snapping the wood.
The Numbering System: Preventing the “DIY Jigsaw Puzzle”
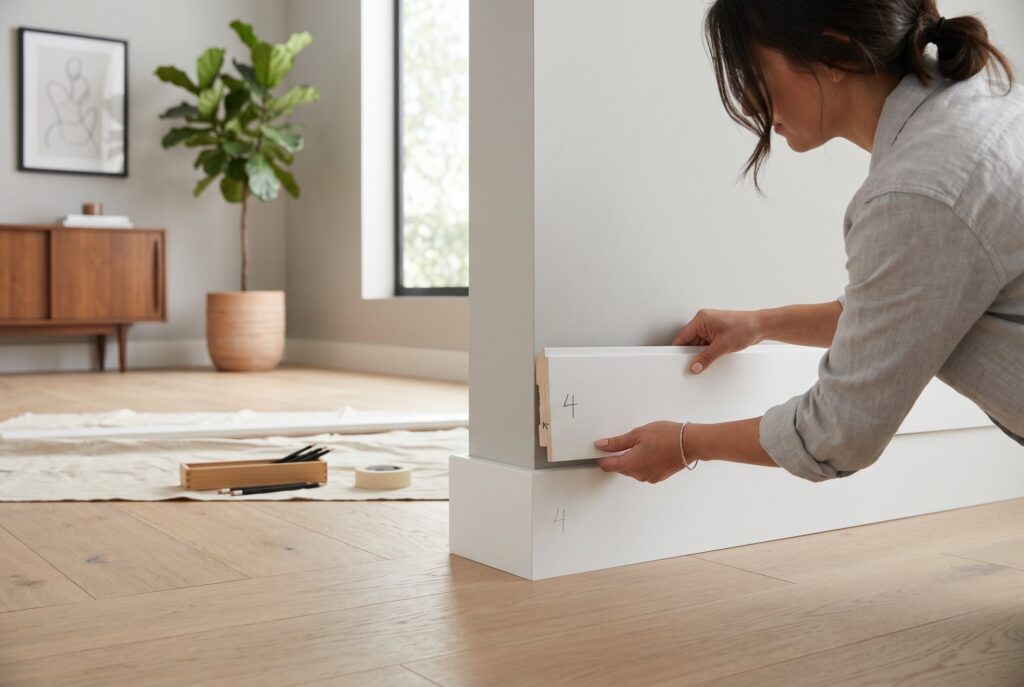
If the plan is to reinstall the boards to save money and reduce waste, organization is essential. Using a pencil to mark the back of the board and a corresponding spot on the wall ensures the pieces go back in the right spot. This “numbering hack” eliminates confusion during reassembly.
Deep Extraction: Pulling Nails Through the Back of the Board
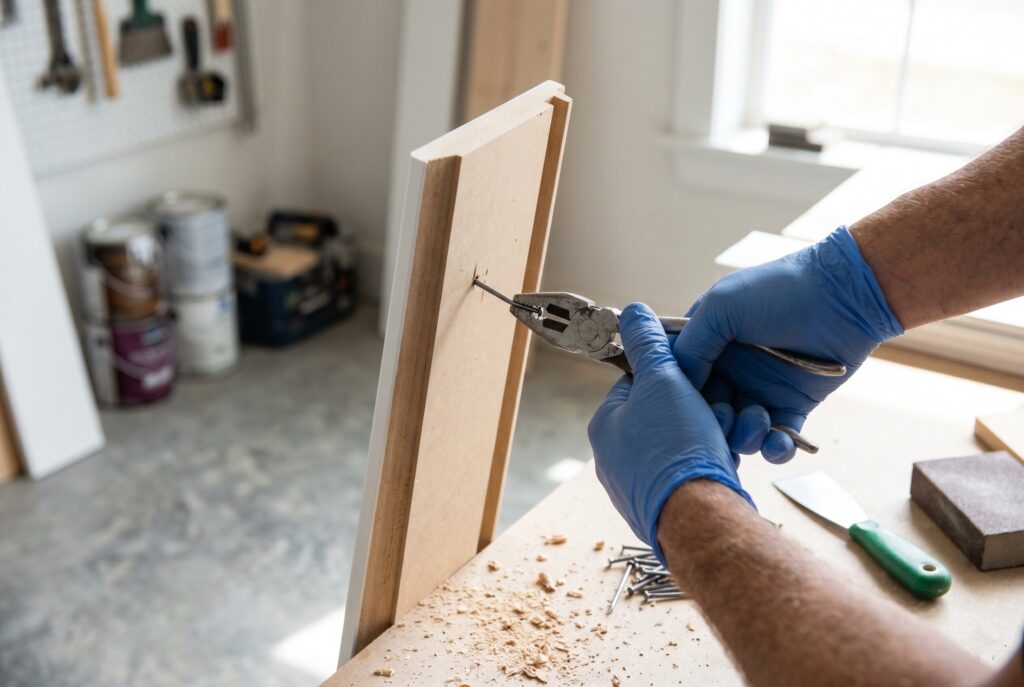
Common mistakes include trying to hammer finishing nails back out through the front of the trim. This action almost always splinters the wood face. Instead, using pliers to pull the nails through the back of the board keeps the finished surface intact. This makes the best way to clean baseboards and repaint them much more efficient.
Mitered vs. Coped Corners: Identifying Your Baseboard Joints
Understanding the construction of a joint reveals the safest way to take it apart.
The Miter Standard: Fast but Flawed for Crooked Walls
A miter joint occurs where two boards meet at a 45-degree angle. While common, baseboard miter joints are notorious for opening up as a house settles or if walls are not perfectly square. When removing these, prying both sides simultaneously is often necessary to avoid breaking the delicate angled tips.
The Coped Method: The Professional Fix for Uneven Corners
In a coped joint, one board is cut square while the other is shaped to fit its profile. This is the professional standard because it hides gaps on uneven walls. Identifying mitered vs coped corners is vital, as the “covering” piece must be removed first to prevent the wood from cracking.
Troubleshooting and Expert Repairs
Old homes often present challenges that standard guides overlook.
- Handling stubborn glue and construction adhesive: Some modern builds use adhesive in addition to nails. If a board refuses to move, a heat gun can soften the glue.
- Damage control: What to do if a Board Snaps: If a board breaks, wood glue and a clamp can often mend the split. Most cracks disappear once the final layer of paint is applied.
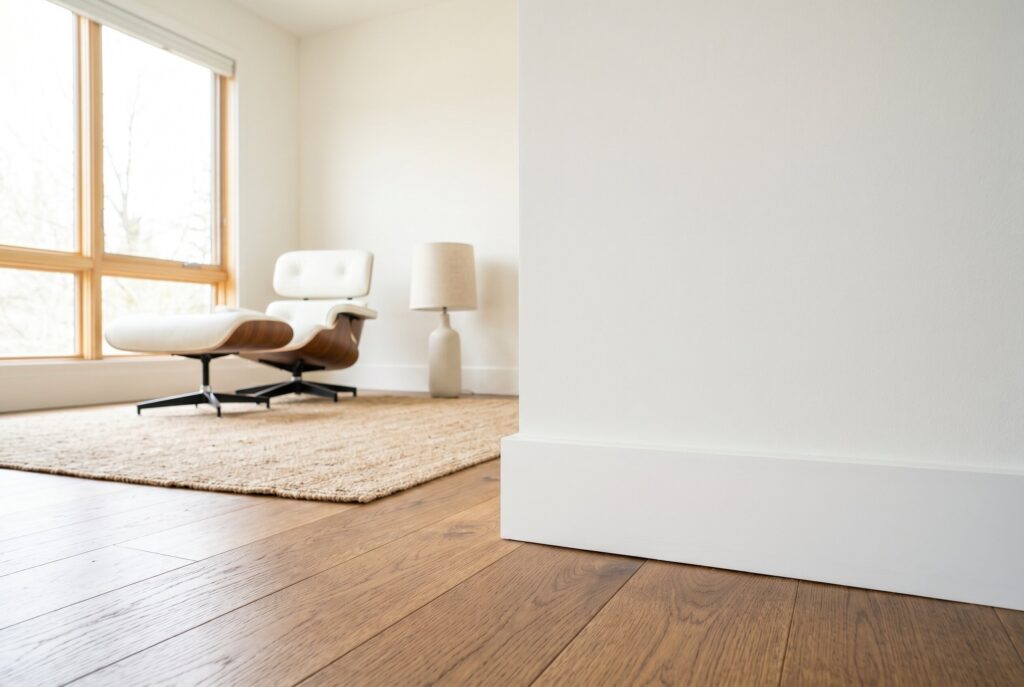
- Current trends (2025–2026): Many homeowners are moving toward taller 5-inch or 7-inch “craftsman” style boards or minimalist flat stock trim.
Conclusion: Taking the Next Step Toward a Perfect Renovation
Success in home renovation is built on preparation and the right equipment. By choosing to remove baseboards without damage, the integrity of the home’s structure is preserved while allowing for high-quality finishing.
Whether the next step involves a thorough session with a baseboard cleaner or the installation of entirely new molding, starting with a clean removal process ensures a professional result. Patience, combined with a reliable trim puller, turns a daunting task into a manageable achievement.

