

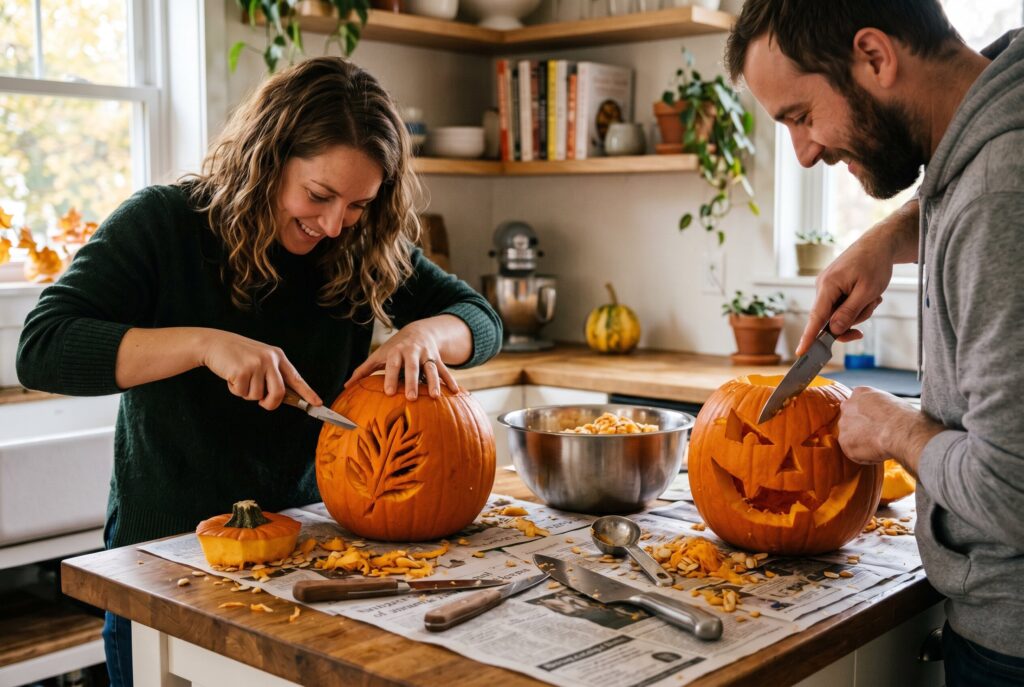
The annual tradition of transforming a seasonal gourd into a glowing masterpiece often begins with a sense of excitement that quickly turns into a logistical struggle. Many households find themselves in a messy kitchen, attempting to use the flimsy plastic saws found in standard grocery store kits. These tools are notorious for snapping mid-cut, leaving jagged edges on the fruit and potentially causing injury due to their lack of control.

However, a shift toward professional-grade techniques, often referred to as “Chef-ification,” is changing the way this holiday craft is approached. By prioritizing high-quality tools and strategic methods, the process becomes safer, cleaner, and significantly more rewarding. This guide explores the most effective pumpkin carving ideas for beginners while highlighting the specific tools and stencils required to achieve expert-level results without the frustration of amateur equipment.
The Tools: Why Your Kitchen Knife is Better Than a Store-Bought Kit
The common misconception is that “safety” kits are the best choice for beginners, but professional carvers and chefs argue the opposite. Plastic tools are often dull, requiring excessive force to pierce the thick skin of a pumpkin. When a tool requires a high amount of pressure, the risk of it slipping and causing a mishap increases significantly. In contrast, a sharp, well-maintained kitchen knife allows for precise, controlled movements that require far less physical effort.
Selecting the right pumpkin carving knife involves matching the blade to the specific task at hand. A heavy chef’s knife might be useful for initial structural cuts, but the majority of the detailed work requires smaller, more nimble blades. Paring knives, for example, are frequently cited as the superior choice because their short blades offer maximum maneuverability when navigating tight curves and intricate patterns.
Serrated knives are also beneficial for sawing through the fibrous walls of larger pumpkins, while thin boning knives provide the flexibility needed for deep, vertical slices. The focus is on using tools that feel like an extension of the hand, rather than a clunky, disposable gadget.
Top 3 Professional-Grade Tools for Perfect Results (Affiliate Focus)
For those looking to elevate their results, certain brands and specific tool types have become the gold standard in the carving community. These recommendations move beyond the kitchen drawer to provide specialized performance for more complex pumpkin carving ideas.
Messermeister 3-Piece Set
This collection is widely recognized by experts as a premier choice for durability and efficiency. Unlike plastic alternatives, these tools are made of stainless steel and are designed to last for years.
The set typically includes a heavy-duty scraper for thinning the interior walls and specialized saws that stay sharp even after multiple seasons of use. This set is particularly recommended for those who want a reliable, professional feel without having to assemble a toolkit piece by piece.
Kuhn Rikon Paring Knives
When hosting a large gathering or a pumpkin carving party, affordability and quantity are just as important as quality. Kuhn Rikon paring knives are often suggested because they are sharp, colorful, and cost-effective.
These knives provide a low intimidation factor for beginners while offering the sharpness necessary for clean cuts. They are especially useful for smaller pumpkins or for guests who may not be comfortable handling larger, more aggressive blades.
Clay Ribbon Loops (Ray Villafane Style)
To achieve the 3D, hyper-realistic looks seen in professional competitions, one must move away from simply cutting holes through the pumpkin.
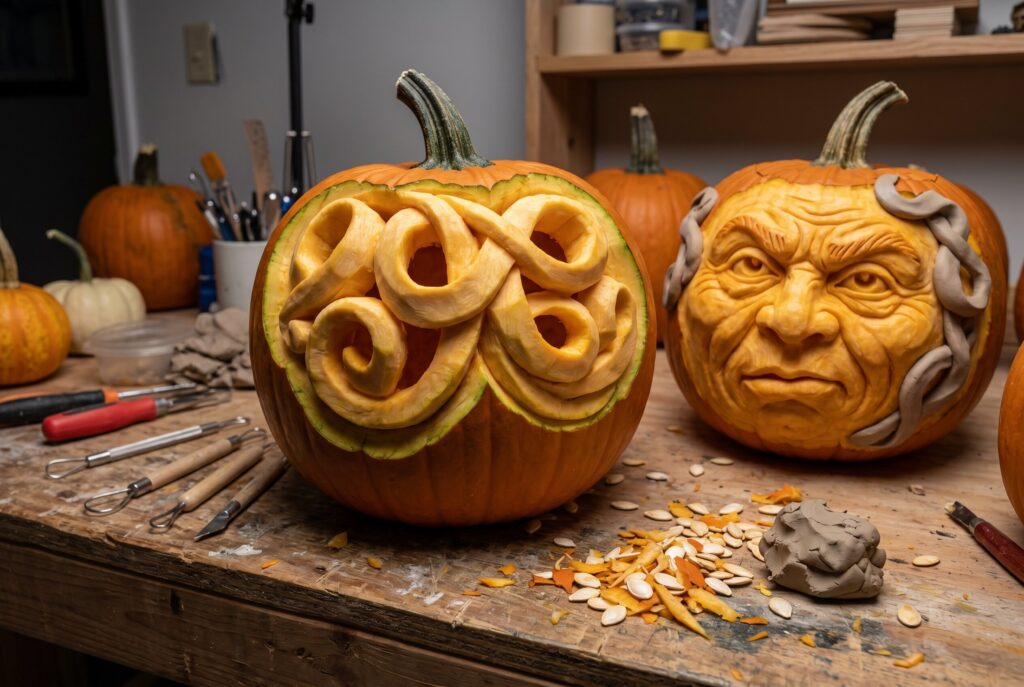
Clay ribbon loops, popularized by expert carver Ray Villafane, allow the user to shave away layers of the pumpkin’s flesh to create varying degrees of depth and shading. This technique, known as 3D sculpting, creates a portrait-like effect where the light from within glows through the thinned skin at different intensities. Using these loops is the primary secret behind complex scary pumpkin carving ideas that look realistic even during the day.
26+ Free Pumpkin Carving Stencils for Every Skill Level
Finding the right design is half the battle. We’ve curated a list of pumpkin ideas categorized by how much time (and patience) you have available
Beginner: Easy & Classic (10 Patterns)
These designs focus on simple geometric shapes and broad lines that are hard to mess up.
- The Classic Jack-o’-Lantern: Traditional triangle eyes and a zigzag grin.
2. The Toothy Grin: A cute, goofy face with two missing teeth.
3. Spooky Bat: A simple silhouette with wide wings.
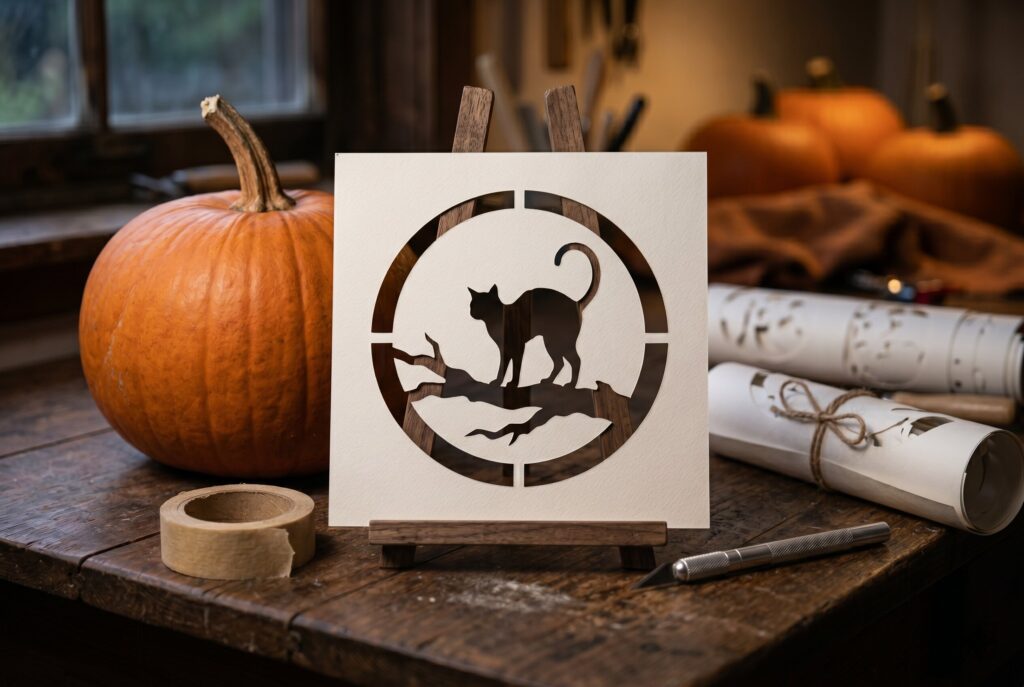
4. Full Moon & Silhouette: A large circle with a simple black cat shadow.
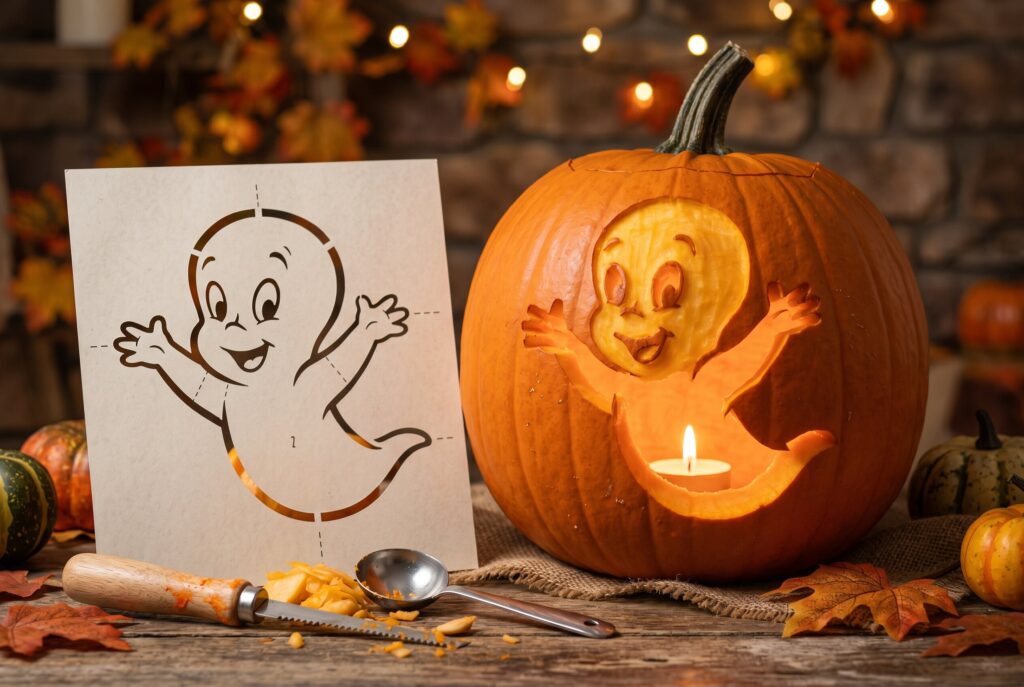
5. Friendly Ghost: Think “Casper” style very beginner-friendly.
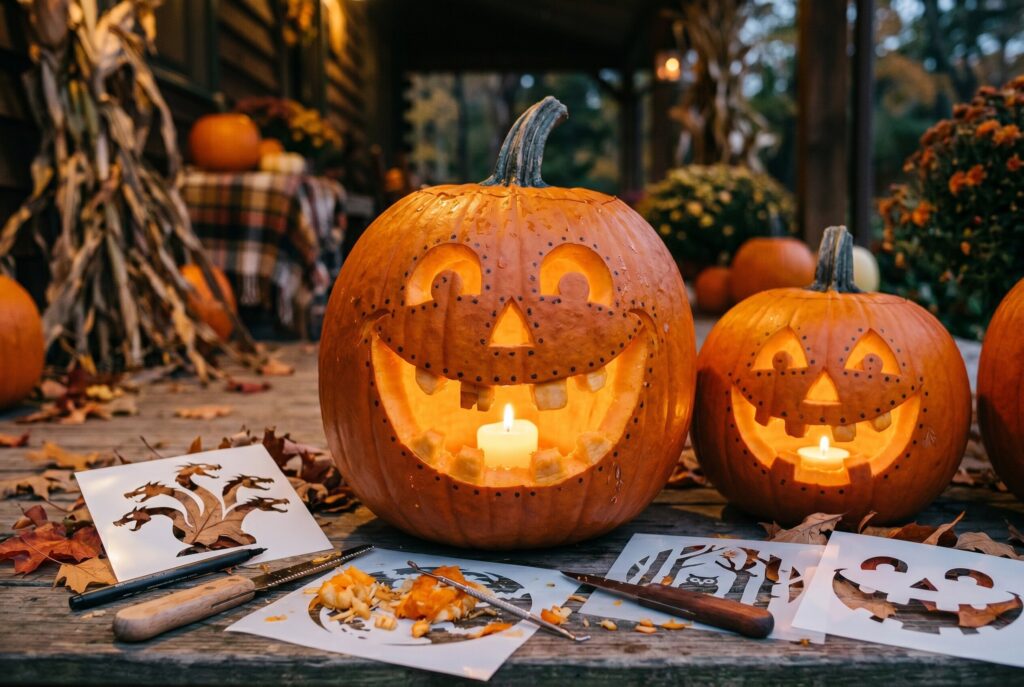
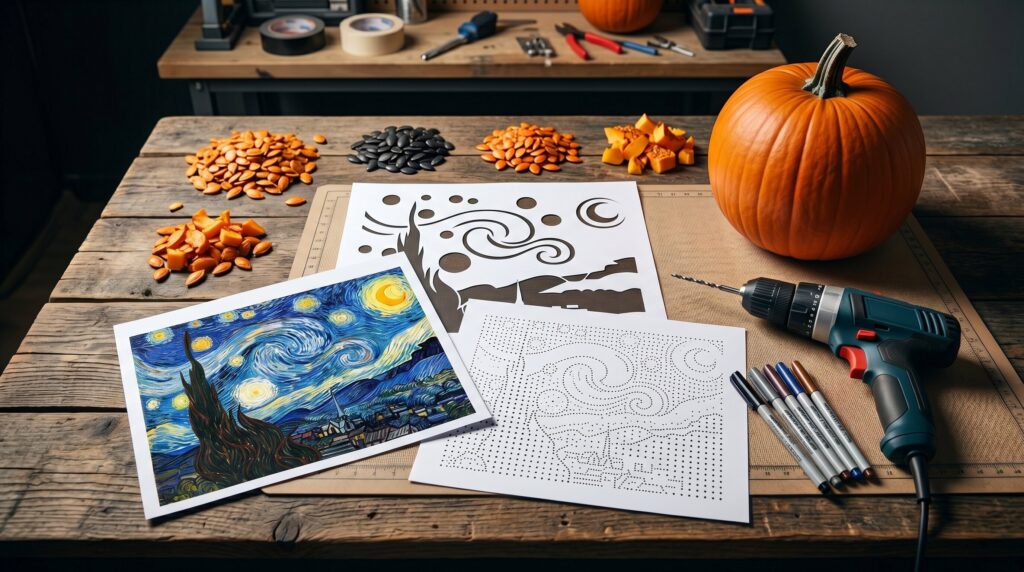
6. Starry Night: Use a power drill to create small, glowing holes.
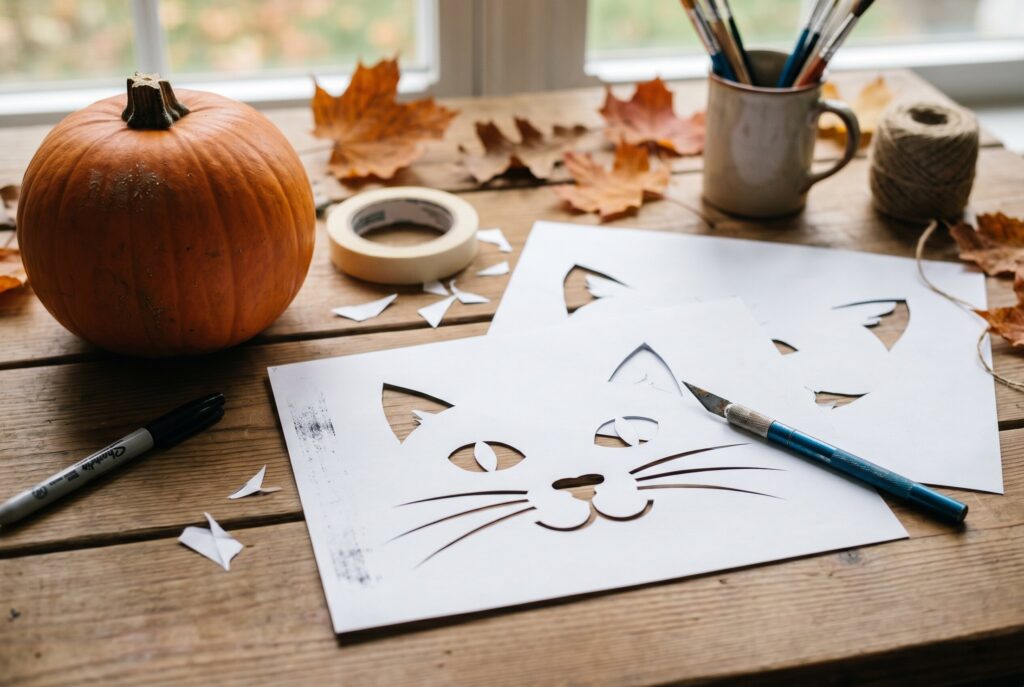
7. Basic Cat Face: Pointy ears and long whiskers.
8. Witch’s Hat: A classic pointed hat silhouette.

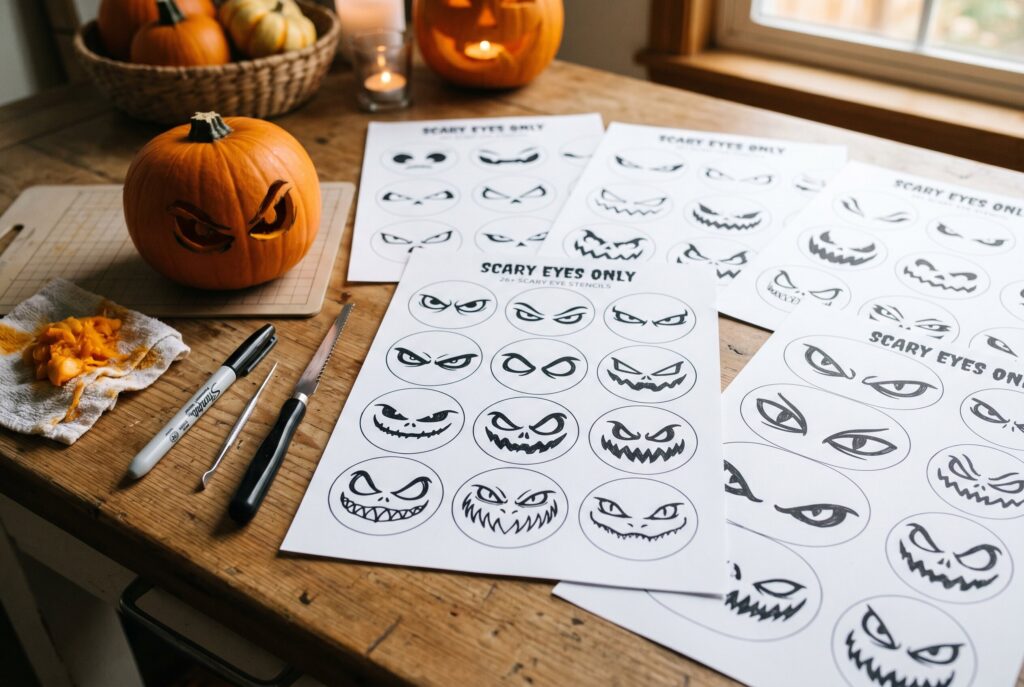
9. Scary Eyes Only: Perfect for small pumpkins where space is limited.
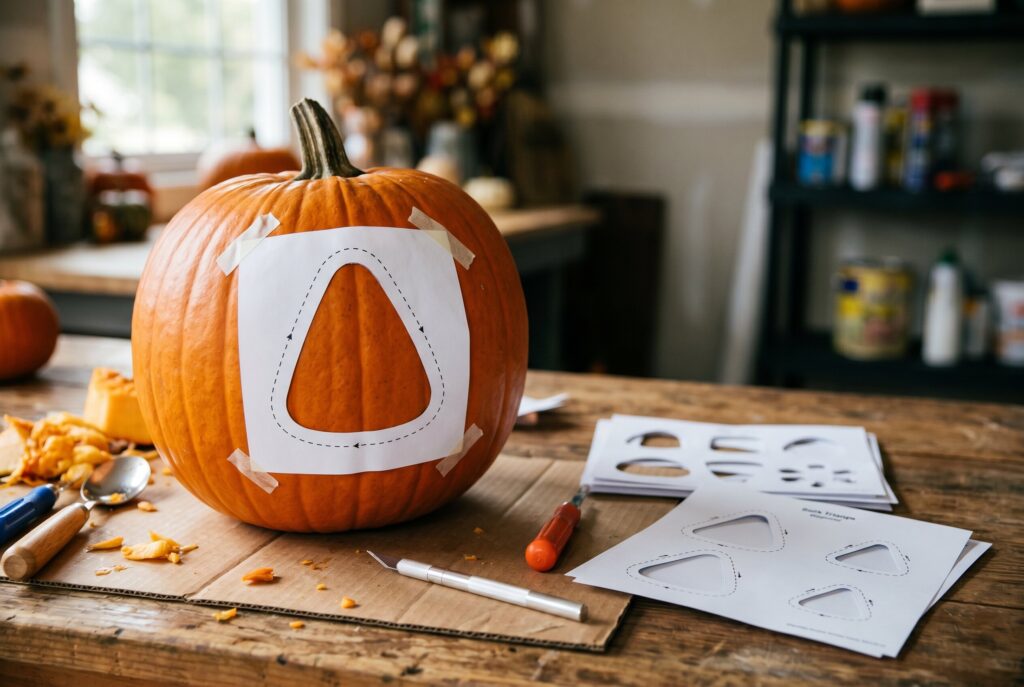
10. Candy Corn Shape: A soft-edged triangle for a “sweet” look.
Intermediate: The Scary & Spooky Collection (8 Patterns)
These require a bit more precision for narrower cuts and sharp angles.
11. Scary Pumpkin Face: Think sharp teeth and slanted, angry eyes.

12. Scream Pumpkin Carving: The iconic “Ghostface” mask from the movies.

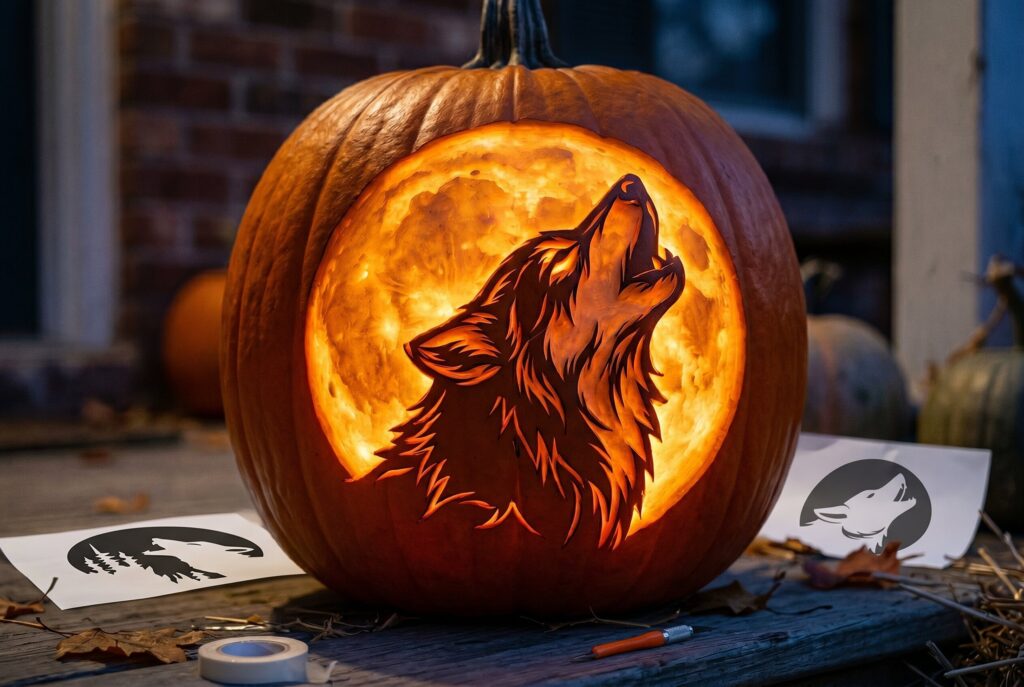
13. Howling Wolf: A silhouette against a “moon” (requires some thin peeling).
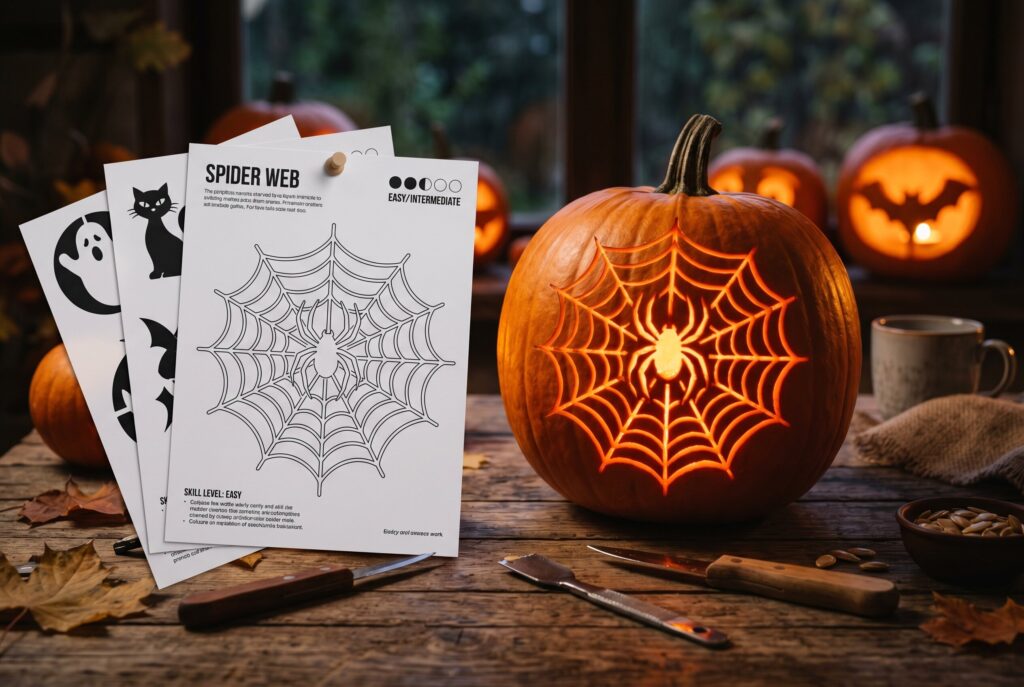
14. Spider Web: Intricate lines that look great when lit up.
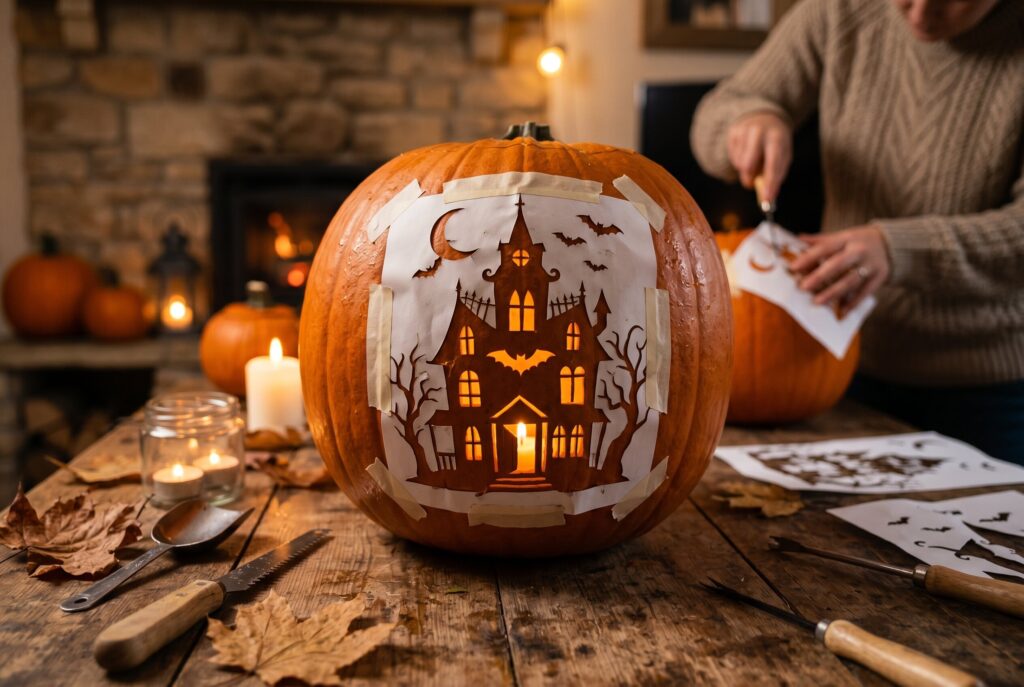
15. Haunted House: A spooky building silhouette with glowing windows.
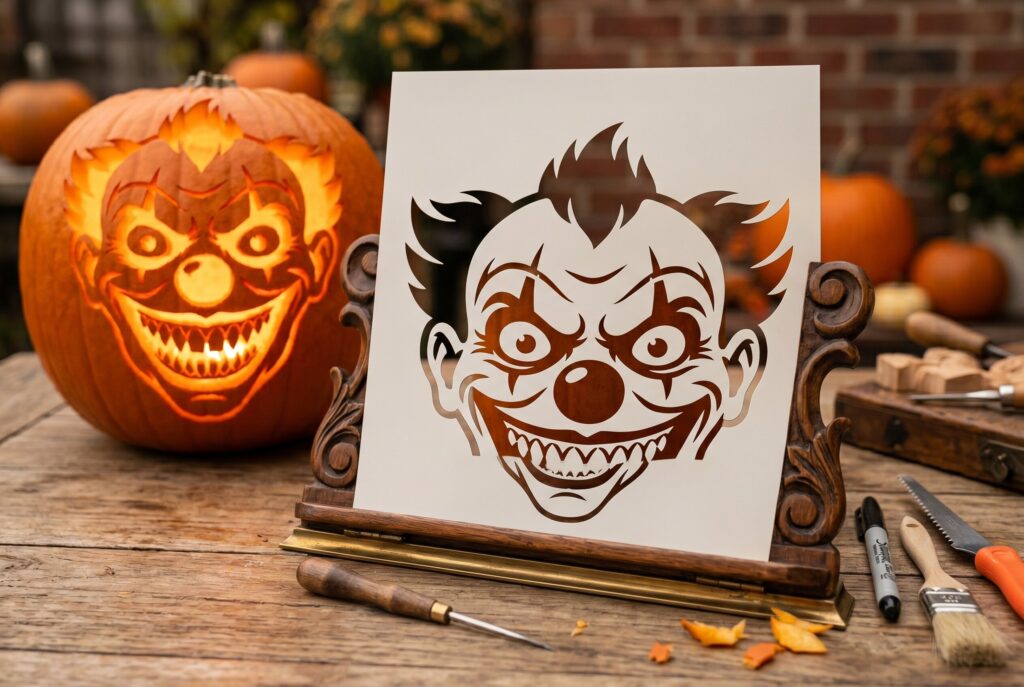
16. Creepy Clown: A wide, unsettling smile and big eyes.
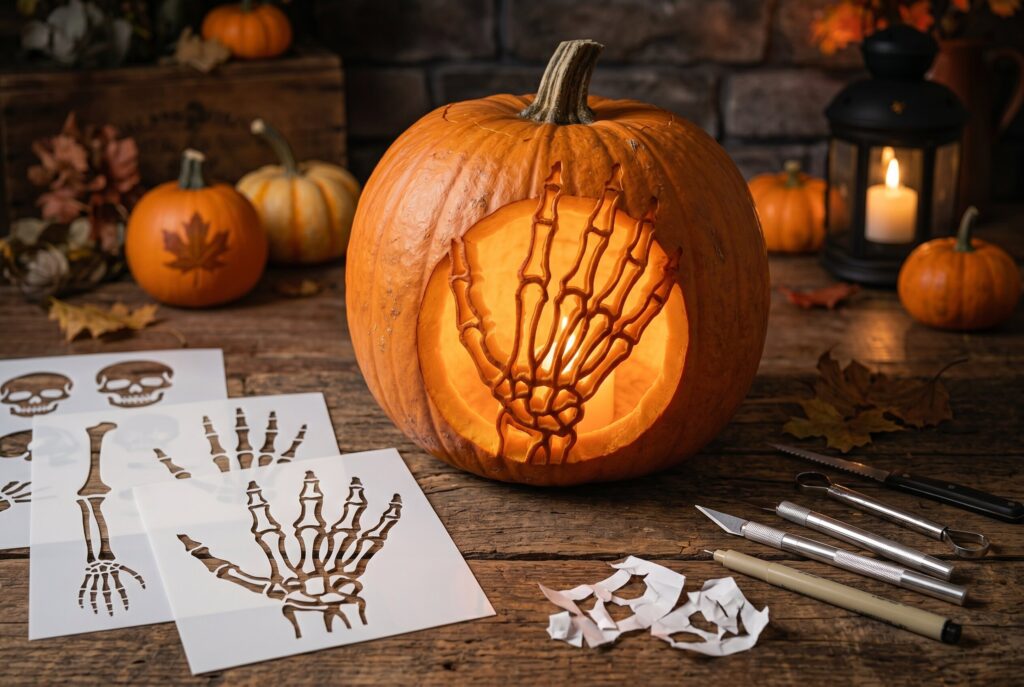
17. Skeleton Hand: Bony fingers reaching up from the base.
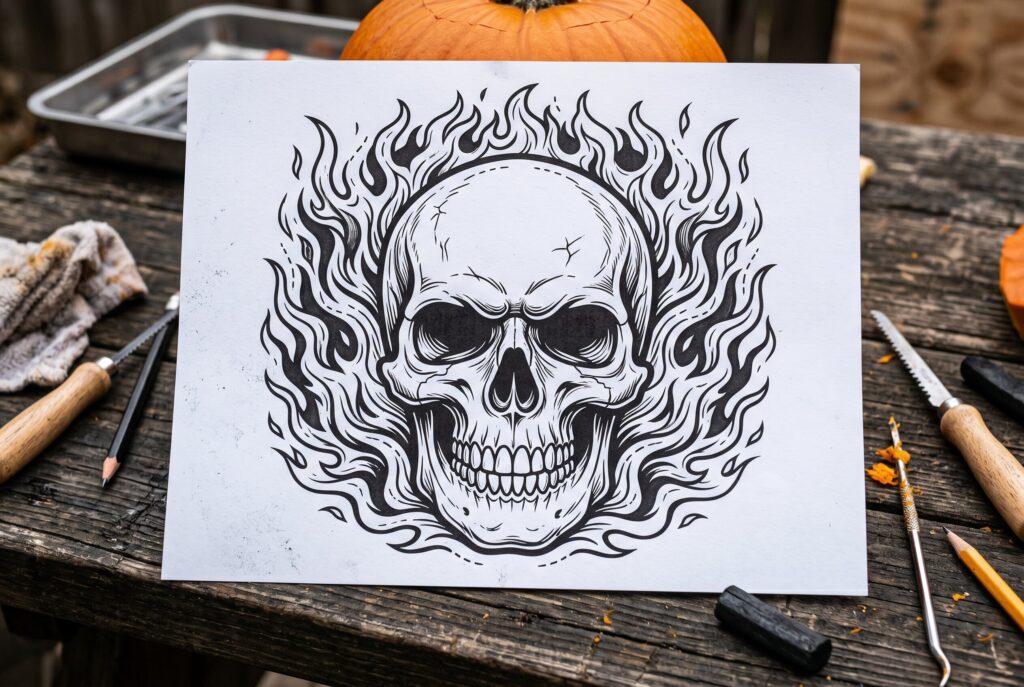
18. Flaming Skull: A classic skull surrounded by carved “flames”.
Advanced & Niche: Pop Culture & 3D Detail (8+ Patterns)
For those who want to treat their pumpkin like fine marble.
19. Anime Pumpkin Carving: Detailed portraits of characters.

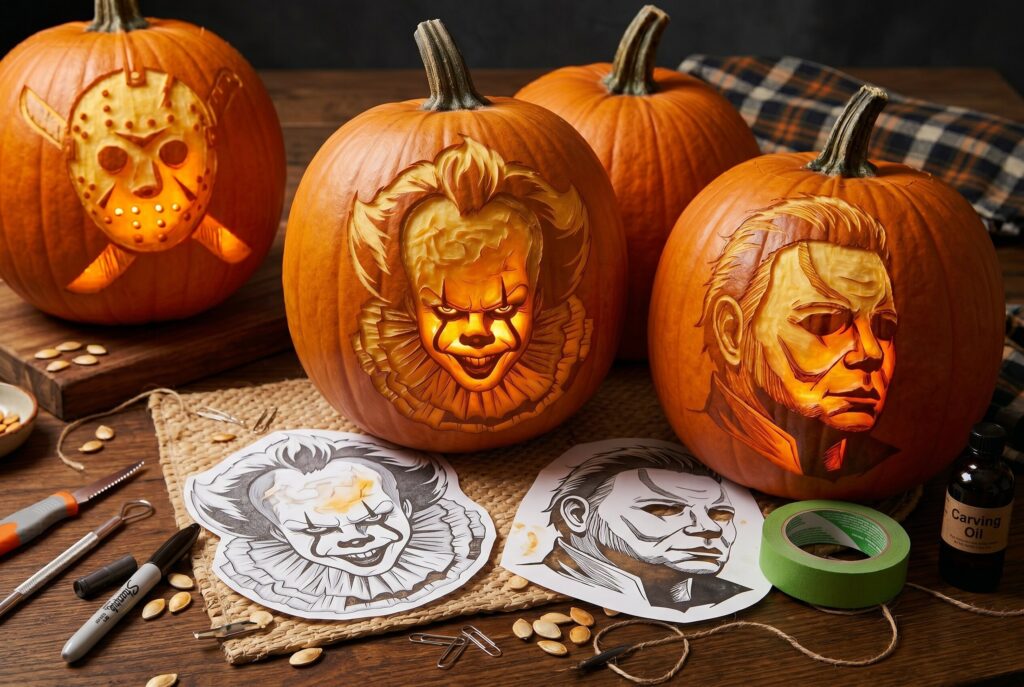
20. Horror Icons: Highly detailed portraits of Michael Myers or Pennywise.
21. Skeleton Pumpkin Carving: A full-body dancing skeleton.

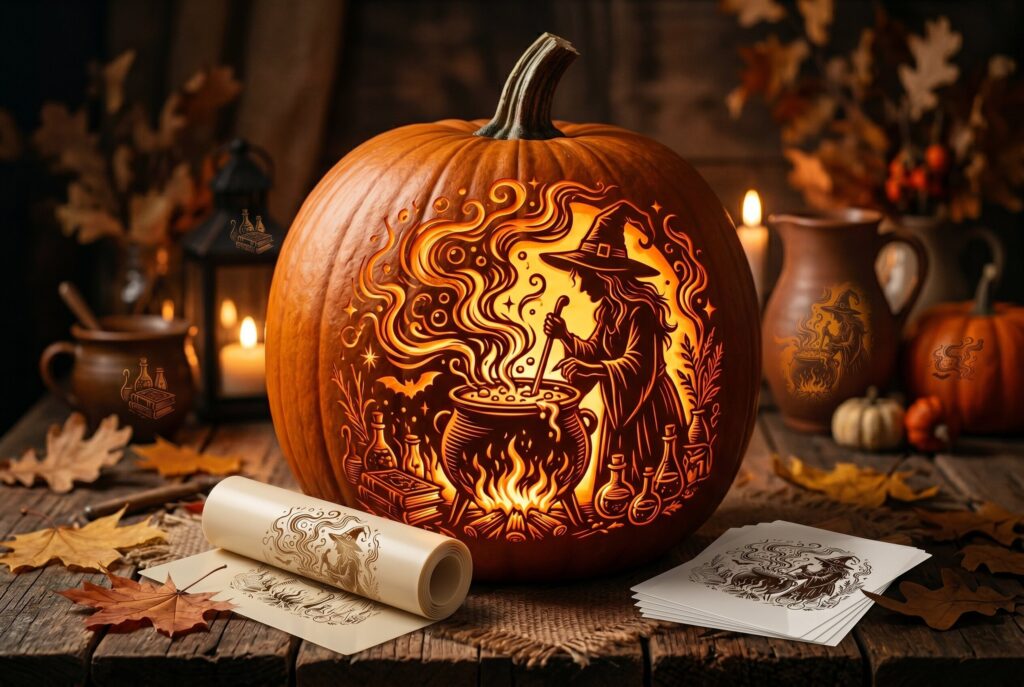
22. Intricate Witch’s Brew: A witch over a cauldron with rising smoke.
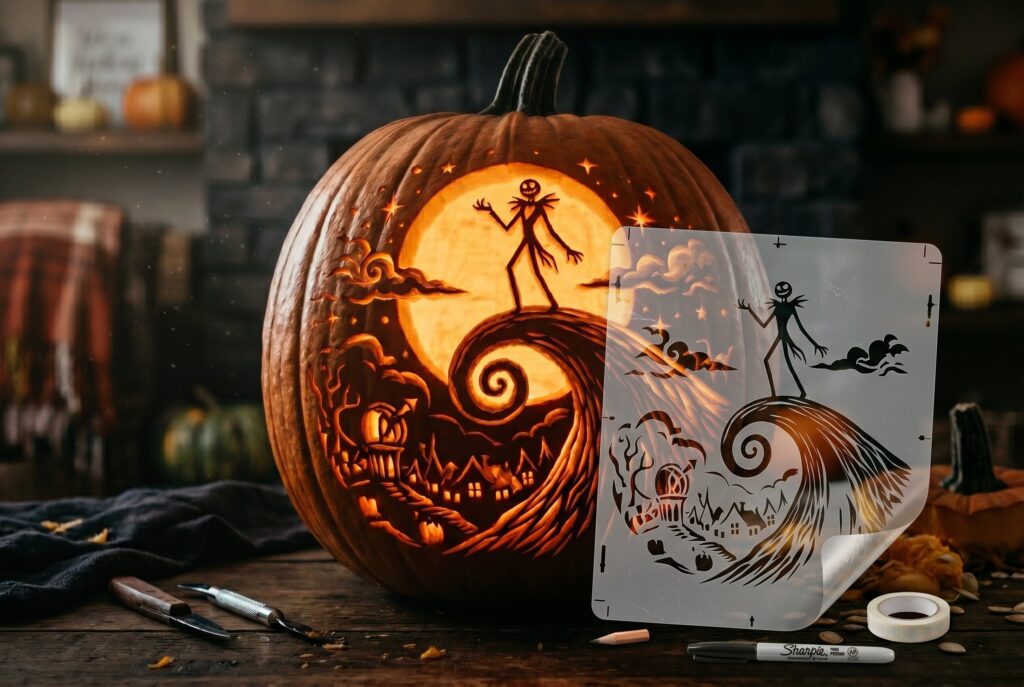
23. The Night Before Christmas: Jack Skellington on the iconic spiral hill.
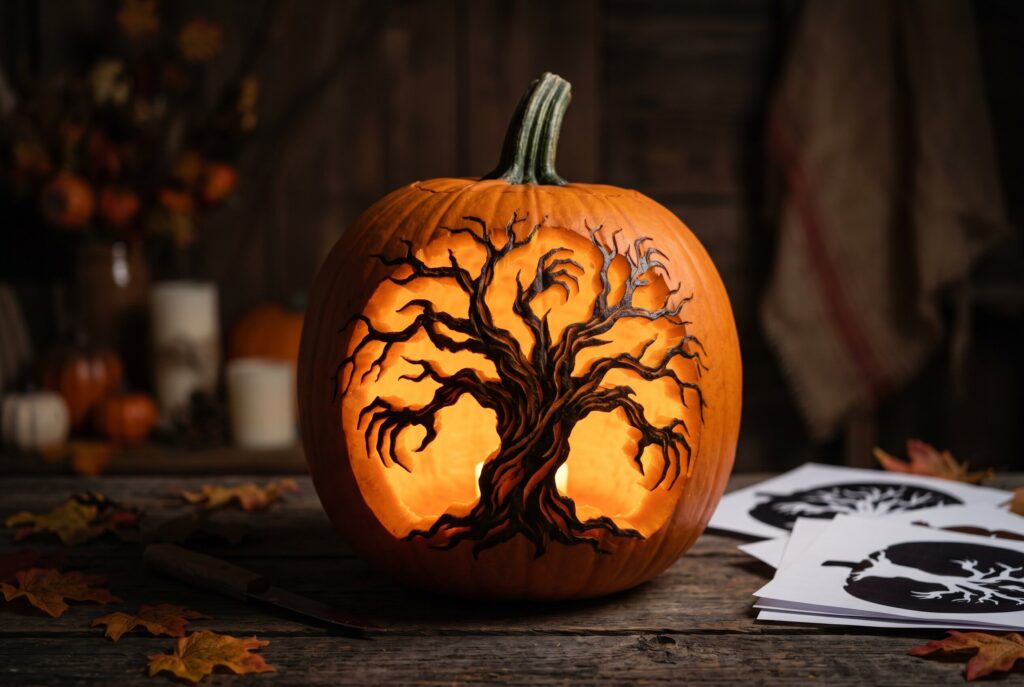
24. Cursed Tree: Gnarled branches that look like reaching fingers.
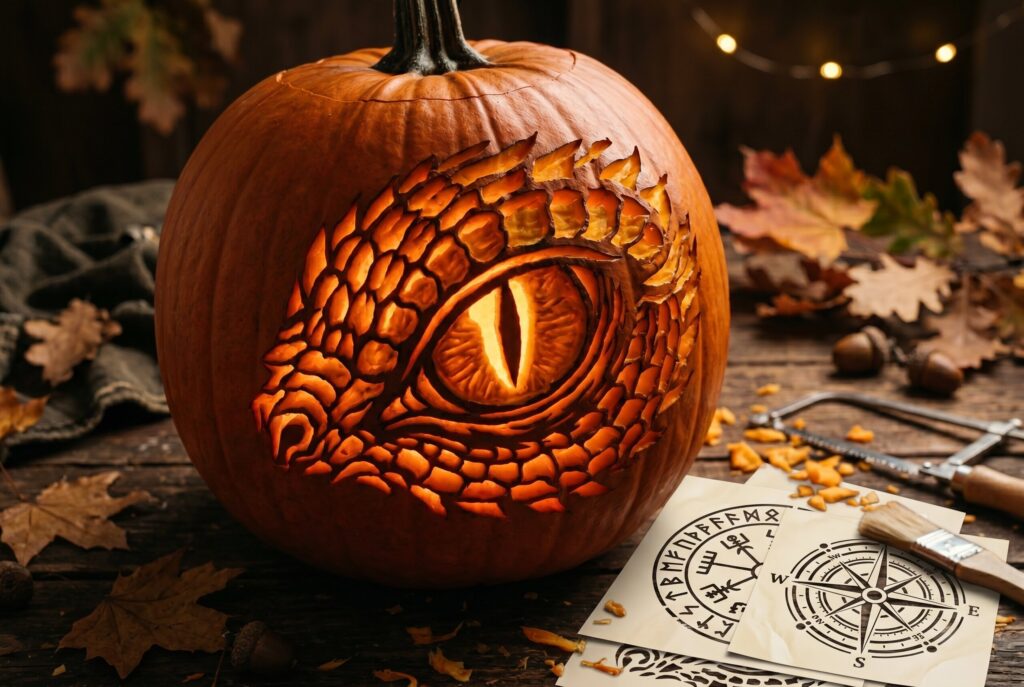
25. Dragon’s Eye: Focuses on scaly textures and a slit pupil.
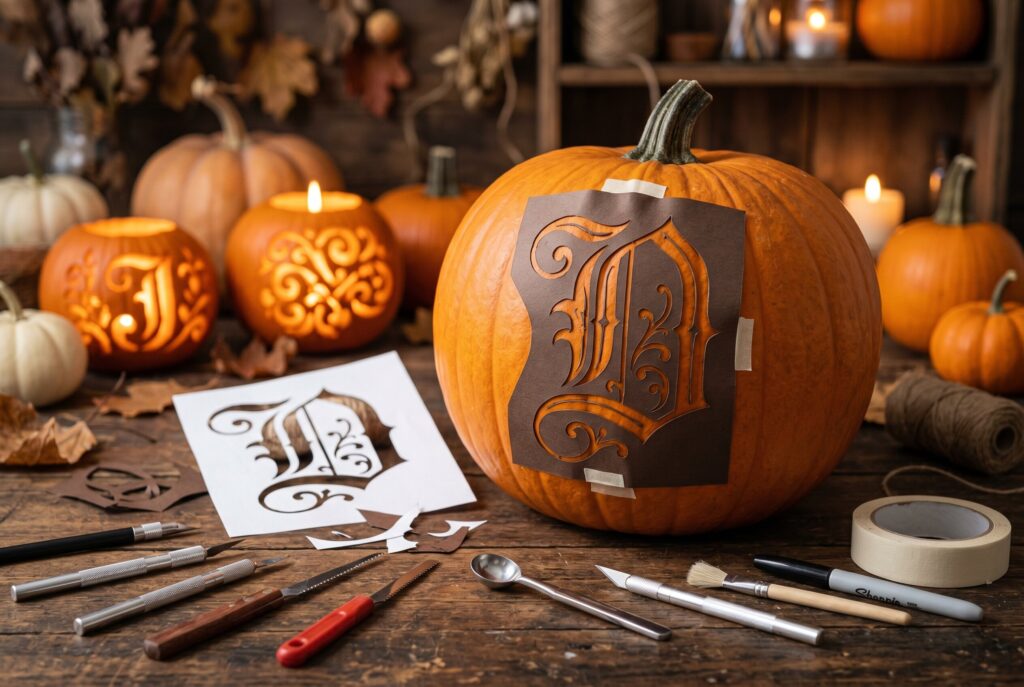
26. Custom Monogram: Family initials in a stylish Gothic font.
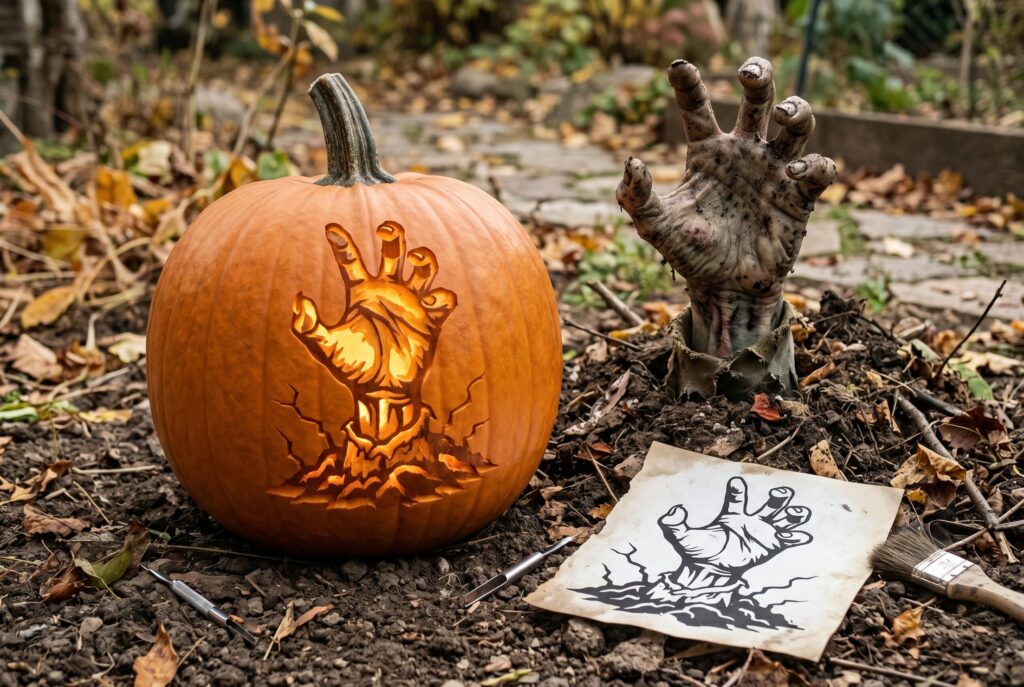
27. Zombie Hand: A hyper-realistic hand bursting from the ground.
Step-by-Step Implementation Guide for Beginners
Following a logical, structured process is the best way to ensure a safe and successful outcome. By adopting “insider” hacks used by professionals, common pitfalls like sliding pumpkins or messy stencils can be completely avoided.
Step 1: Cut the Hole in the Bottom
A counter-intuitive but highly effective tip is to cut the access hole at the bottom of the pumpkin rather than around the stem.
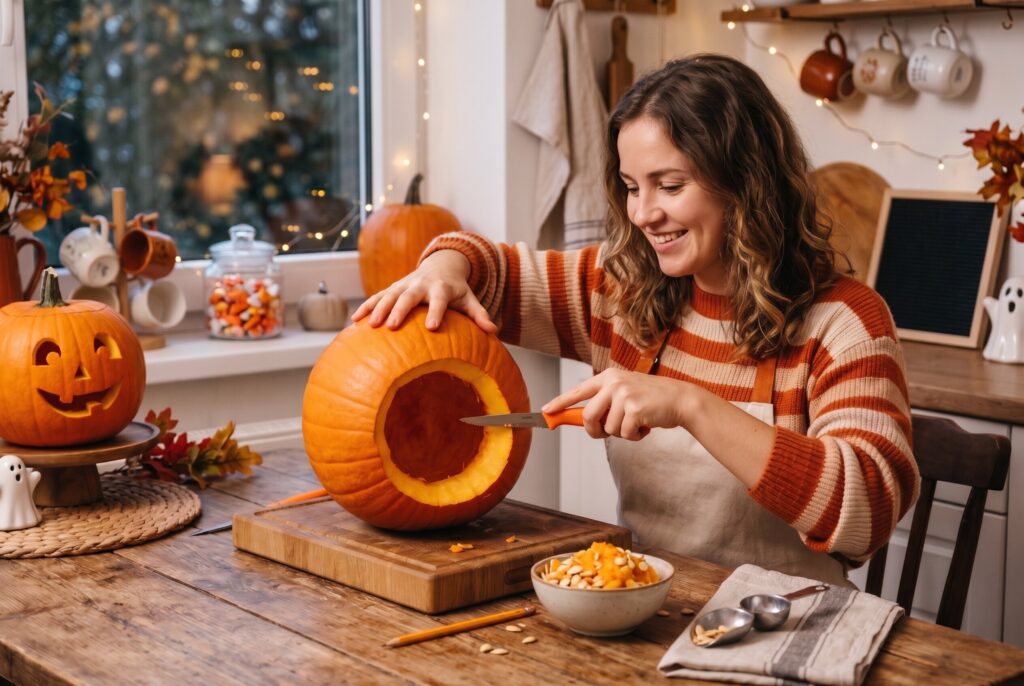
This technique provides two major benefits: first, it keeps the moisture in the stem longer, which prevents the pumpkin from shriveling as quickly. Second, it makes the lighting process much easier, as the carved shell can simply be placed over a candle or LED light sitting on a flat surface.
Step 2: The Damp Towel Trick
Stability is the most important safety factor when using the best knives for pumpkin carving.
Placing the pumpkin on a damp kitchen towel creates a non-slip base that prevents the gourd from rolling or sliding while pressure is applied with the knife. This simple, zero-cost hack is one of the most effective ways to prevent hand injuries.
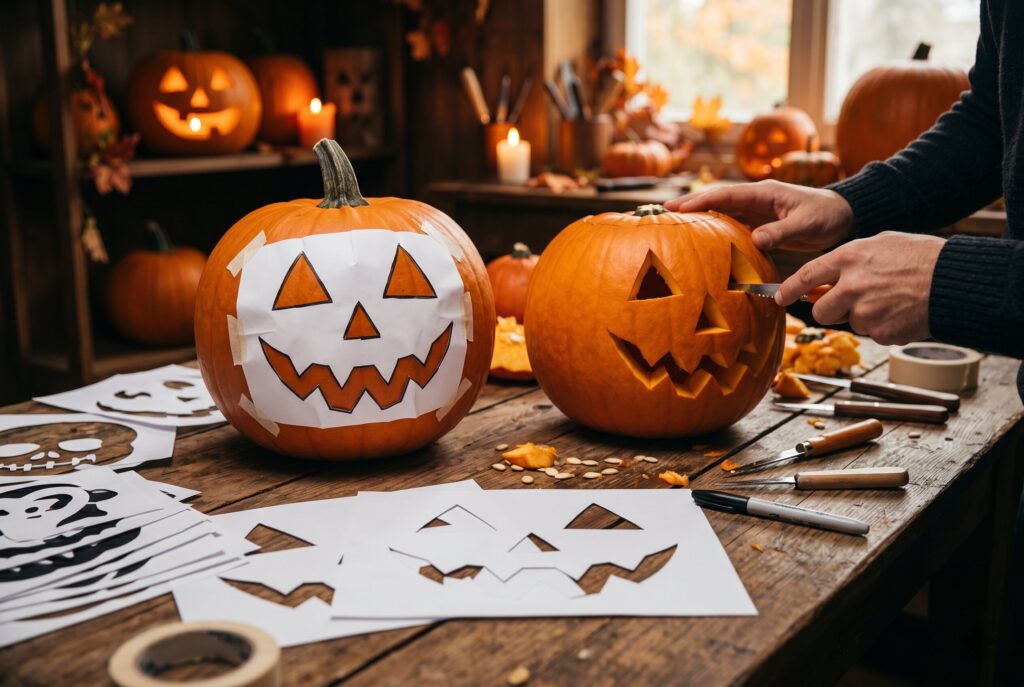
Step 3: Use a Washable Marker
Transferring a stencil can be the most frustrating part of the process, especially when paper templates get wet or tear. A professional “secret” is to use a washable marker to draw the design directly onto the skin.
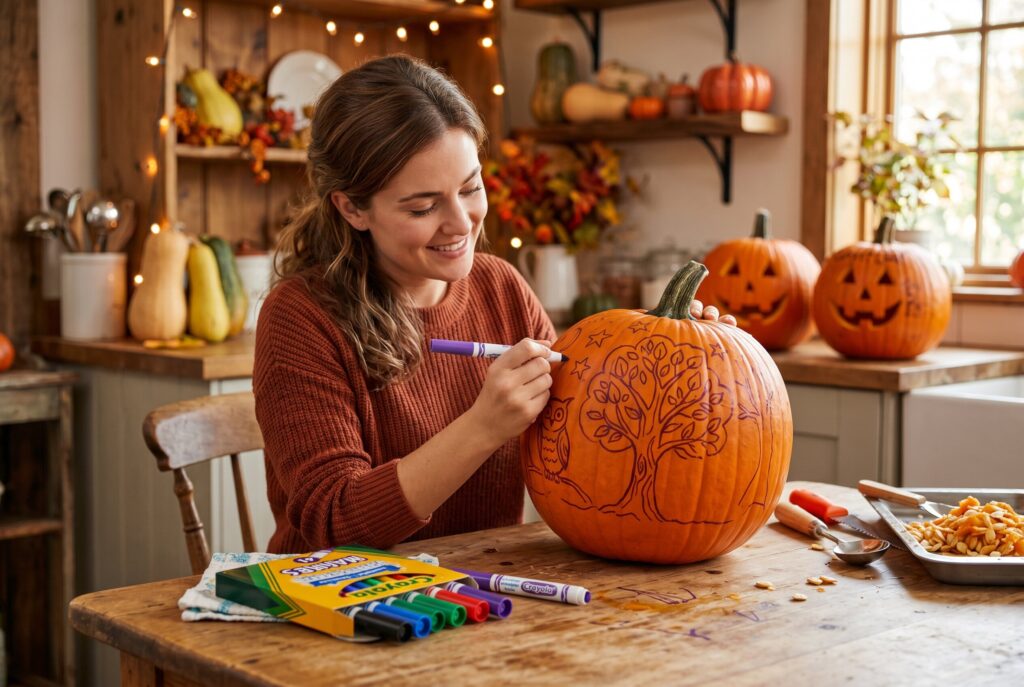
This allows for easy adjustments: if a line is drawn incorrectly, it can be wiped away with a damp cloth and redrawn. This method ensures that the final product exactly matches the intended easy pumpkin carving design without the clutter of pinned paper.
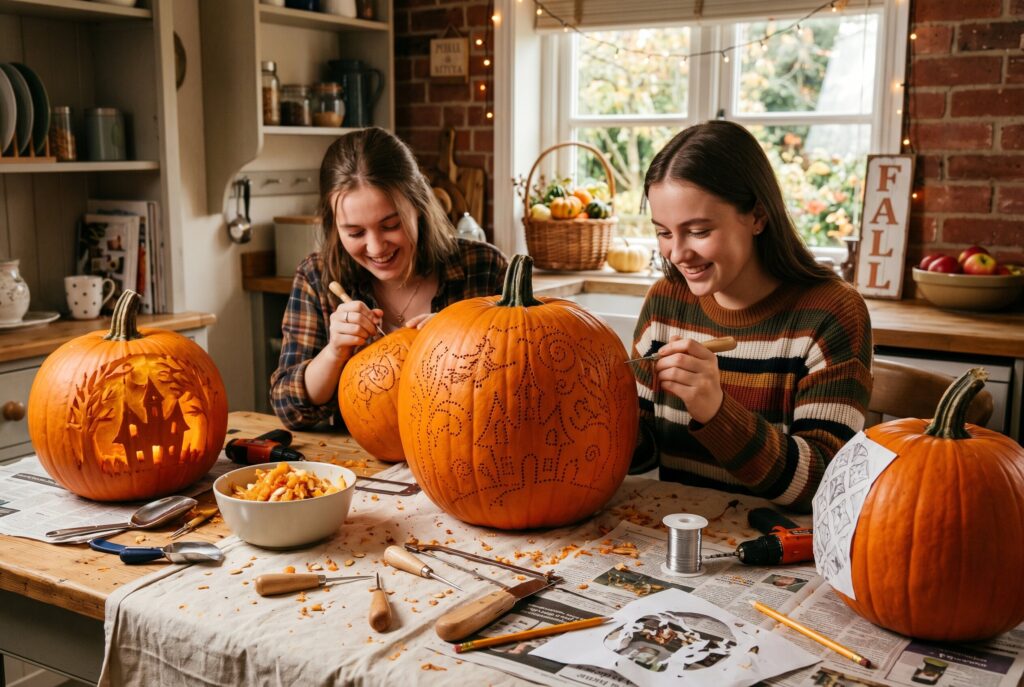
Step 4: The “Pierce and Connect” Technique
Instead of using an aggressive sawing motion, beginners should utilize the “pierce and connect” method. This involves using a small paring knife or a specialized poker to create a series of small holes along the lines of the design. Once the path is marked, the carver then goes back to connect these points with controlled, vertical cuts. This technique results in much smoother edges and allows for much more intricate detail than traditional hacking.
Post-Carving: Preservation and No-Waste Tips
Once the work is complete, the focus shifts to extending the life of the creation and minimizing environmental impact.
Preservation Methods
The primary enemy of a carved pumpkin is dehydration and mold. To slow down this process, applying a thin layer of petroleum jelly to the cut edges acts as a sealant, keeping the moisture inside the flesh.
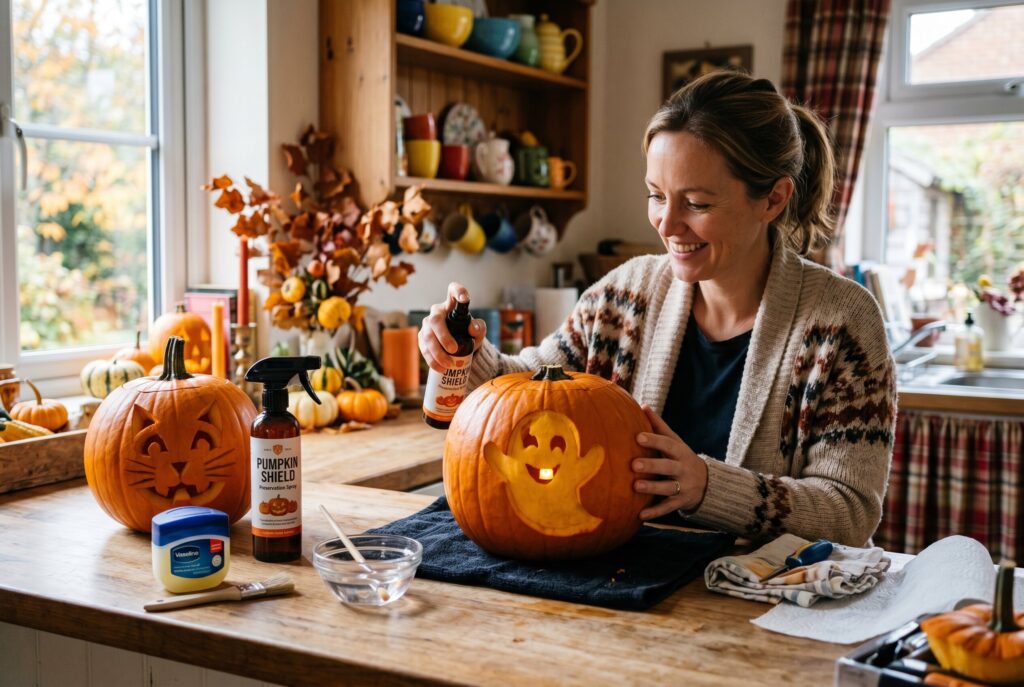
For those in warmer climates, a quick spray of a mild bleach solution can help kill the bacteria that cause rot. These steps are essential for ensuring that pumpkin carving ideas remain vibrant for more than just a single night.
No-Waste Trends
The modern move toward sustainable celebrations encourages carvers to utilize every part of the pumpkin. The seeds, once cleaned and dried, can be roasted with salt or spices for a classic seasonal snack. The internal flesh or “guts” can sometimes be used in cooking, though for carving pumpkins, they are often best repurposed as compost. This “no-waste” approach aligns with the growing trend of eco-conscious holiday decorating.
Work Smarter, Not Harder: The Essentials of Professional Pumpkin Carving
A successful Halloween display is less about natural artistic talent and more about the quality of the tools and the preparation of the workspace. By moving away from disposable kits and embracing professional techniques like the bottom-cut and the damp towel trick, any beginner can create a jack-o’-lantern that is both safe to make and impressive to behold. Sharing the final results on social media with community hashtags can help inspire others to take their own easy pumpkin carving to the next level.
Related Articles
The Ultimate Pumpkin Carving Ideas Guide: 31 Scary Faces and Free Stencils

