

Learning how to build a privacy fence can save you a serious amount of money, but a good-looking result doesn’t happen by accident. A DIY privacy fence has to do more than stand upright. It needs to feel sturdy, look clean, and hold up through weather, daily use, and changing seasons. That’s why the best approach isn’t just about copying a photo. It’s about planning the build correctly from the start, choosing materials that fit your yard, and understanding where full privacy fence installation makes sense versus where a smaller patio solution will do the job just as well.
This guide covers both full-yard fencing and more compact screening projects, so whether you need a complete perimeter build or a simple privacy wall for patio use, you’ll have a clear and realistic path forward.
Planning Your DIY Setup: The Before You Dig Checklist
Before you buy lumber, dig post holes, or sketch out DIY fence ideas, handle the technical basics first. This is the phase many homeowners skip, and it’s usually where expensive mistakes begin.
Start by checking local permit rules and HOA restrictions. Some neighborhoods regulate fence height, placement, color, and even whether certain materials are allowed. If your privacy fence installation crosses a setback line or exceeds the approved height, you may have to redo part of the project later.
Next, confirm your property boundaries. Never assume an old fence line is accurate. A small measurement mistake can create a major dispute with a neighbor. It’s also smart to call before digging so utility lines are marked properly.
Wind load matters too, especially if you’re building a tall solid fence. A fully enclosed fence catches much more pressure than an open design. That affects post depth, post spacing, and rail strength. If you live in a windy area, don’t treat the layout like a decorative project. It’s a structural one.
You should also ground your plan in real privacy fence cost. A full DIY privacy fence is cheaper than hiring a contractor, but lumber, concrete, fasteners, stain, tools, and gate hardware still add up quickly. A smaller patio screen may cost a few hundred dollars, while a full perimeter fence can cost much more depending on yard size and materials.
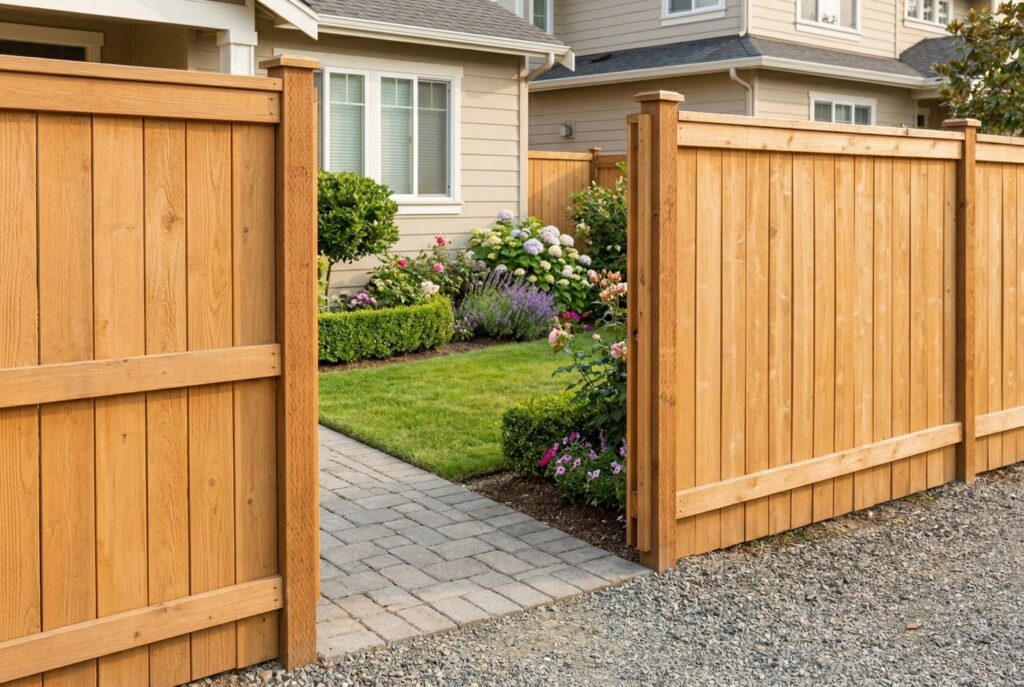
Step by Step Guide: Building a Full Wood Privacy Fence
A full wood fence gives you the most complete visual barrier and usually delivers the classic look homeowners expect. If you want strength, flexibility, and custom design options, wood privacy fence panels are still one of the most practical choices.
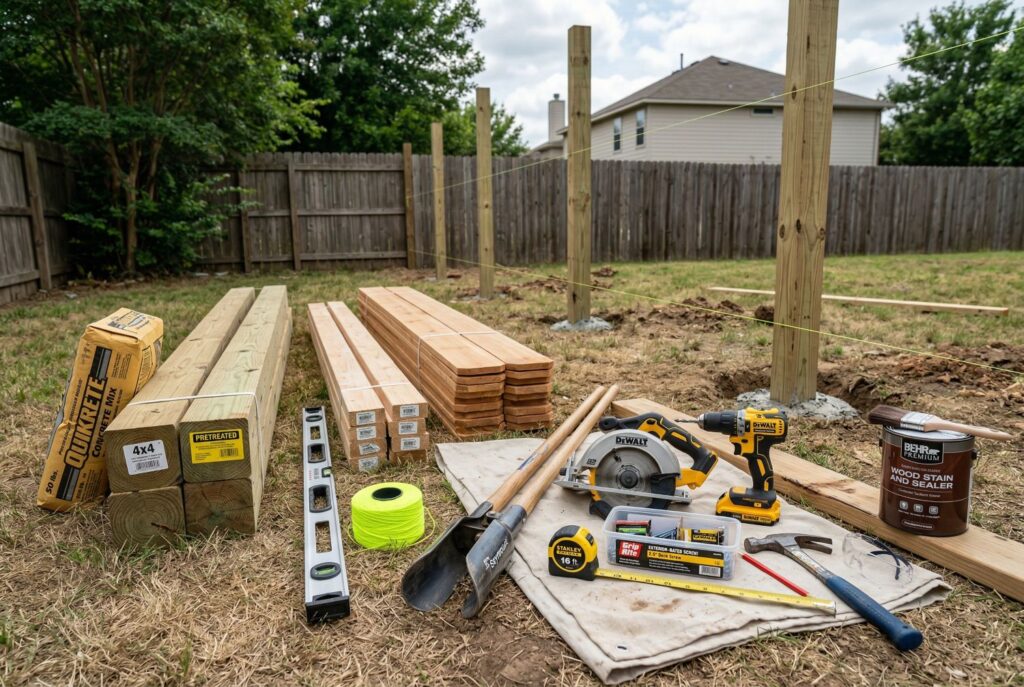
For a basic build, you’ll usually need pressure-treated posts, horizontal rails, pickets or panels, concrete mix, screws or nails rated for outdoor use, a level, string line, post hole digger, circular saw, drill, measuring tape, and stain or sealer.
Digging Holes and Setting the Posts
Post installation is the part that decides whether your fence looks professional or sloppy. Mark your layout carefully with stakes and string before digging. This string line helps keep the fence straight and gives you a visual reference as you work.
Your post holes should go below the frost line in colder regions so the fence doesn’t shift as the ground freezes and thaws. In many yards, posts are spaced about 6 to 8 feet apart, but the right distance depends on your panel weight, wind exposure, and design.
Once the posts are in the holes, check them for plumb from multiple angles and brace them before pouring concrete. Let the concrete cure fully before moving on. Rushing this step is one of the fastest ways to ruin an otherwise good DIY privacy fence.
Installing Horizontal Framing

After the posts are set, install the horizontal rails. These rails give the structure its strength and create the base for attaching boards or prebuilt sections. A typical fence uses two or three rails depending on height and design.
This stage may seem simple, but it’s what keeps the fence from feeling loose or uneven. Measure each section carefully and make sure the framing stays level across the run. If your yard slopes, you’ll need to decide between stepping the fence in sections or following the grade more closely.
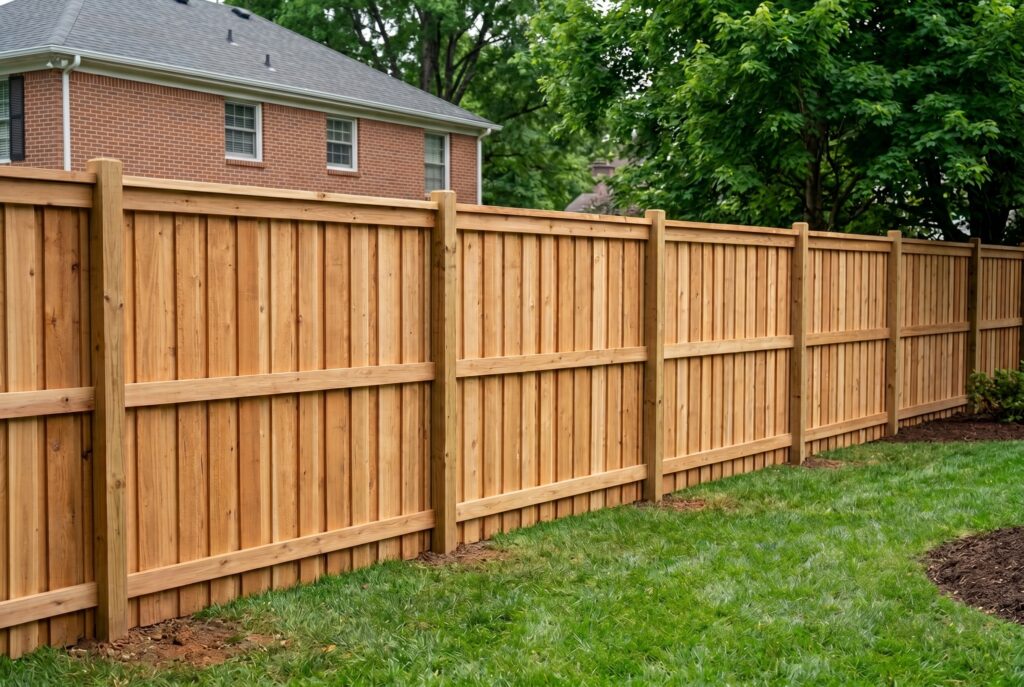
Attaching the Wood Panels
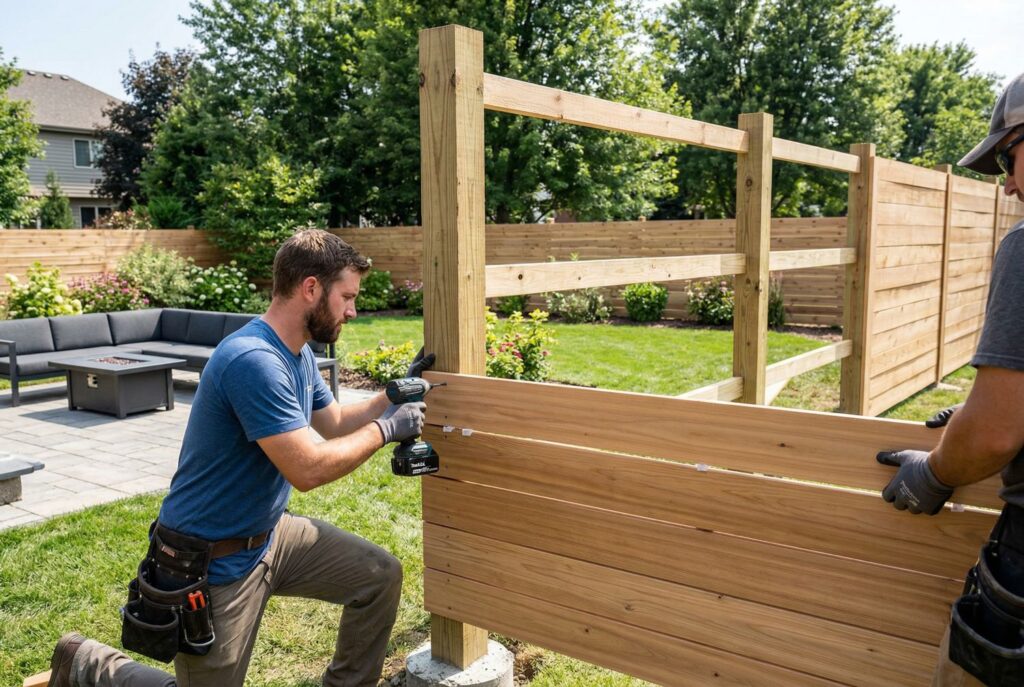
Now you’re ready to install the visible surface. Some homeowners prefer individual boards, while others choose preassembled wood privacy fence panels for faster installation. Both can work well.
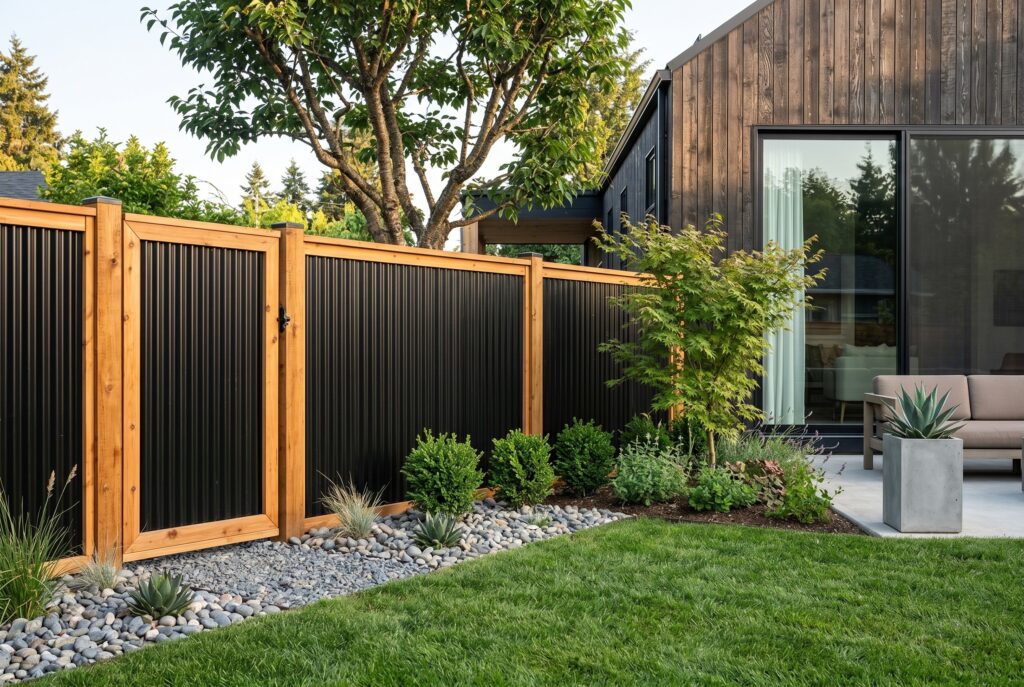
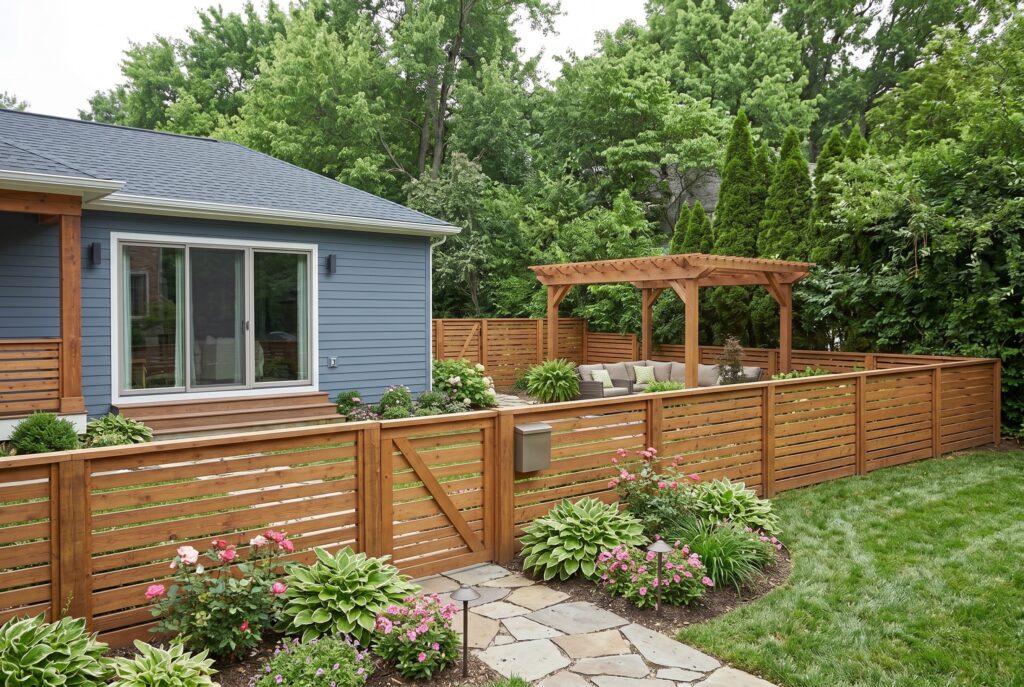
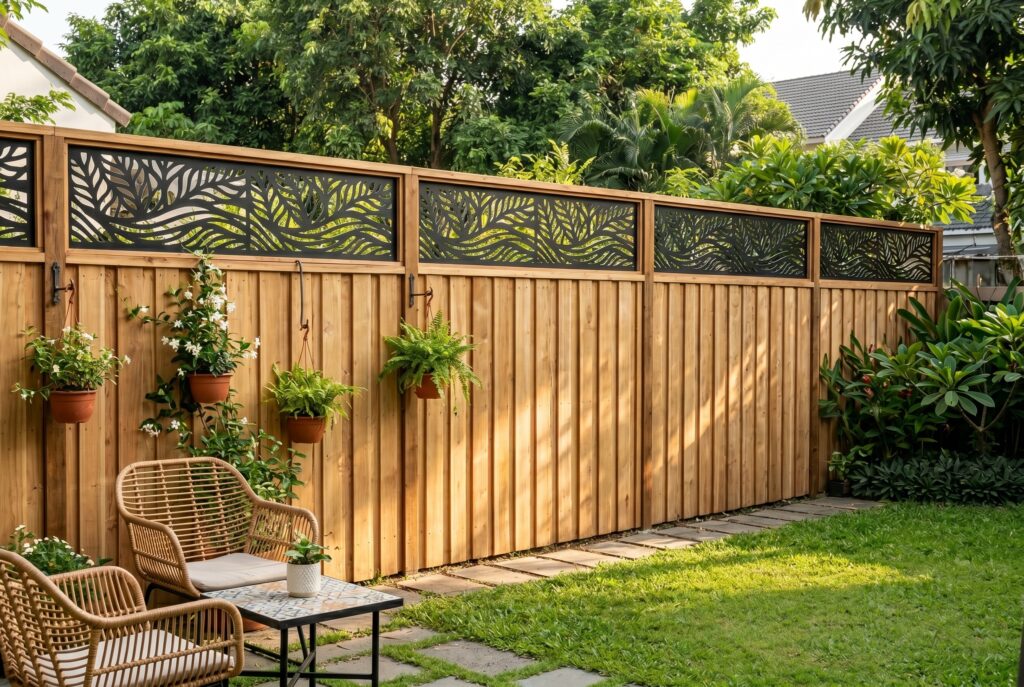
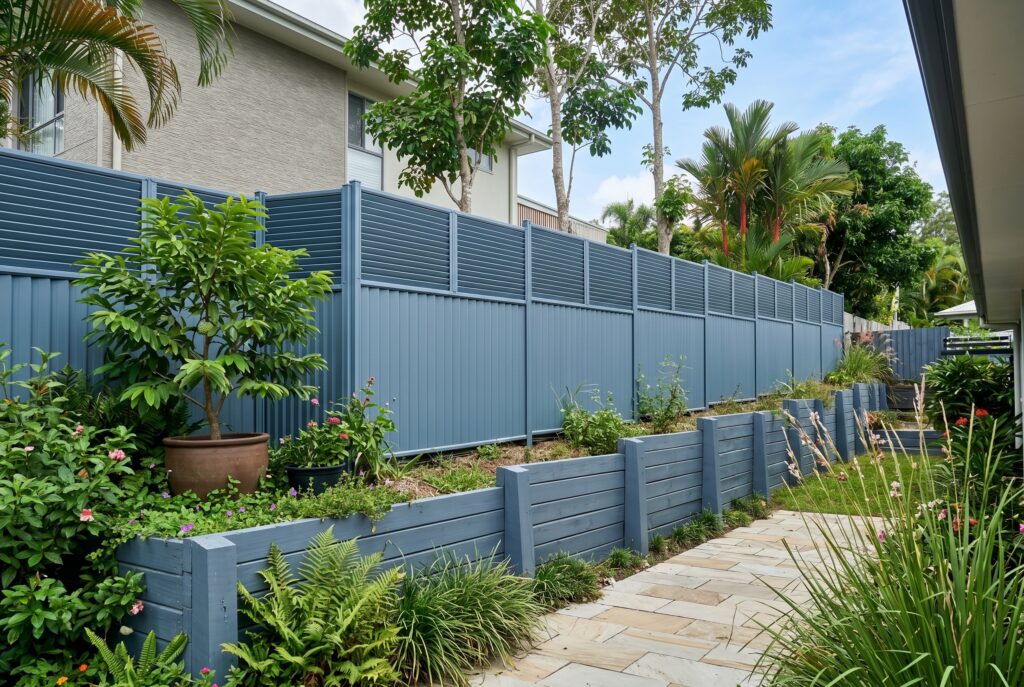
If you want a classic look, a vertical board-on-board design offers strong coverage and timeless curb appeal. If you prefer something more contemporary, a horizontal privacy fence creates cleaner lines and a more architectural finish. Horizontal layouts can look especially sharp around modern patios, decks, and landscaped yards.
Spacing matters here. Boards that are too tight can trap moisture and swell. Boards that are too loose reduce privacy. Keep the spacing consistent across every section so the finished fence feels intentional rather than improvised.
Small Spaces: Setting Up a DIY Privacy Screen for Your Patio
Not every home needs a full perimeter fence. Sometimes the real issue is one exposed seating area, one nosy sightline, or one patio corner that feels too open. That’s where a DIY privacy screen can be a better solution than a full fence. A privacy wall for patio use is usually faster, cheaper, and easier to customize. You can build it as a freestanding structure or attach it to an existing deck, pergola, or fence line depending on your layout.
Freestanding vs. Attached Screens
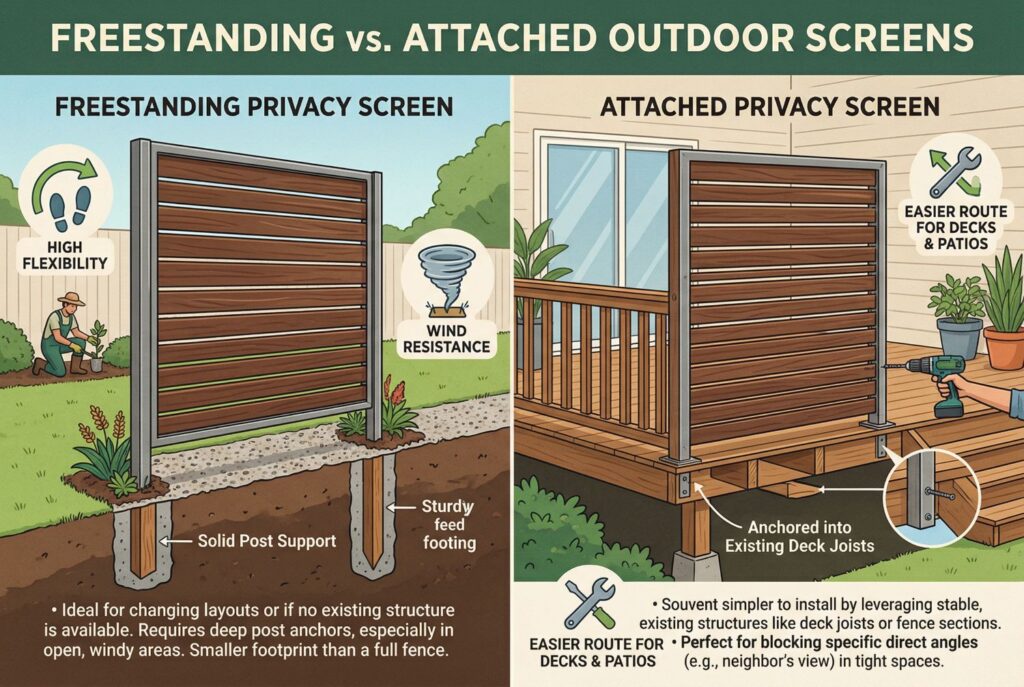
A freestanding screen works well if you need flexibility or if there’s no existing structure to anchor into. You’ll still need solid post support, especially in windy areas, but the footprint is smaller than a full fence.
An attached DIY privacy screen is often the easier route for decks and patios. For example, you can anchor the frame into existing deck joists or secure it to an already stable fence section. This works especially well for narrow side yards or suburban patios where the goal is to block one direct angle rather than enclose the whole yard.
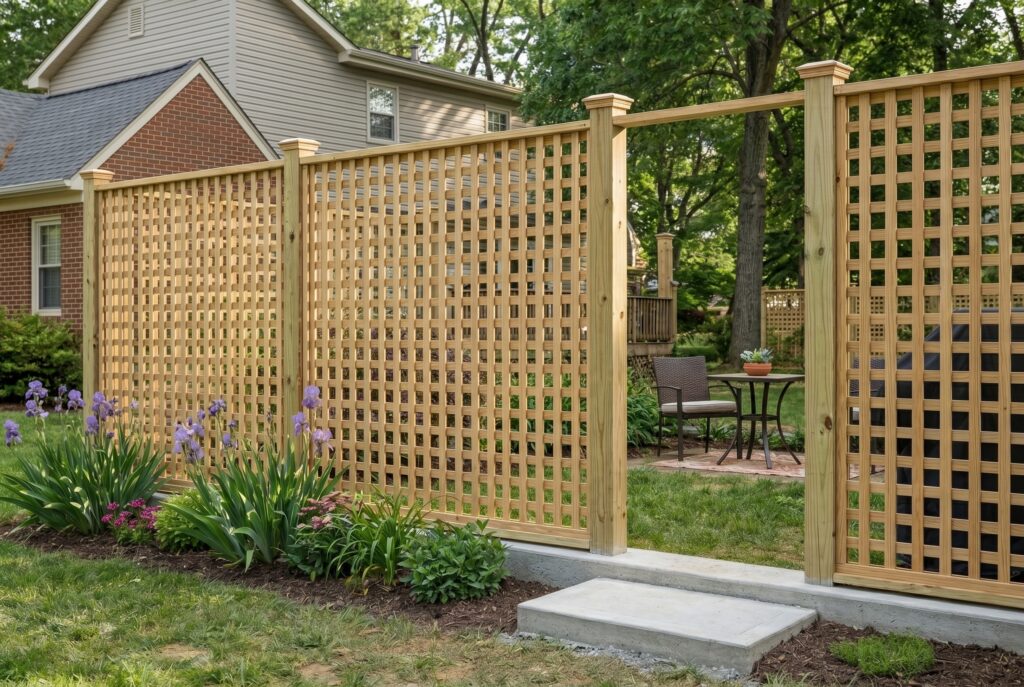
For the screen surface, lattice strips and varied-width boards both work well. Lattice creates a lighter feel and can support climbing plants, while wider slats create stronger screening and a more finished privacy fence screen effect. If your goal is a cleaner backdrop for furniture or string lights, this smaller format can be more useful than a full fence.
Clever Upgrades: Fence Toppers, Lattices, and Kits
If you already have a fence but it isn’t tall enough, you may not need to rebuild everything from scratch. Fence toppers for privacy are a smart upgrade for shorter fences that need extra screening.
Adding Height to an Existing Fence
Lattice panels and horizontal slat extensions are common ways to add height without making the base structure feel too heavy. The key is safety. Don’t attach extra weight to a weak or leaning fence. Reinforce the posts first if needed, and make sure the added height won’t violate local rules. A topper can work as a fence privacy screen while still letting some light and airflow through, which is often better than turning the yard into a solid wall.
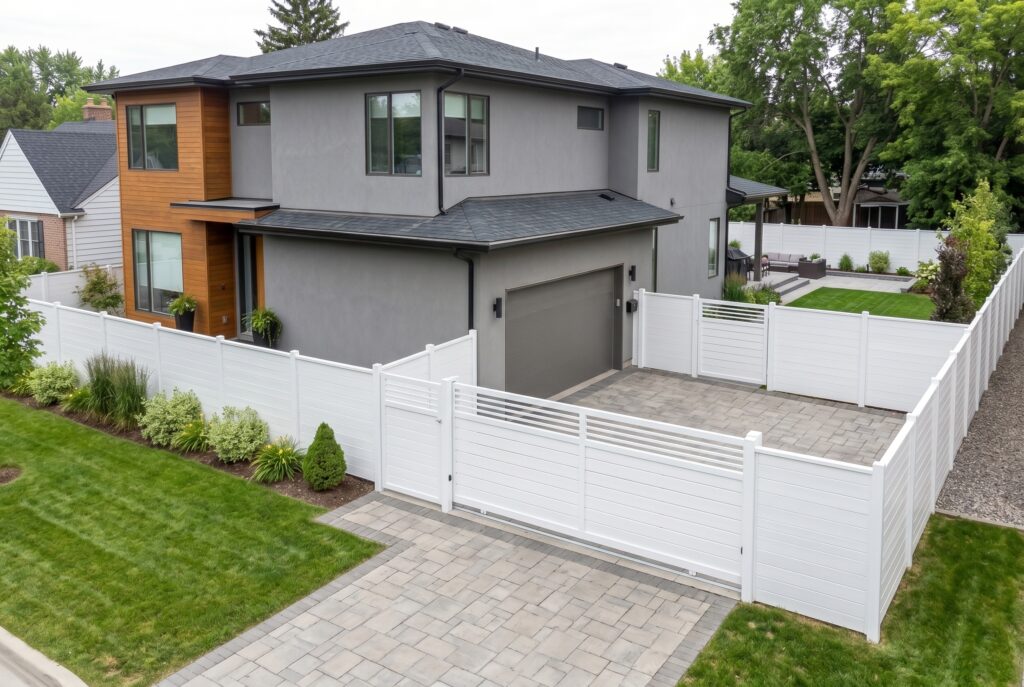
The Fence Kit Shortcut
For homeowners who like the idea of DIY but don’t want to source every component separately, pre-cut kits can simplify the process. Some metal or vinyl systems come with matched parts and clear instructions, which reduces the guesswork. They won’t give you the same custom wood look as a handmade fence, but they can be a useful middle ground for people comparing DIY fence ideas.
Conclusion
A successful DIY privacy fence starts long before the first board goes up. First, verify local codes, HOA limits, and property lines. Next, measure your layout carefully and choose whether you need a full fence, a privacy fence screen, or a smaller privacy wall for patio use. Then gather materials, set your posts correctly, and take your time with leveling and spacing.
That final point matters most. If the posts are straight, the rest of the project becomes easier, cleaner, and more professional-looking. Whether you choose wood privacy fence panels, a modern horizontal privacy fence, or a compact DIY privacy screen, the result will only look as good as the structure underneath it. For the best finish, treat the build like a plan, not a rush job. That’s how a weekend project turns into a long-lasting upgrade for your backyard.

