

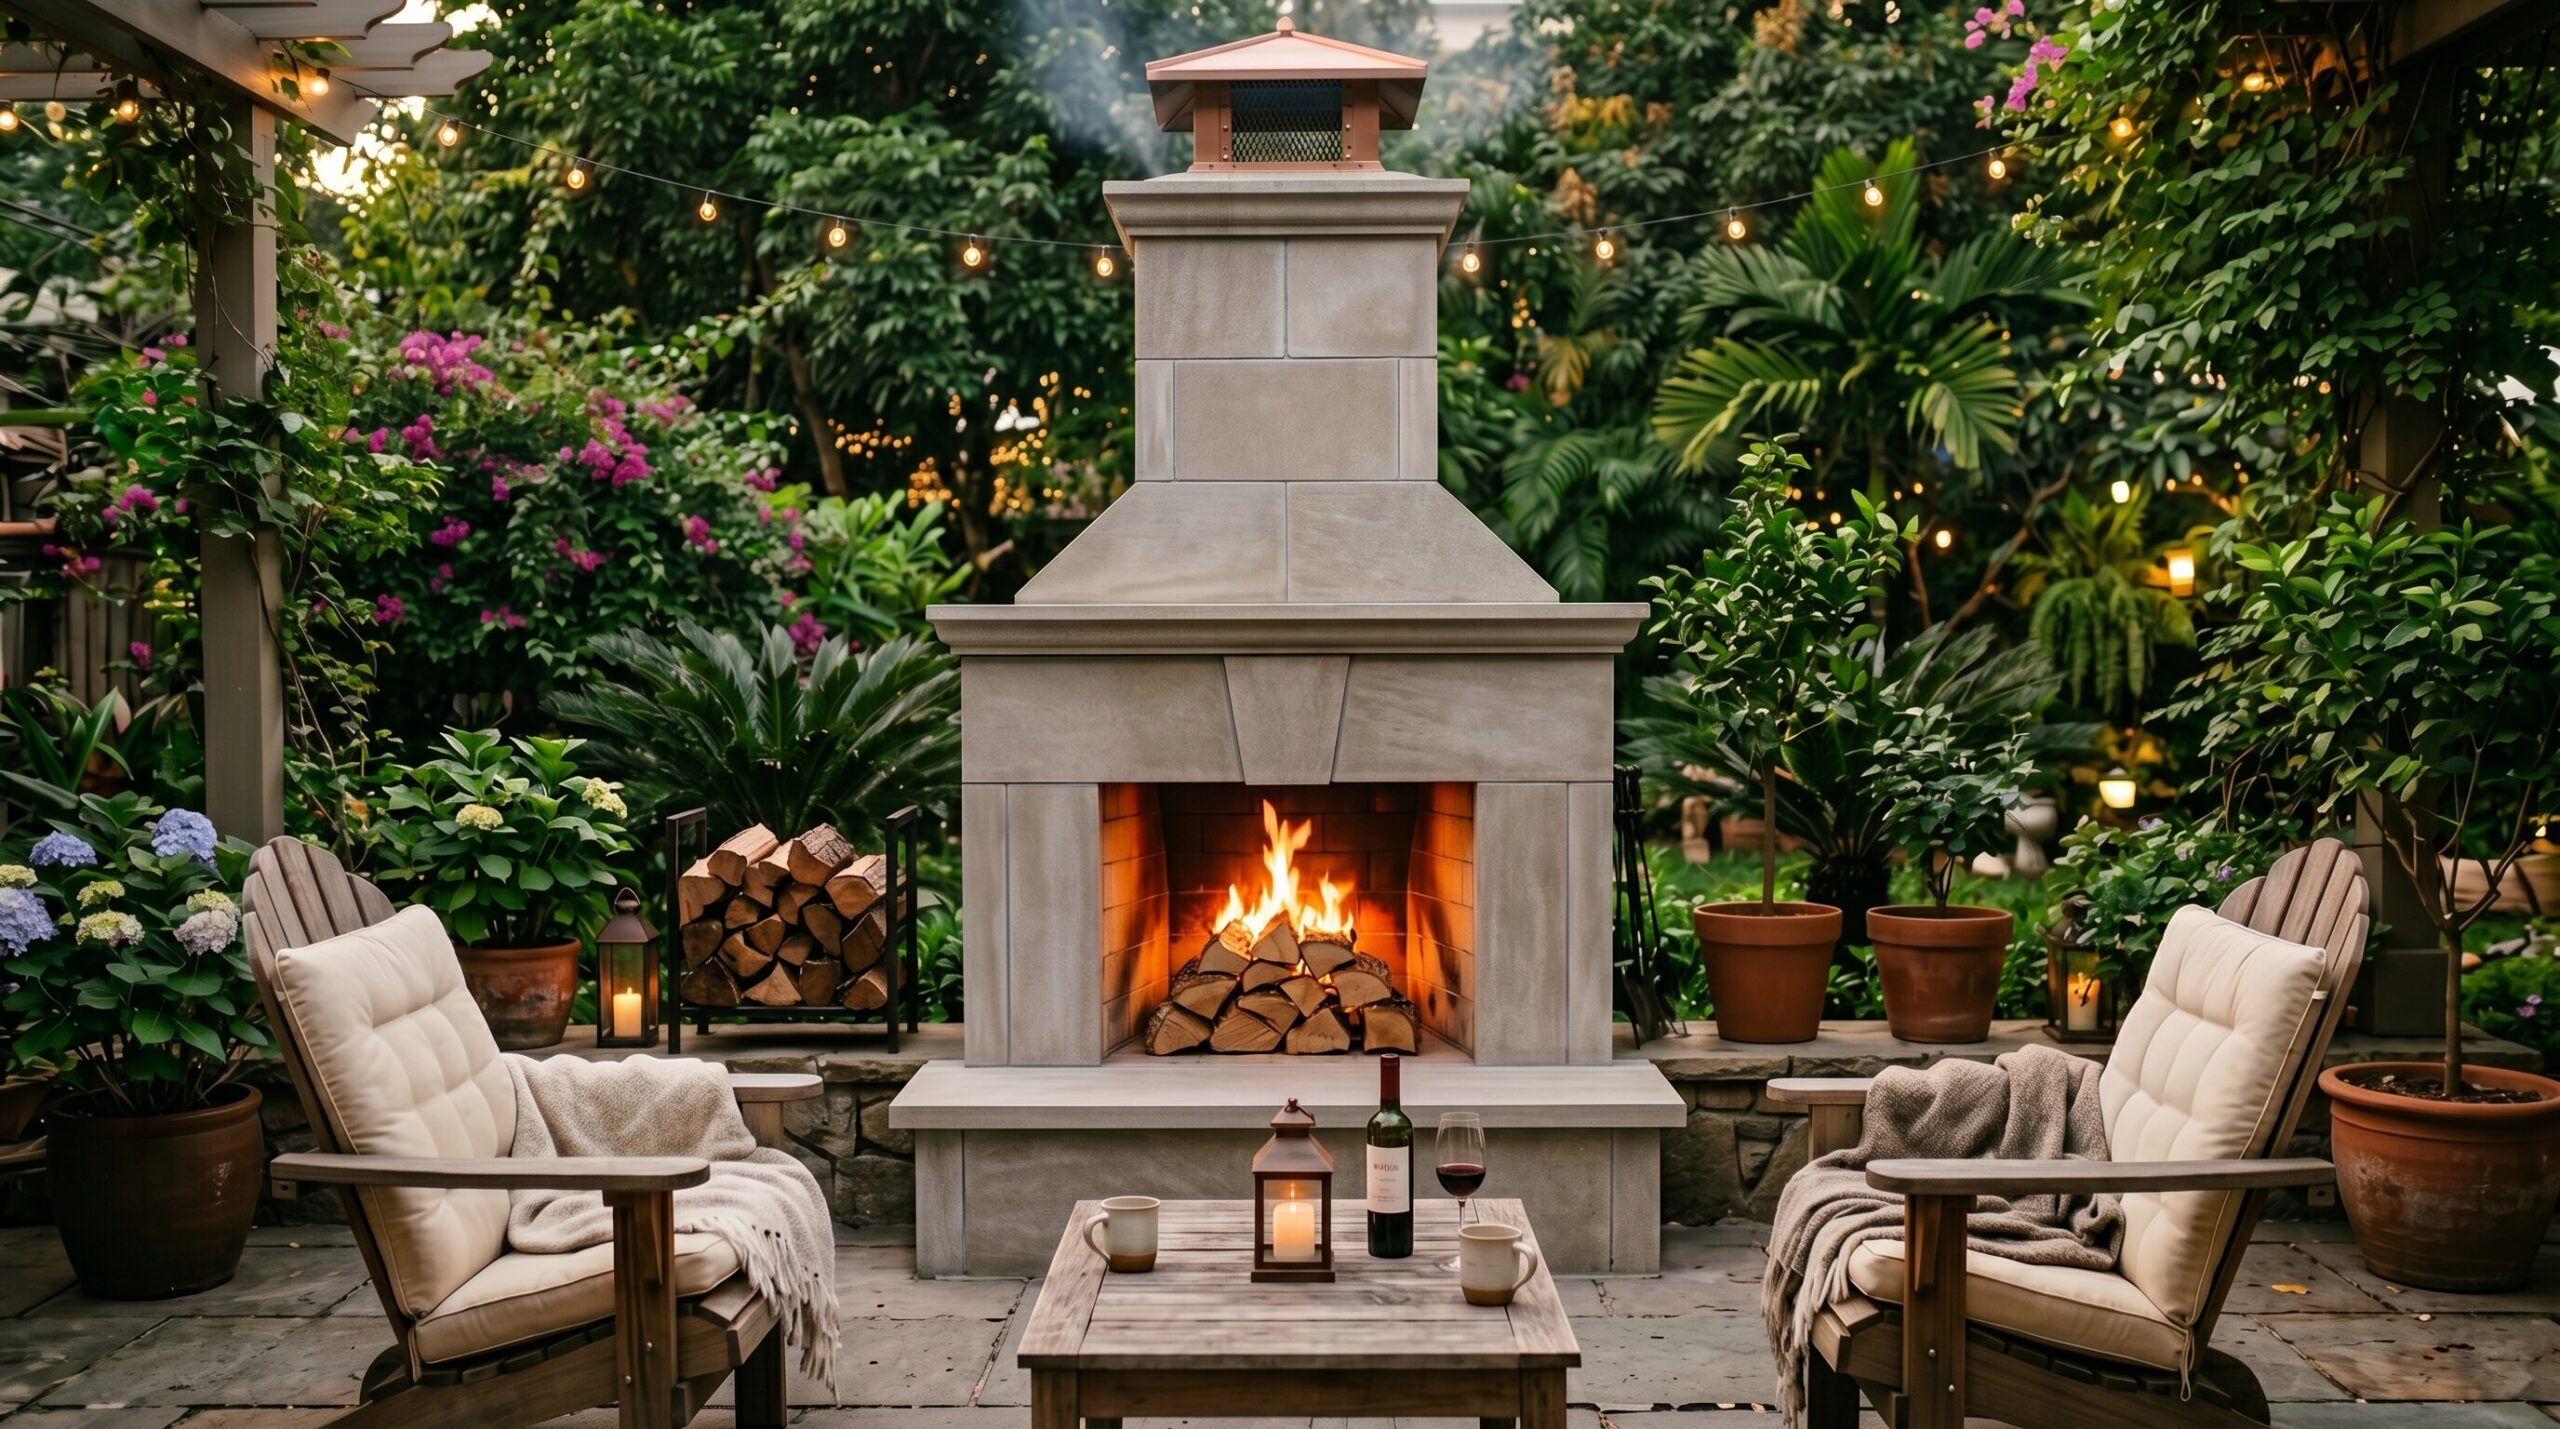
Building an outdoor fireplace might sound like work reserved for professional masons, but modern kits and smarter DIY plans have made the project more approachable than ever. With the right method, you can create a backyard focal point that adds warmth, structure, and serious outdoor living value. If you are still choosing a style, browse our outdoor fireplace ideas first.
Still, a DIY outdoor fireplace isn’t just a decorative weekend craft. It involves weight, heat, smoke, local codes, and foundation planning. Before choosing a design, you need to understand your budget, fuel type, materials, and comfort level with construction.
Quick answer: To build a DIY outdoor fireplace, you can use a prefabricated outdoor fireplace kit, a cinder block outdoor fireplace plan, or a framed gas insert design. The safest beginner option is usually a stack and glue masonry kit. For any build, plan a proper outdoor fireplace foundation, use high temp mortar in heat zones, and confirm local rules before starting.
The 7 Best DIY Outdoor Fireplace Kits and Plans
1. The Stack and Glue Masonry Kit
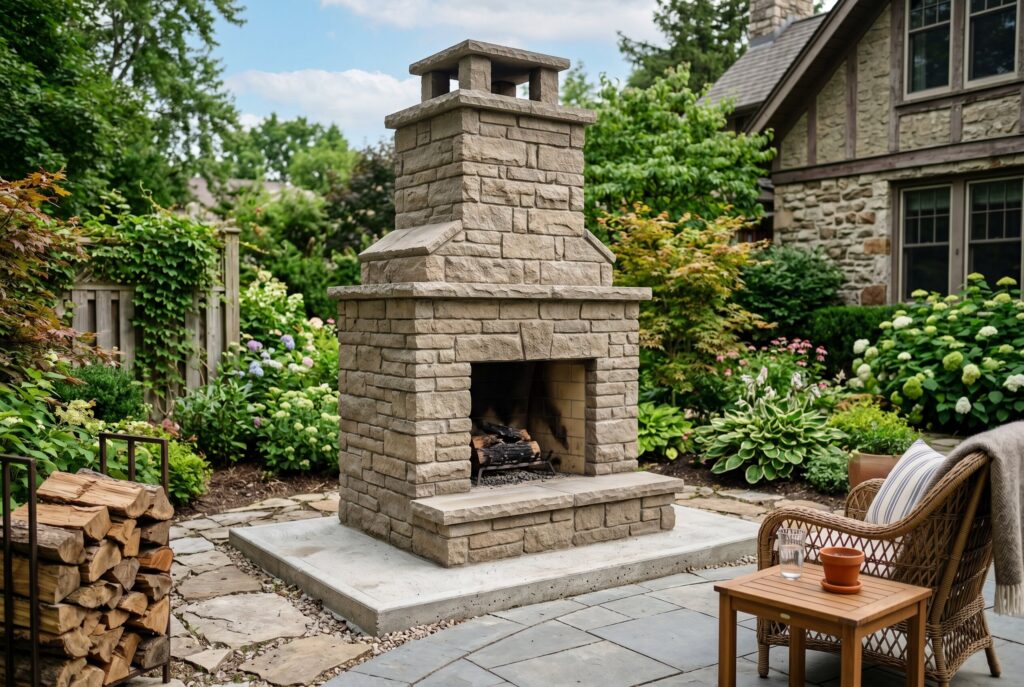
A stack and glue masonry kit is the easiest path for beginners who want the look of a permanent fireplace without learning traditional masonry. The pieces arrive pre-cut, so the process is closer to assembling a large outdoor structure than building a firebox from scratch.
This type of outdoor fireplace kit still needs a reinforced concrete pad, careful leveling, and proper curing time before the first fire. The advantage is predictability. You aren’t guessing chimney dimensions or firebox proportions on your own. Once the pad has cured, much of the stacking can often be done over a weekend, which makes this the most confidence building option for a first build.
2. The Wood Framed Hardie Board Fireplace
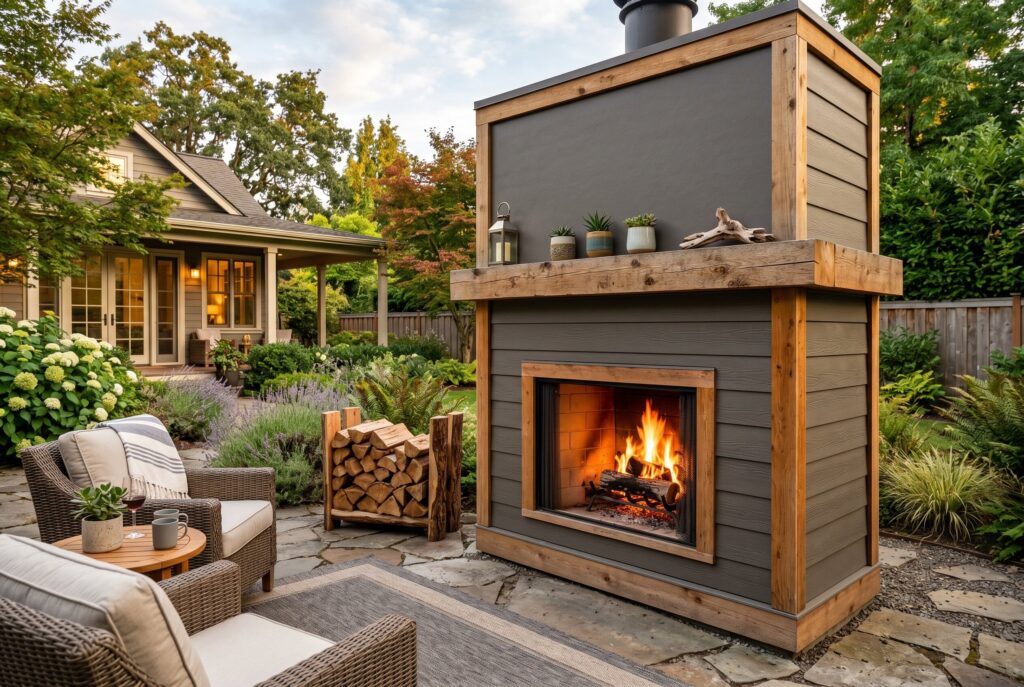
A Hardie board fireplace is a smart option if you want a large modern structure with a cleaner architectural look. The basic idea is to use a sturdy cinder block base, frame the outer shape, install proper heat protection, and clad the exterior in Hardie board or another suitable cement based siding.
This method can create a big visual impact for less than a full masonry build. It works especially well for a modern stucco or board formed concrete look. The important warning is that framing materials and heat zones must be separated correctly. The firebox or insert must be approved for the surrounding structure.
3. The Live Fire Cooking Hearth
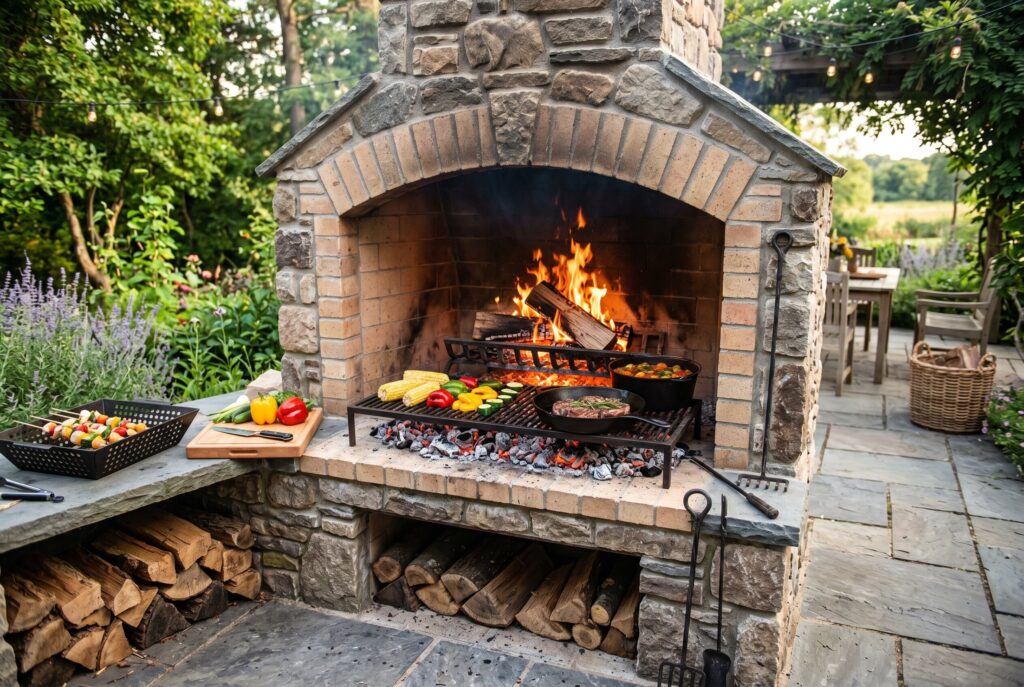
If your dream isn’t just sitting by the fire but cooking over it, a live fire hearth is a better choice than a standard patio fireplace. This plan uses a wide, deep firebox so you can create different heat zones.
Logs can burn toward the back, while hot coals are pulled forward for cast iron cooking, vegetables, grilling, or slow roasting. This kind of DIY outdoor fireplace is more about ritual than decoration. It needs durable firebrick, serious ventilation, and enough depth to handle heat safely. If cooking is the goal, design the hearth around function first and appearance second. Planning a full cooking zone around it? See our small outdoor kitchen ideas and cheap DIY outdoor kitchen plans.
>>> See more: Sage Green Wallpaper: 25 Aesthetic Ideas by Room (2026)
4. The Modular Kit With a Built In Smoke Chamber
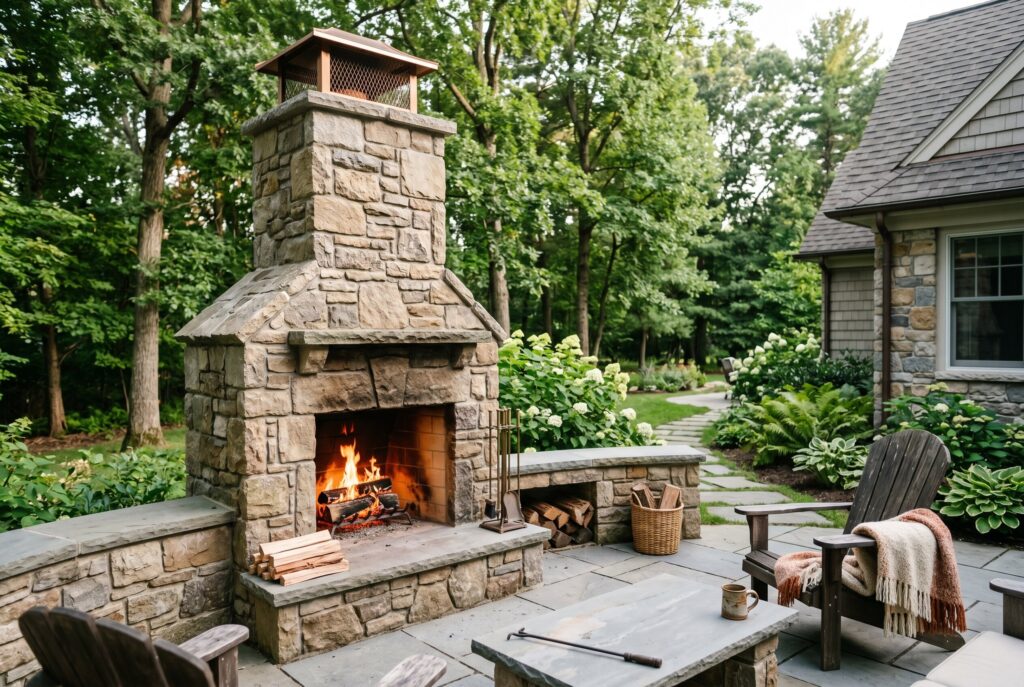
Modular outdoor fireplace kits are ideal for homeowners who want better smoke performance and a more professional build. These systems are designed to support proper fireplace smoke ventilation, which is one of the most common failure points in DIY builds. A good modular kit usually includes a shaped firebox, smoke chamber, chimney components, and instructions for assembly. You may still need high temp mortar, firebrick splits, heavy lifting help, and a long curing period. This isn’t the cheapest method, but it reduces guesswork and helps prevent smoke from spilling into your seating area.
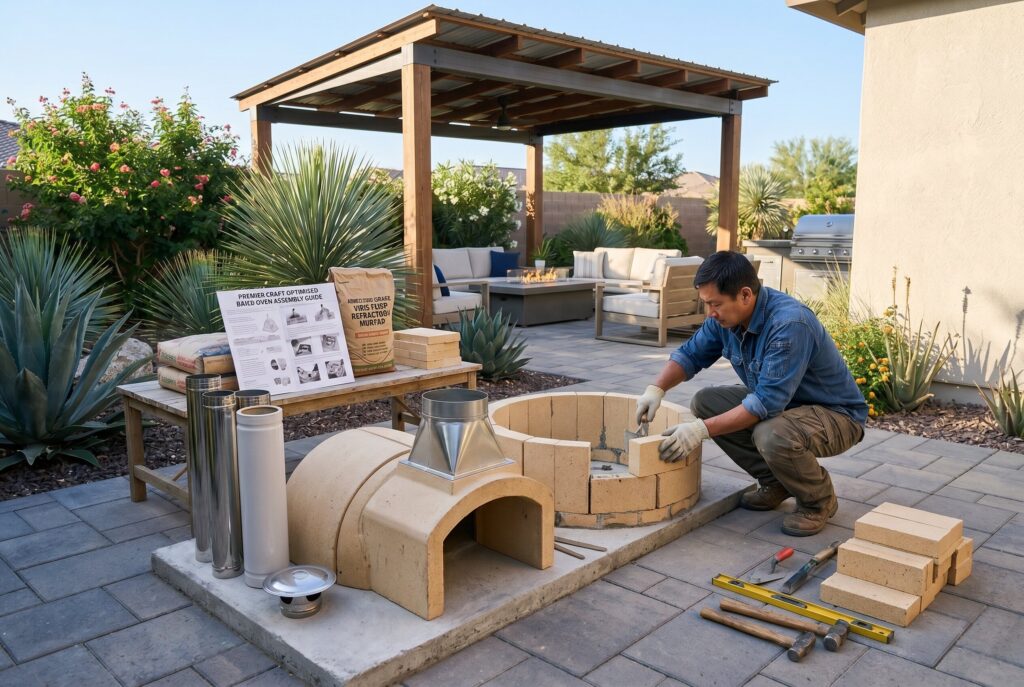
5. The Classic Cinder Block and Stucco Build
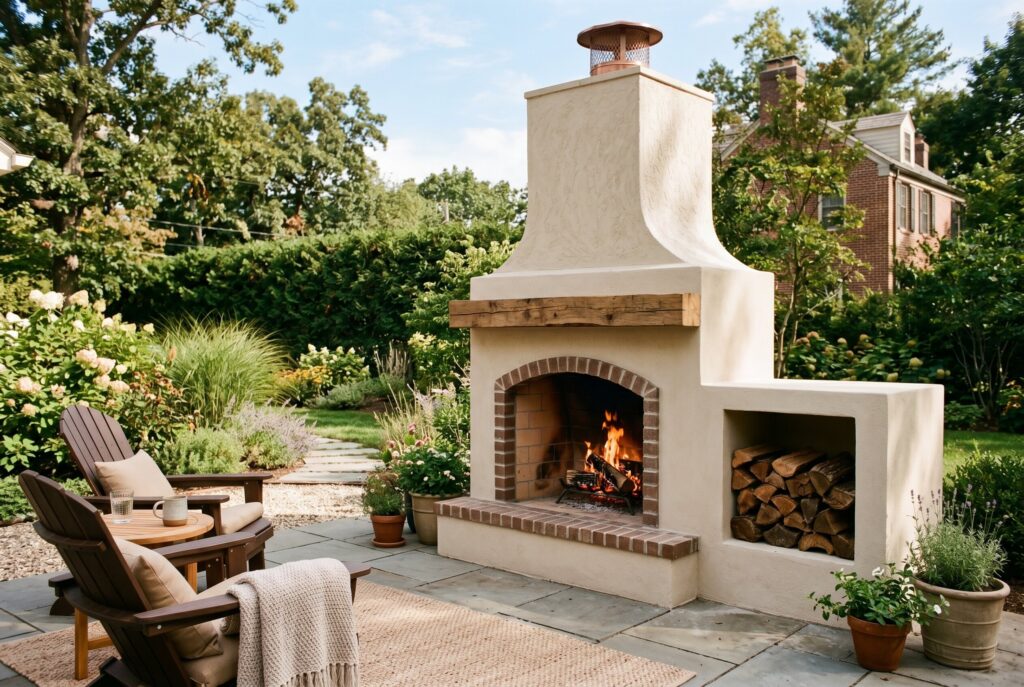
A cinder block outdoor fireplace is one of the most flexible budget friendly plans. Cinder blocks create the core structure, while stucco gives the finished fireplace a smooth, custom look. This design is best when you want control over size, shape, and finish. You can create a simple rectangular fireplace, add wood storage, or build a taller chimney for a more dramatic silhouette. However, the firebox should still be lined with proper refractory materials. Standard block is structural, not a finished high heat firebox surface.
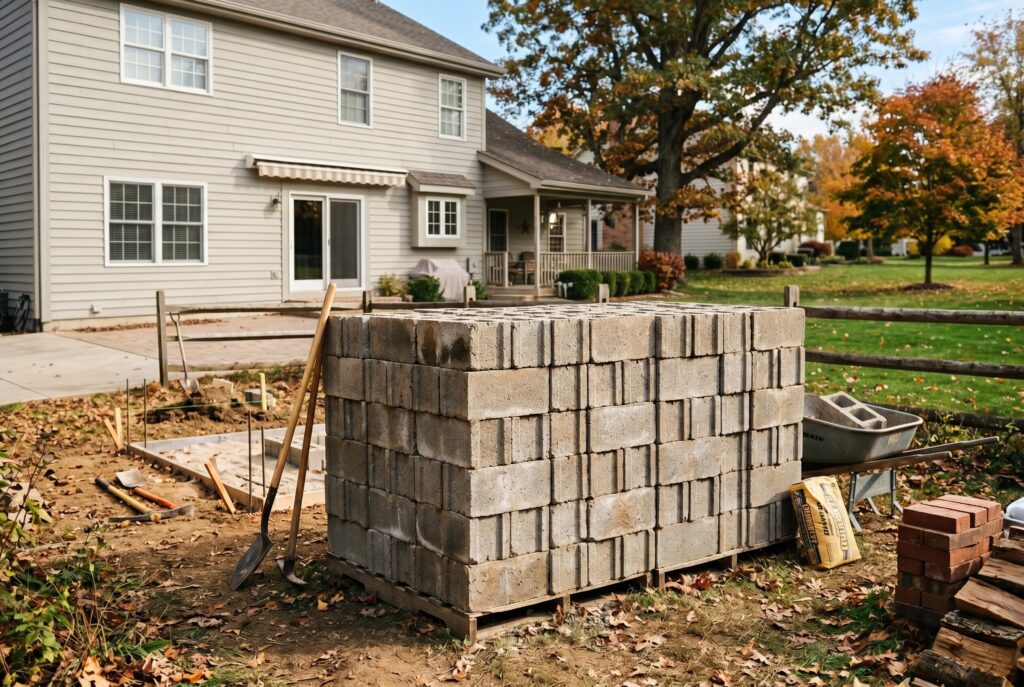
6. The Galvanized Metal Frame and Cement Board Kit
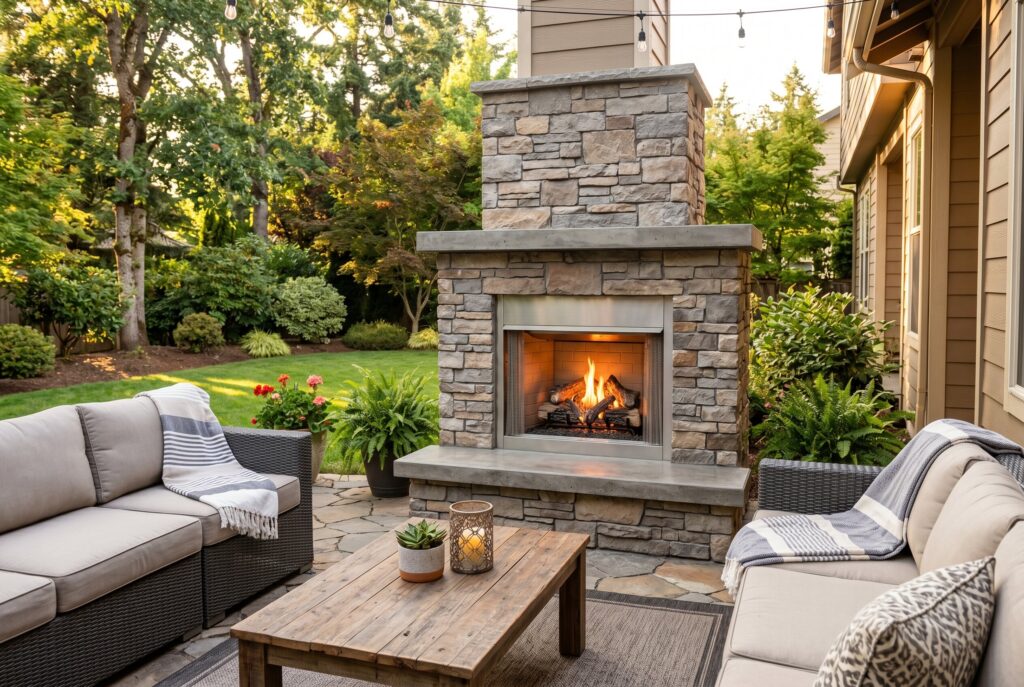
For homeowners using a gas insert, a galvanized metal frame with cement board can be a cleaner alternative to heavy masonry. The frame creates the shape, cement board provides a non combustible surface, and stone veneer or stucco finishes the exterior. This method is lighter than solid stone and often faster to install. It’s especially useful for patios where a full masonry mass would be too heavy or unnecessary. Always follow the insert manufacturer’s clearance rules. A gas unit may look simple, but ventilation, access panels, and heat ratings still matter, and the gas line itself should be run and pressure tested by a licensed professional.
7. The 48 Hour Interlocking Paver Plan
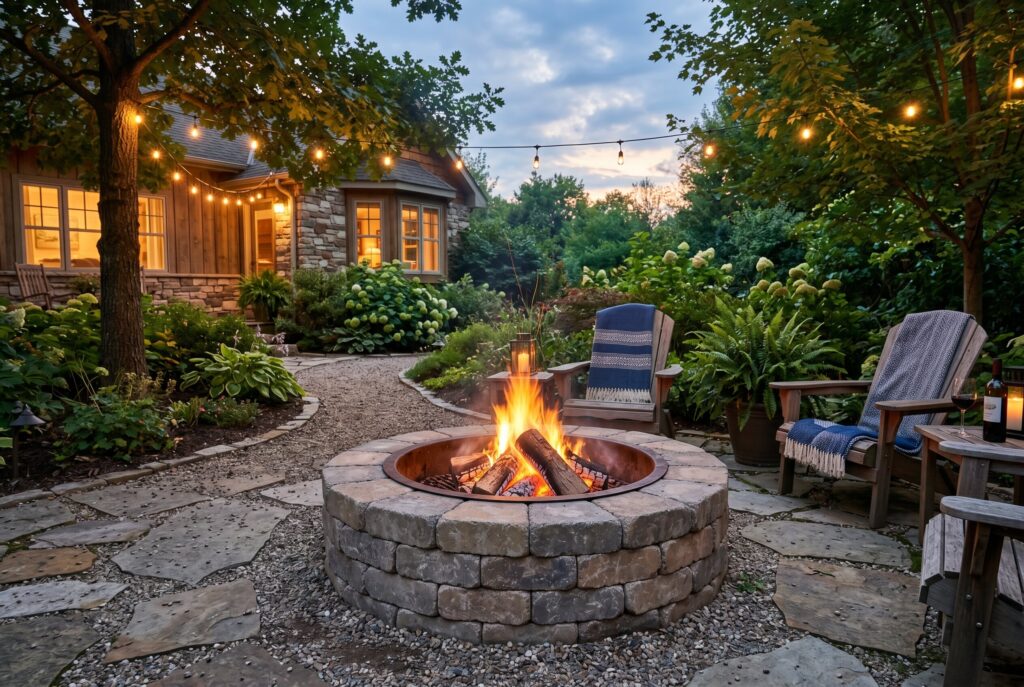
An interlocking paver fire feature is the most budget friendly option for casual DIYers and the only plan here that truly fits a weekend. Landscaping wall blocks can be stacked into a low, round or square fire structure, but they should not face the flames directly. Standard concrete wall blocks can crack or spall under high heat, so line the inside with a steel fire ring insert or firebrick, and use construction adhesive only on the outer courses away from the fire.
This plan works best as a simple fire pit style feature rather than a full chimney fireplace. It suits starter patios and homeowners who want atmosphere without a major build. If you rent, get written permission from your landlord before building anything permanent. Keep the design low, stable, and open enough for safe airflow. For airflow tricks that cut down on smoke, see our DIY smokeless fire pit builds.
Build Time vs Cure Time: What “Weekend Build” Really Means
Most kits can be stacked or assembled in one or two days, but the project around them takes longer. A new concrete pad usually needs several days to a week before it can carry a heavy masonry load, and many refractory mortars and kits call for a series of small curing fires before the first full burn. Plan the pad one weekend, the build the next, and follow the manufacturer’s curing schedule before you invite guests. The paver fire pit in plan 7 is the main exception, since it can often be built and used within a weekend.
7 Crucial Safety and Foundation Rules You Can’t Ignore
- The first rule is foundation depth. A finished masonry fireplace can weigh thousands of pounds, so a standard patio slab may crack under the load. In cold climates, the outdoor fireplace foundation should account for frost depth to reduce movement from frost heave. If you are laying out a new patio around the fireplace, our hardscape ideas can help you plan the base.
- The second rule is draft. The firebox opening and chimney flue must work together so smoke rises properly instead of blowing into guests’ faces.
- The third rule is material safety. Use firebrick splits and high temp mortar inside high heat zones. Standard brick, block, or adhesive can fail under intense heat.
- The fourth rule is clearance. Check local codes, HOA rules, property line setbacks, tree clearance, and distance from wood structures before building. Many local codes and fire departments call for roughly 10 to 25 feet between an open fire and a house, deck, or fence, but your local rules are the ones that apply.
- The fifth rule is permits and burn rules. Permanent fireplaces, gas lines, and chimneys often need a building permit, and many areas restrict wood burning during dry or high wind periods. Check with your building department and local fire authority before you start.
- The sixth rule is spark control. Top wood burning chimneys with a cap and spark arrestor so embers do not land on roofs, trees, or neighboring yards.
- The seventh rule is everyday fire safety. Keep a fire extinguisher or garden hose within reach, never leave a fire unattended, and fully extinguish coals before you go inside.
DIY Outdoor Fireplace FAQs
How long does it take to build a DIY outdoor fireplace?
The assembly for most kits takes one or two days, but the full project usually spans a couple of weekends once you include pouring and curing the concrete pad and completing the manufacturer’s curing fires. A simple paver fire pit is the fastest option and can often be finished in a weekend.
Do I need a permit for an outdoor fireplace?
Often, yes. Permanent masonry fireplaces, chimneys, and anything connected to a gas line commonly require a permit, and HOAs may have their own rules. Requirements vary by city and county, so check with your local building department before you buy materials.
How far should an outdoor fireplace be from the house?
There is no single national number. Many local codes and fire departments recommend roughly 10 to 25 feet from any structure, overhanging branches, or fence. Your local fire code and the kit manufacturer’s clearance instructions decide the final distance.
Can I build an outdoor fireplace on an existing patio?
Sometimes. Lighter framed or gas insert designs may sit on a sound concrete patio, but a full masonry fireplace usually needs its own reinforced footing. Pavers set on sand are not a suitable base for a heavy fireplace. When in doubt, have the slab checked before you build on it.
Conclusion
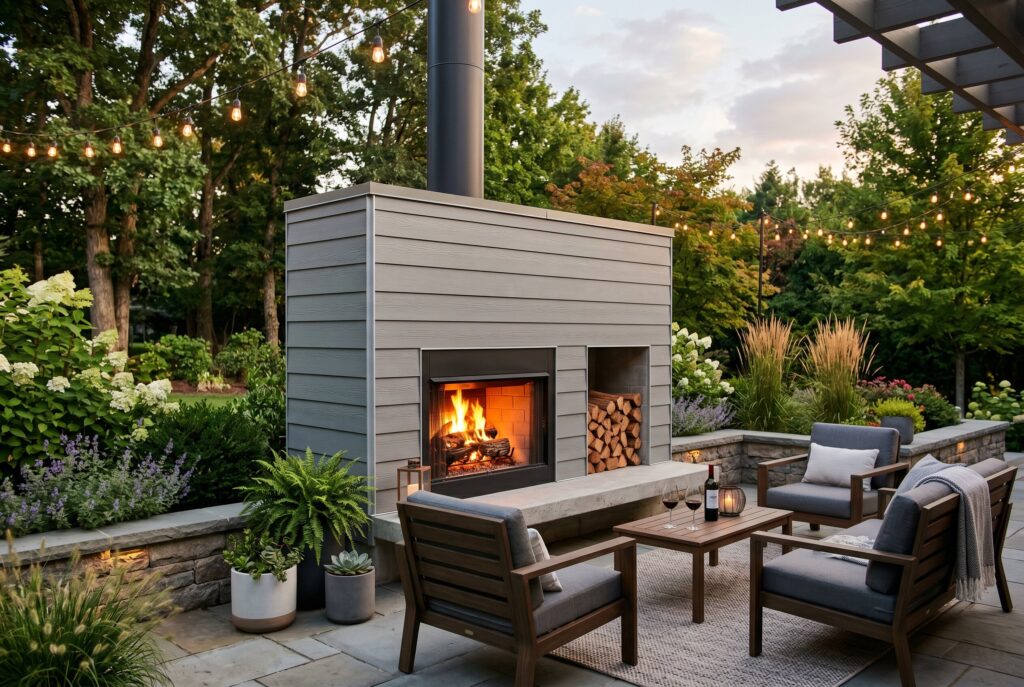
A DIY outdoor fireplace can transform a backyard, but the smartest projects start before the first block is placed. Choose your build method based on skill level, budget, fuel type, and safety needs.
An outdoor fireplace kit may be fastest. A cinder block outdoor fireplace may be most flexible. A Hardie board fireplace can give you a modern custom look. Whatever you choose, respect the foundation, ventilation, heat materials, and curing time. A beautiful fireplace shouldn’t only look good on day one. It should stay safe, stable, and useful for many seasons.