

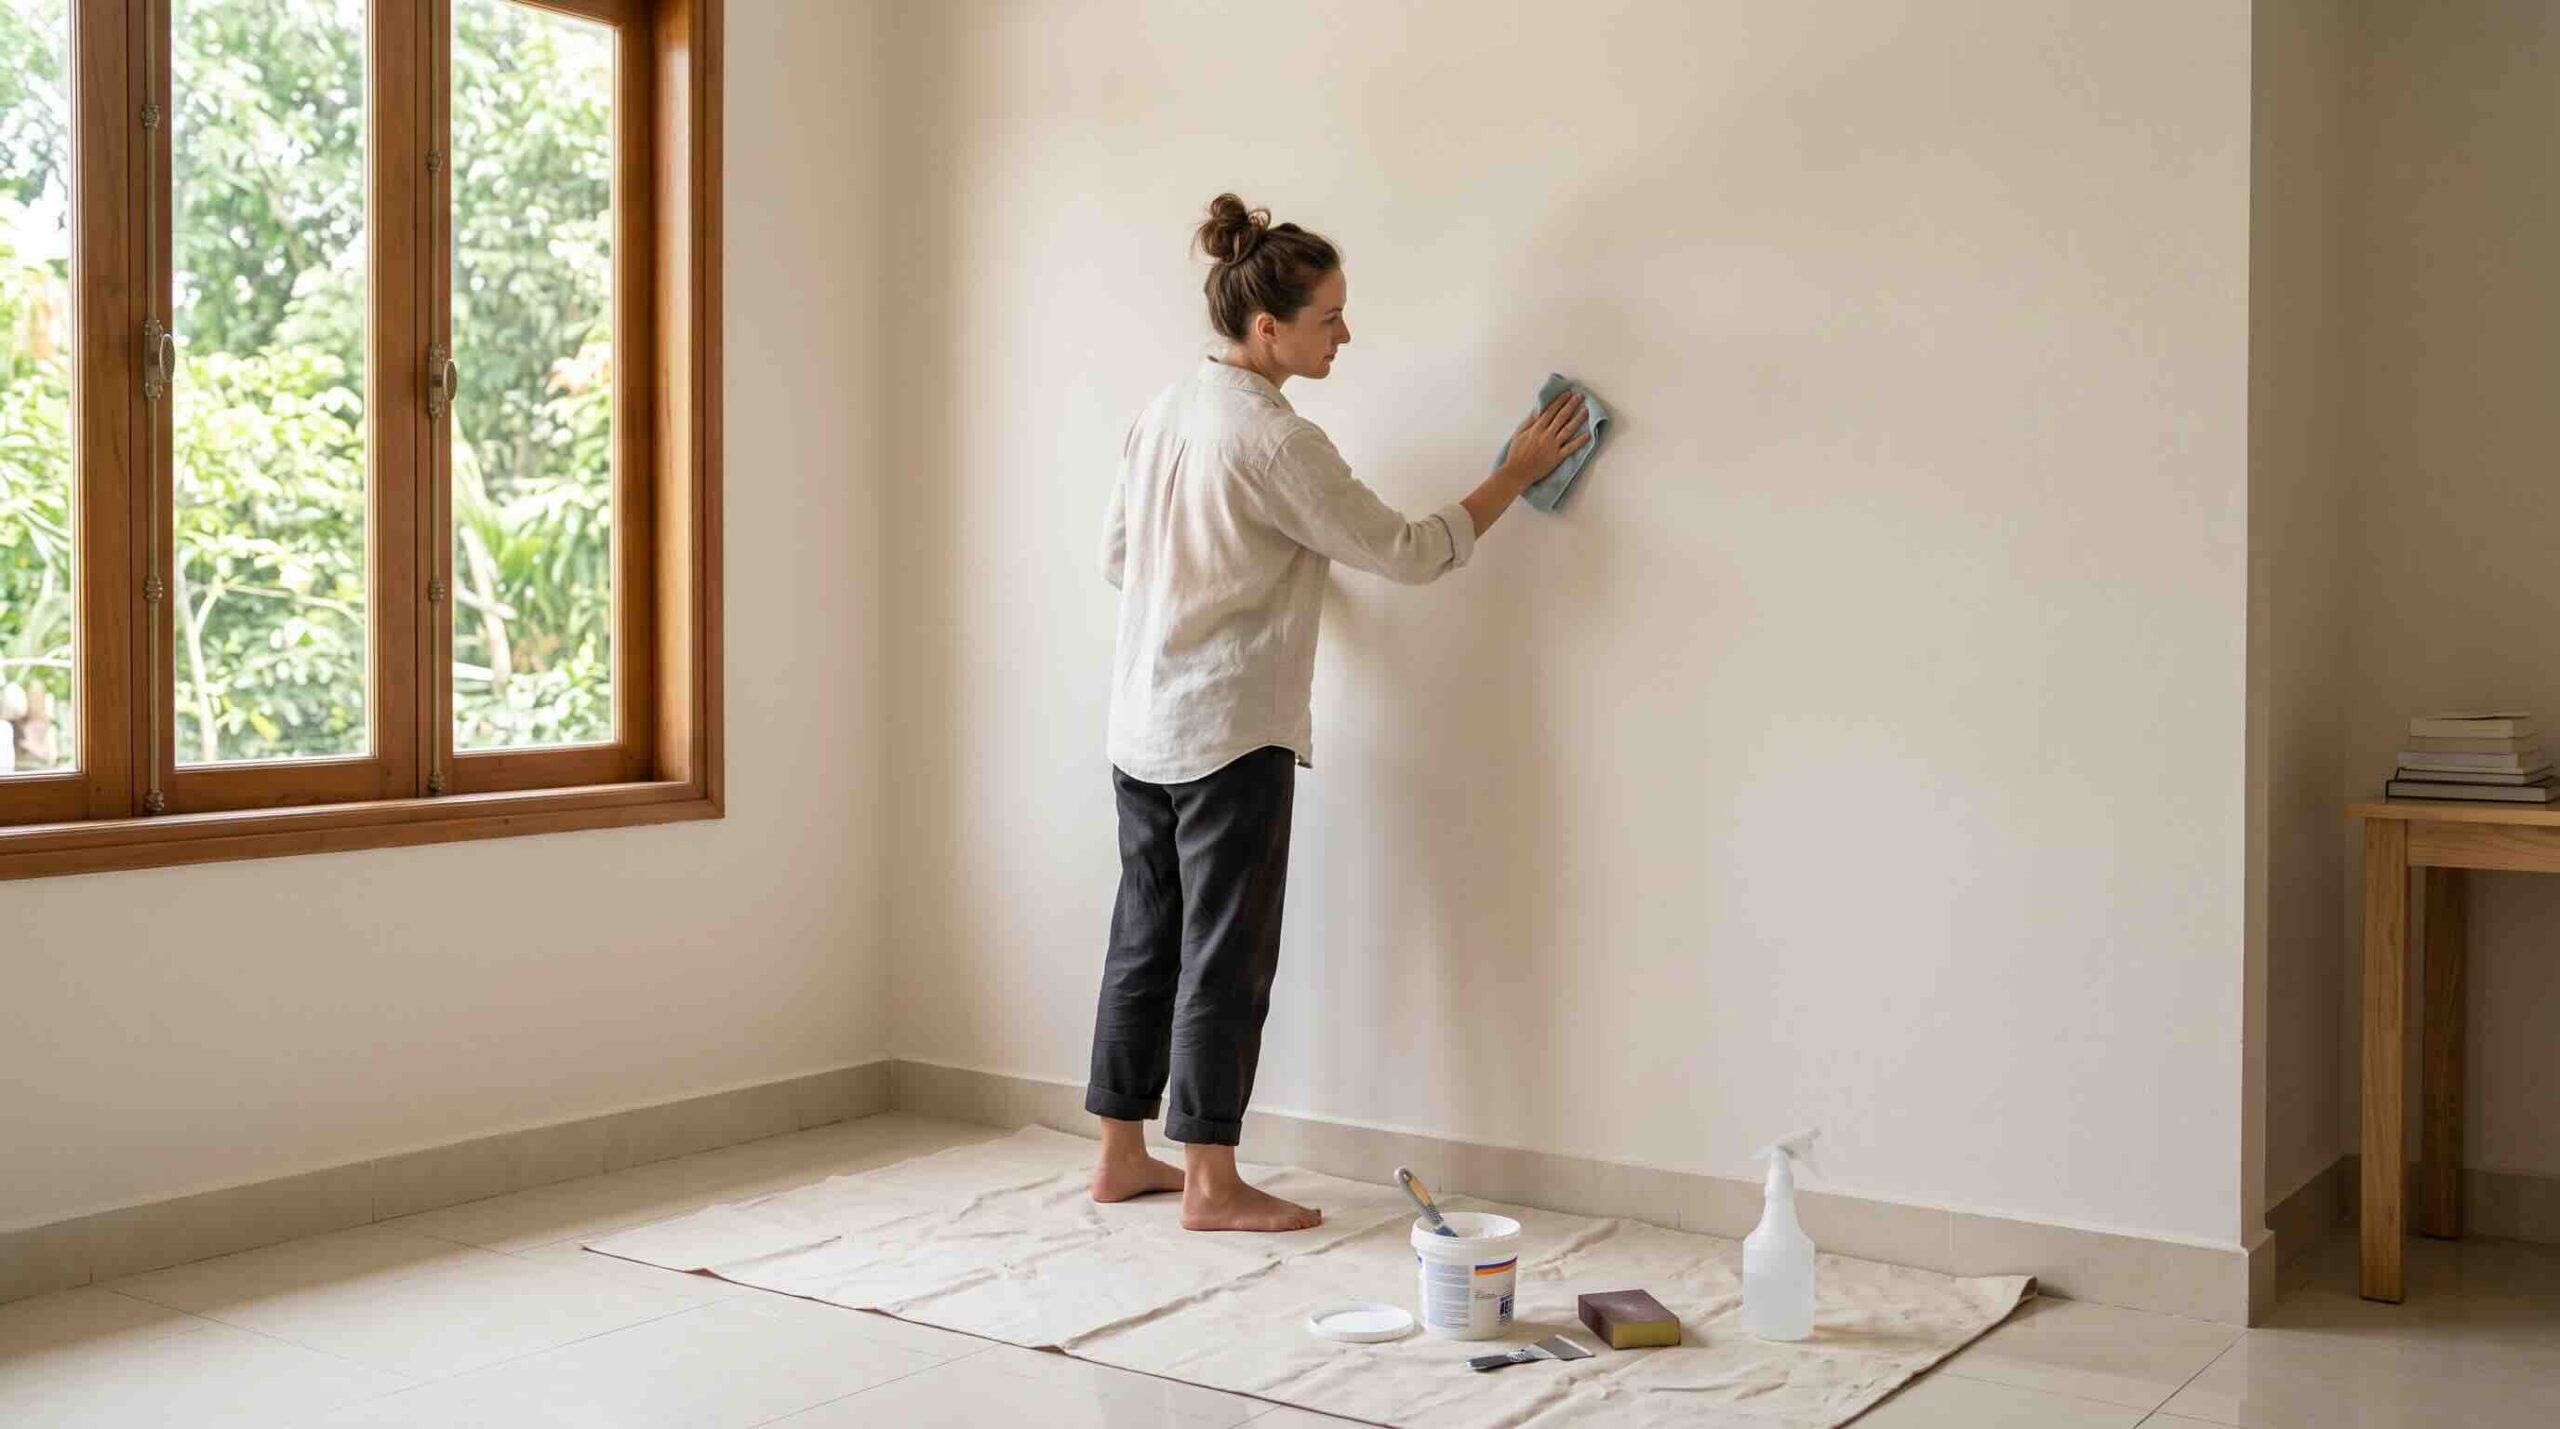
A long-lasting install comes down to how to prep walls for peel and stick wallpaper the right way. Proper prep gives the adhesive a clean, smooth, sealed surface to grab before you unroll a single sheet. Two things trip most people up: hanging on paint that has not fully cured, and trusting a glossy or textured wall to hold. Fix those, and the rest of the job is straightforward.
Why Prepping Your Walls Matters
Skip the prep and the wallpaper fails within days. Dust and grease keep the adhesive from bonding, which creates bubbles across the face and lifts corners. A wall left glossy or textured cuts the contact area further, shortening the lifespan of the whole install. Prep is the cheapest insurance you have, and the biggest lever on how long the wallpaper lasts.
>>> Read More: How to Remove Red Wine Stains From Carpet (Fast & Easy)
Tools and Materials You Will Need
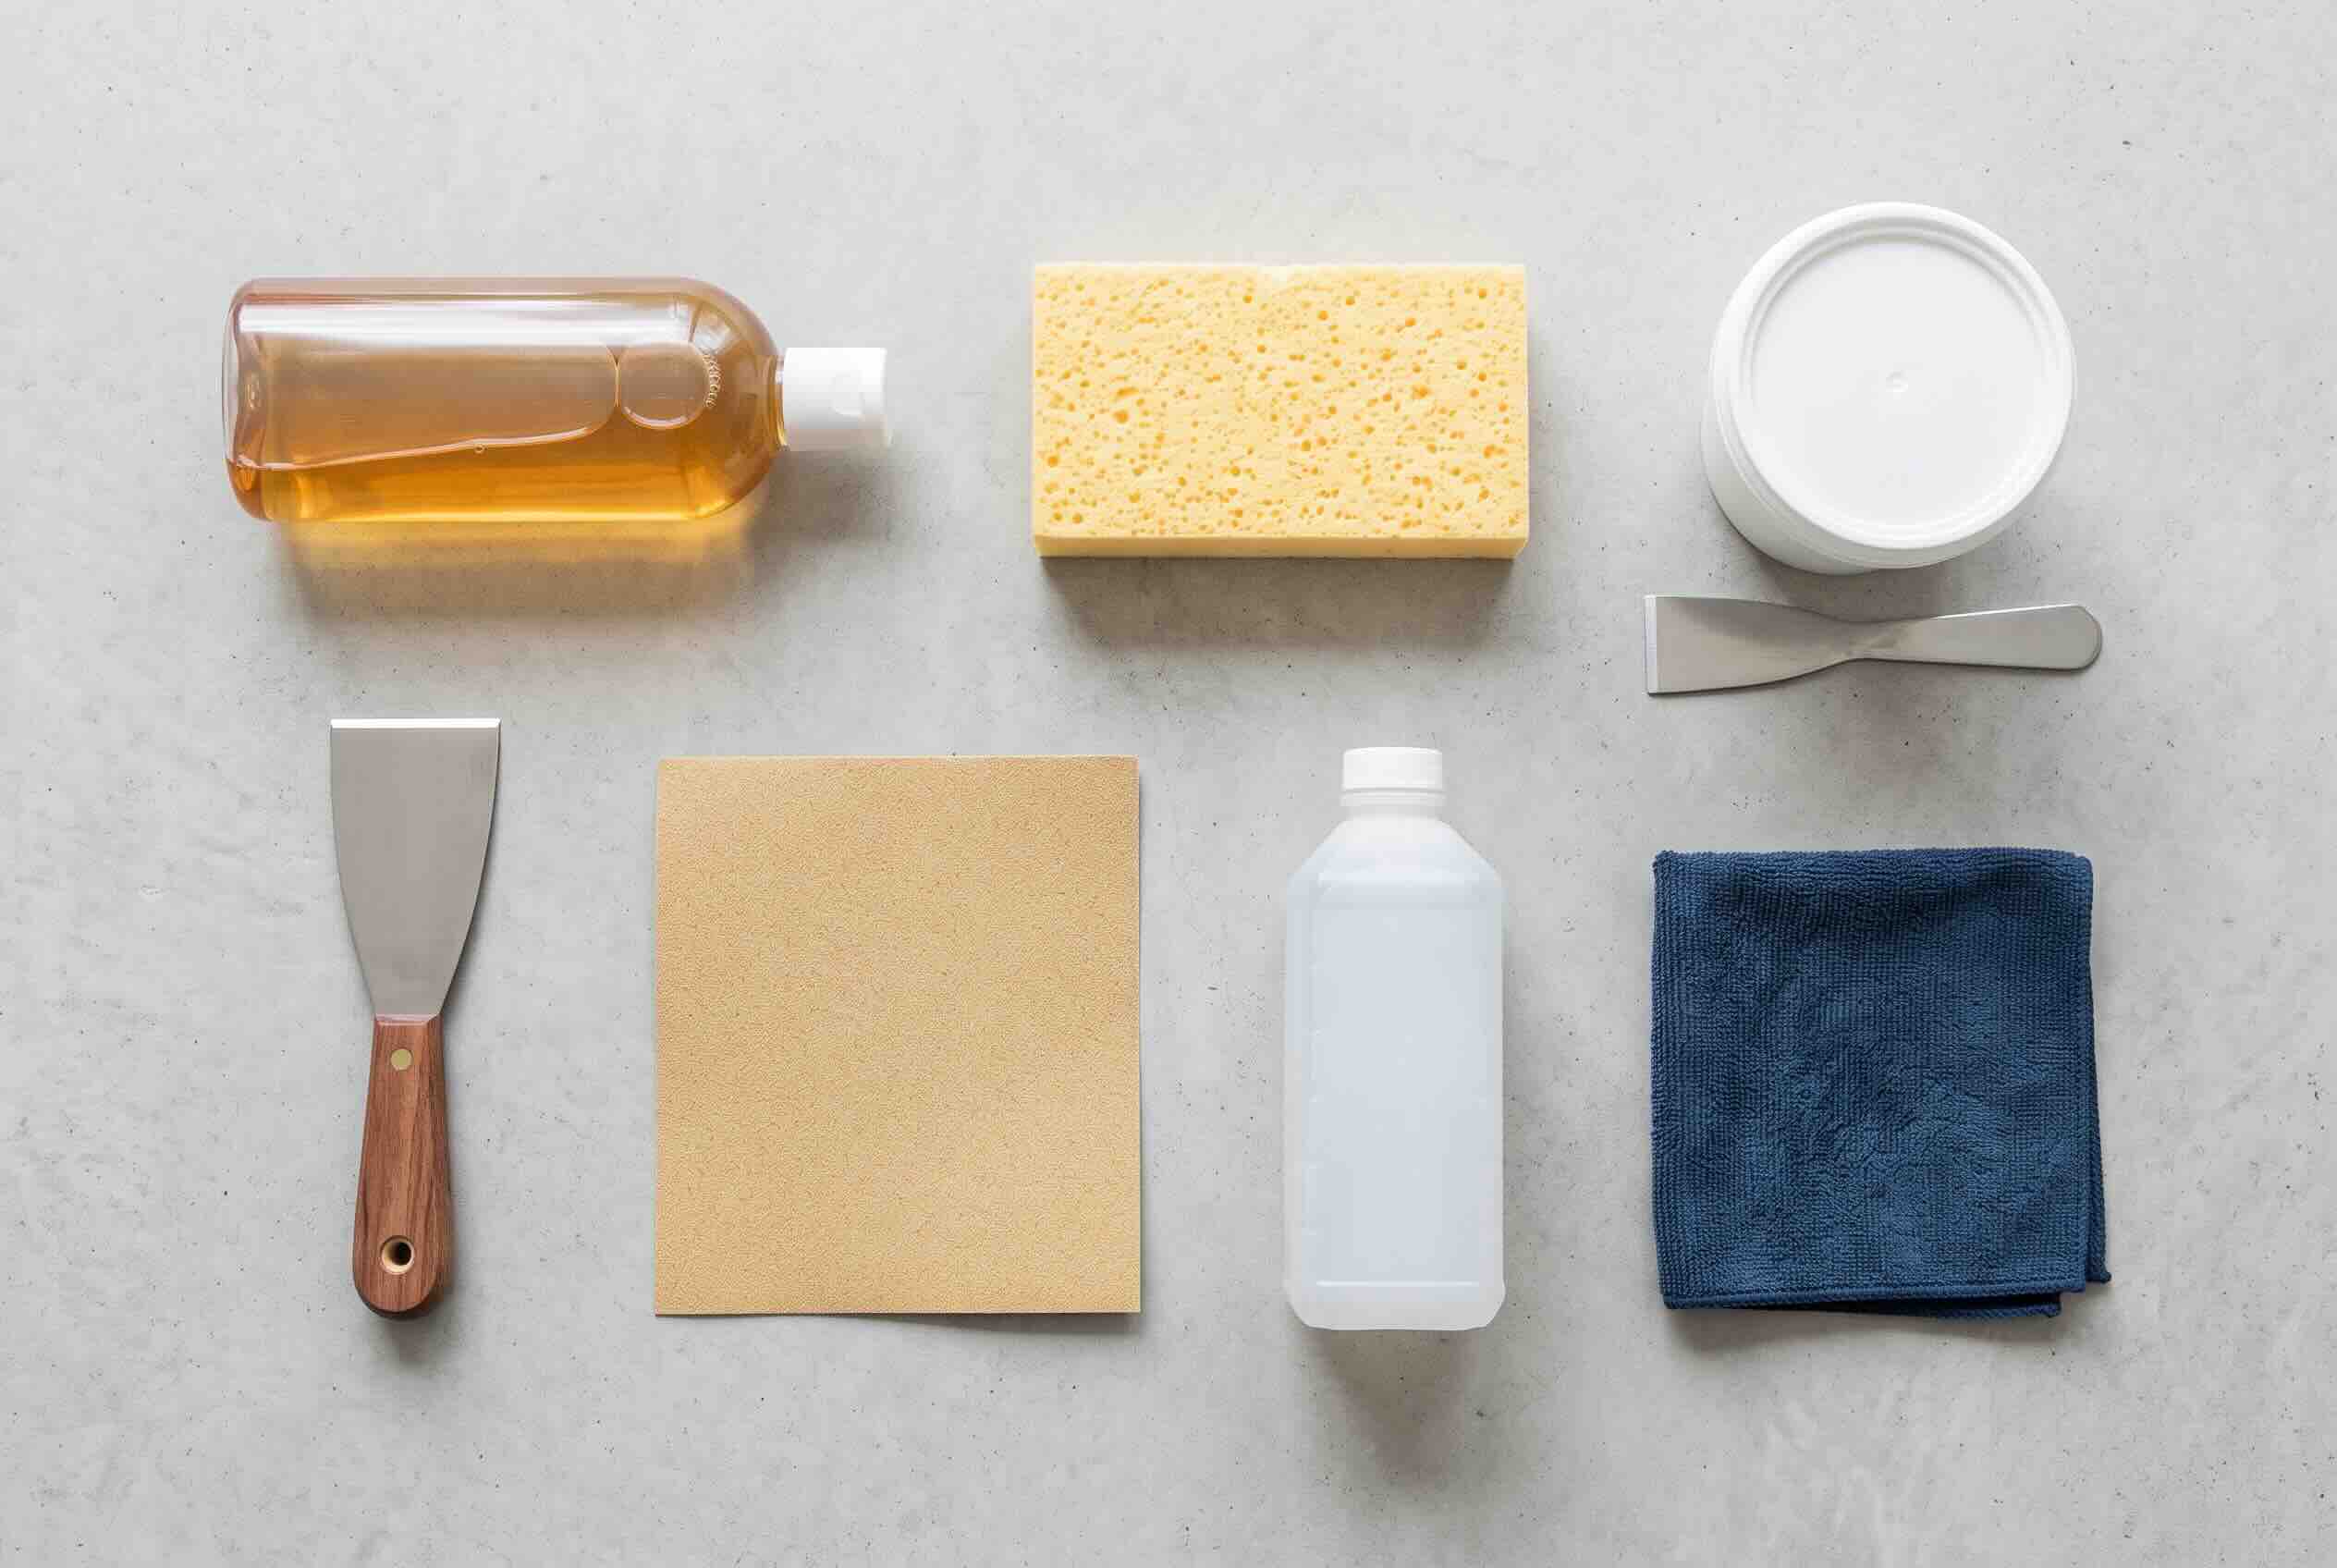
Gather your supplies first so you are not hunting for a putty knife while your panels dry out. You will need mild soap with a sponge or cloth, spackle, a putty knife, 120- to 150-grit sandpaper, 70% rubbing alcohol, and a microfiber or tack cloth. Grab primer if the wall needs it, along with a level and painter’s tape for lining panels up. Most of this is cheap and reusable, and the two items that matter most for adhesion are the least expensive: the rubbing alcohol that strips residue and the tack cloth that lifts the last of the dust.
How to Prep Walls for Peel and Stick Wallpaper: The Core Sequence
Whatever your wall, the core of how to prep walls for peel and stick wallpaper is the same short sequence. Run these steps in order, then add the one surface-specific step your wall type needs from the next section.
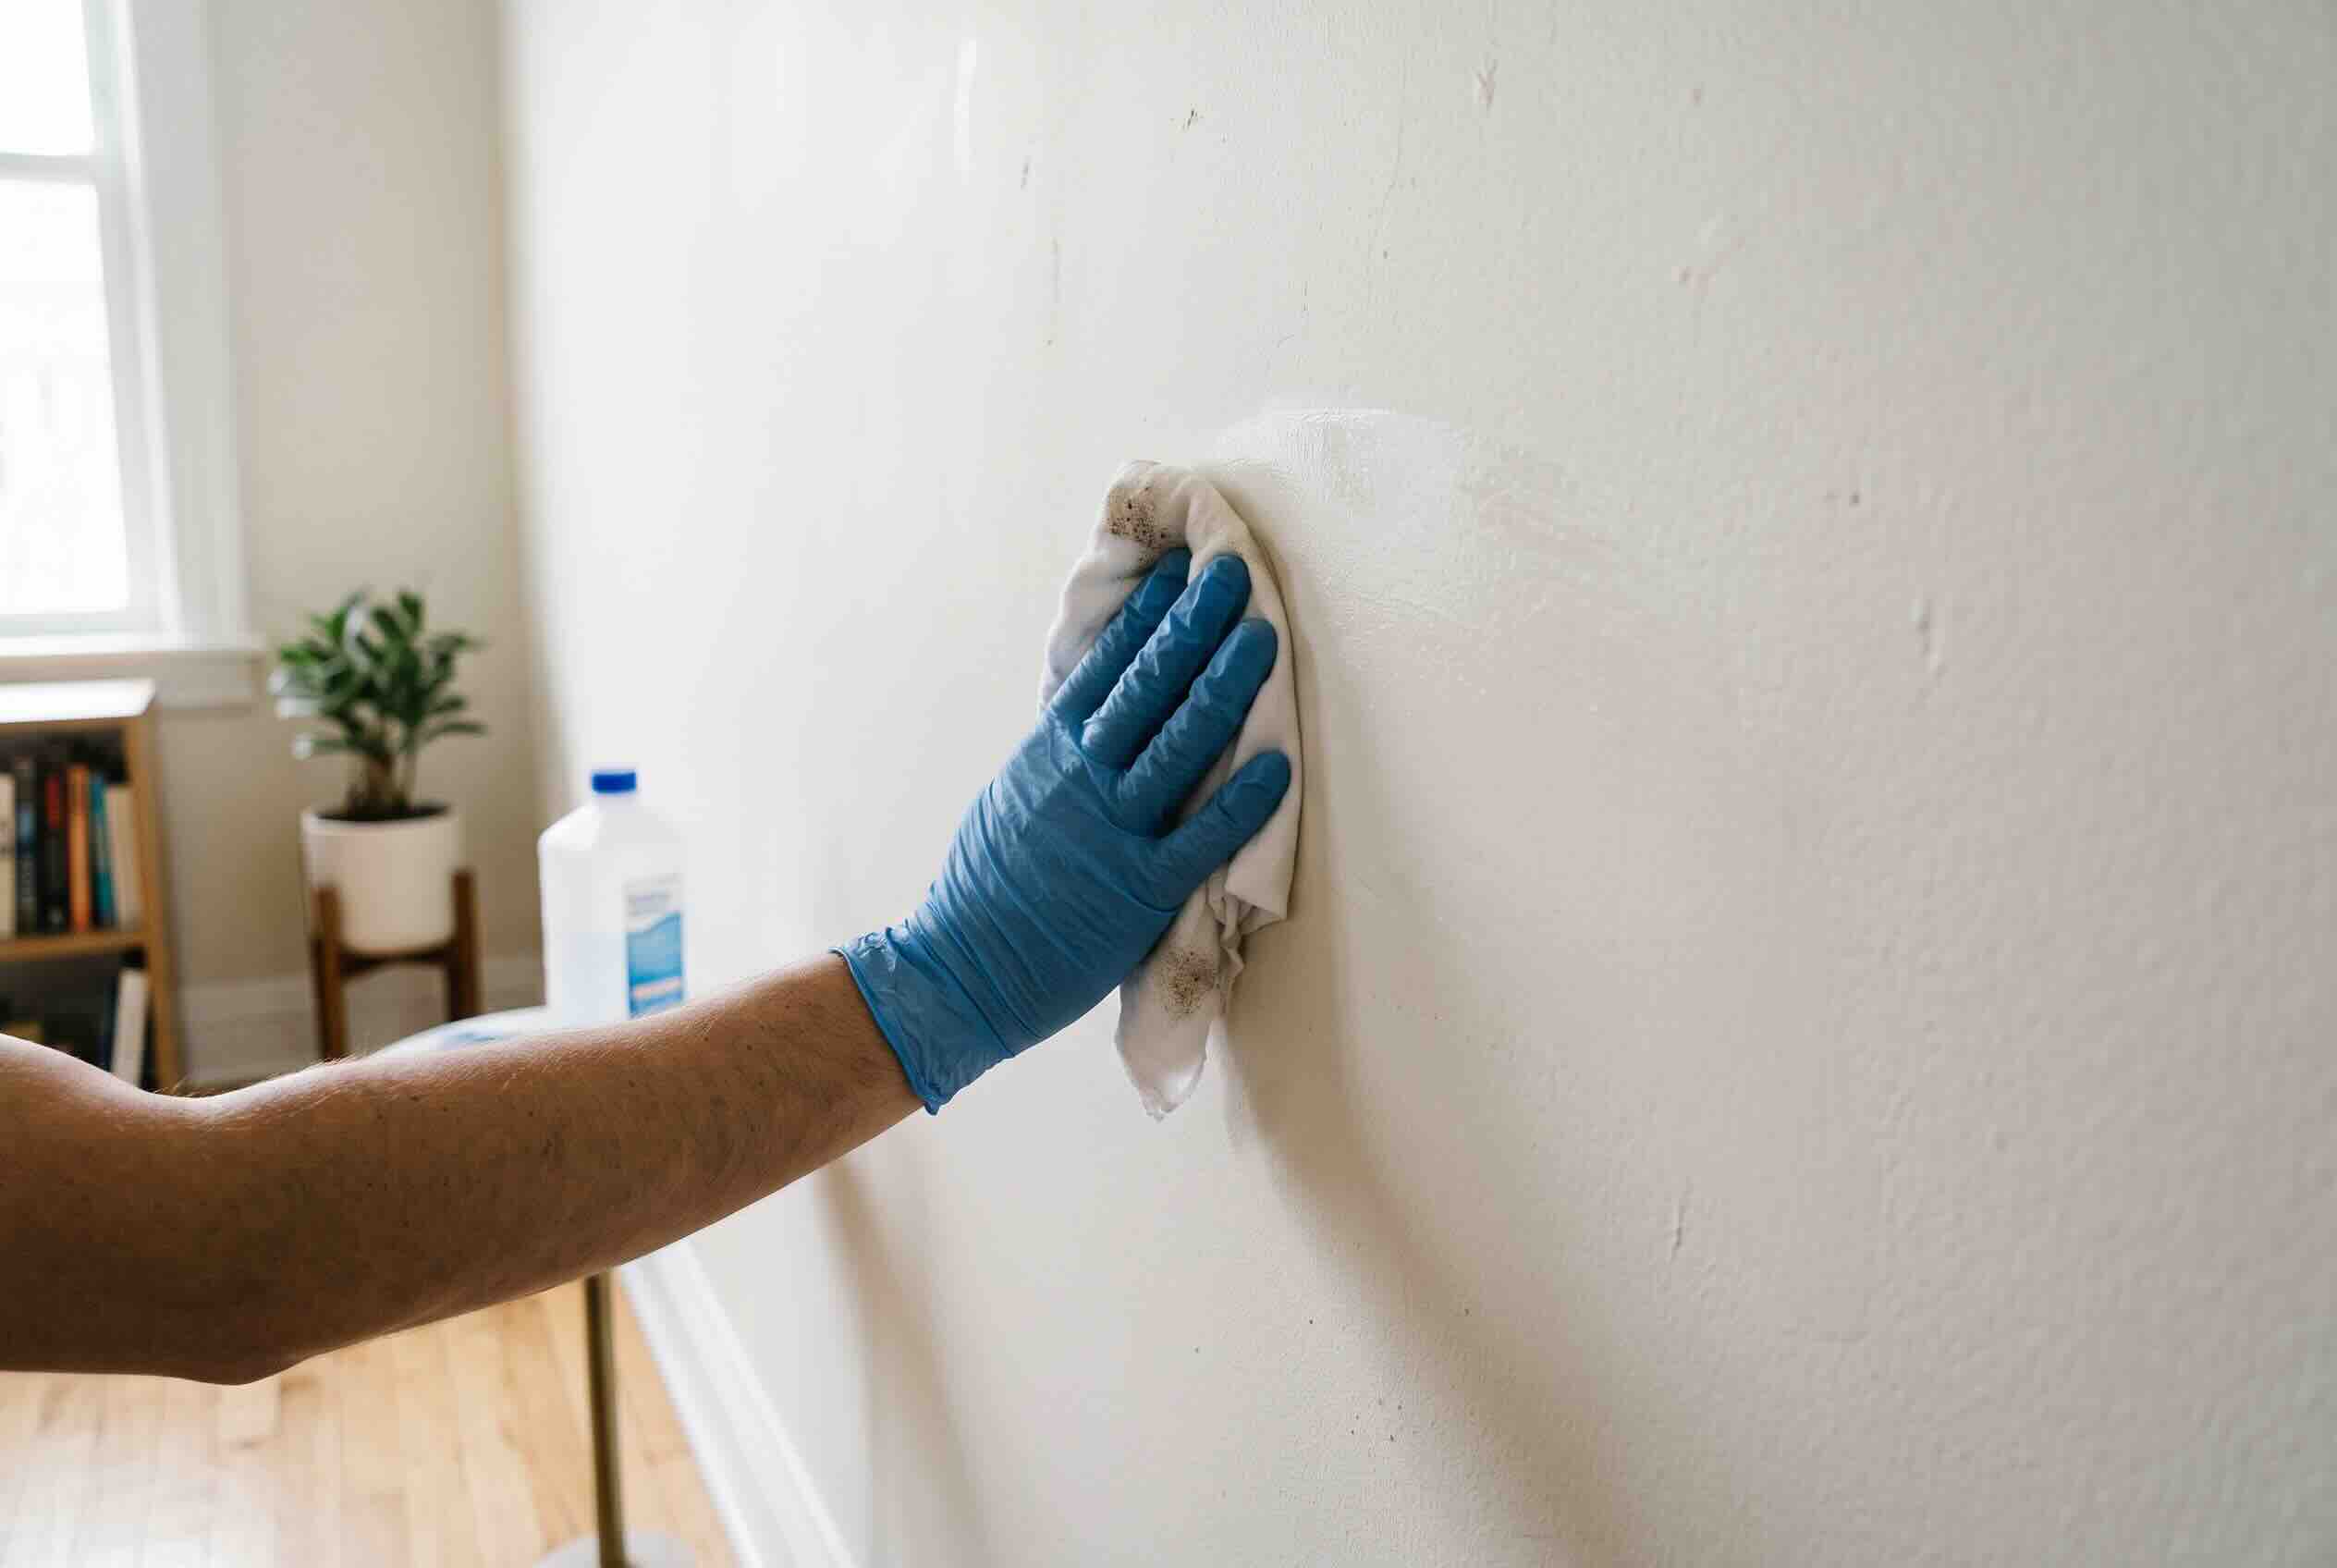
1. Clean the wall. Wash off dust, grease, and hand oil with mild soap, then wipe the surface with 70% rubbing alcohol to strip the last of the residue. A clean wall is the base every other step builds on.
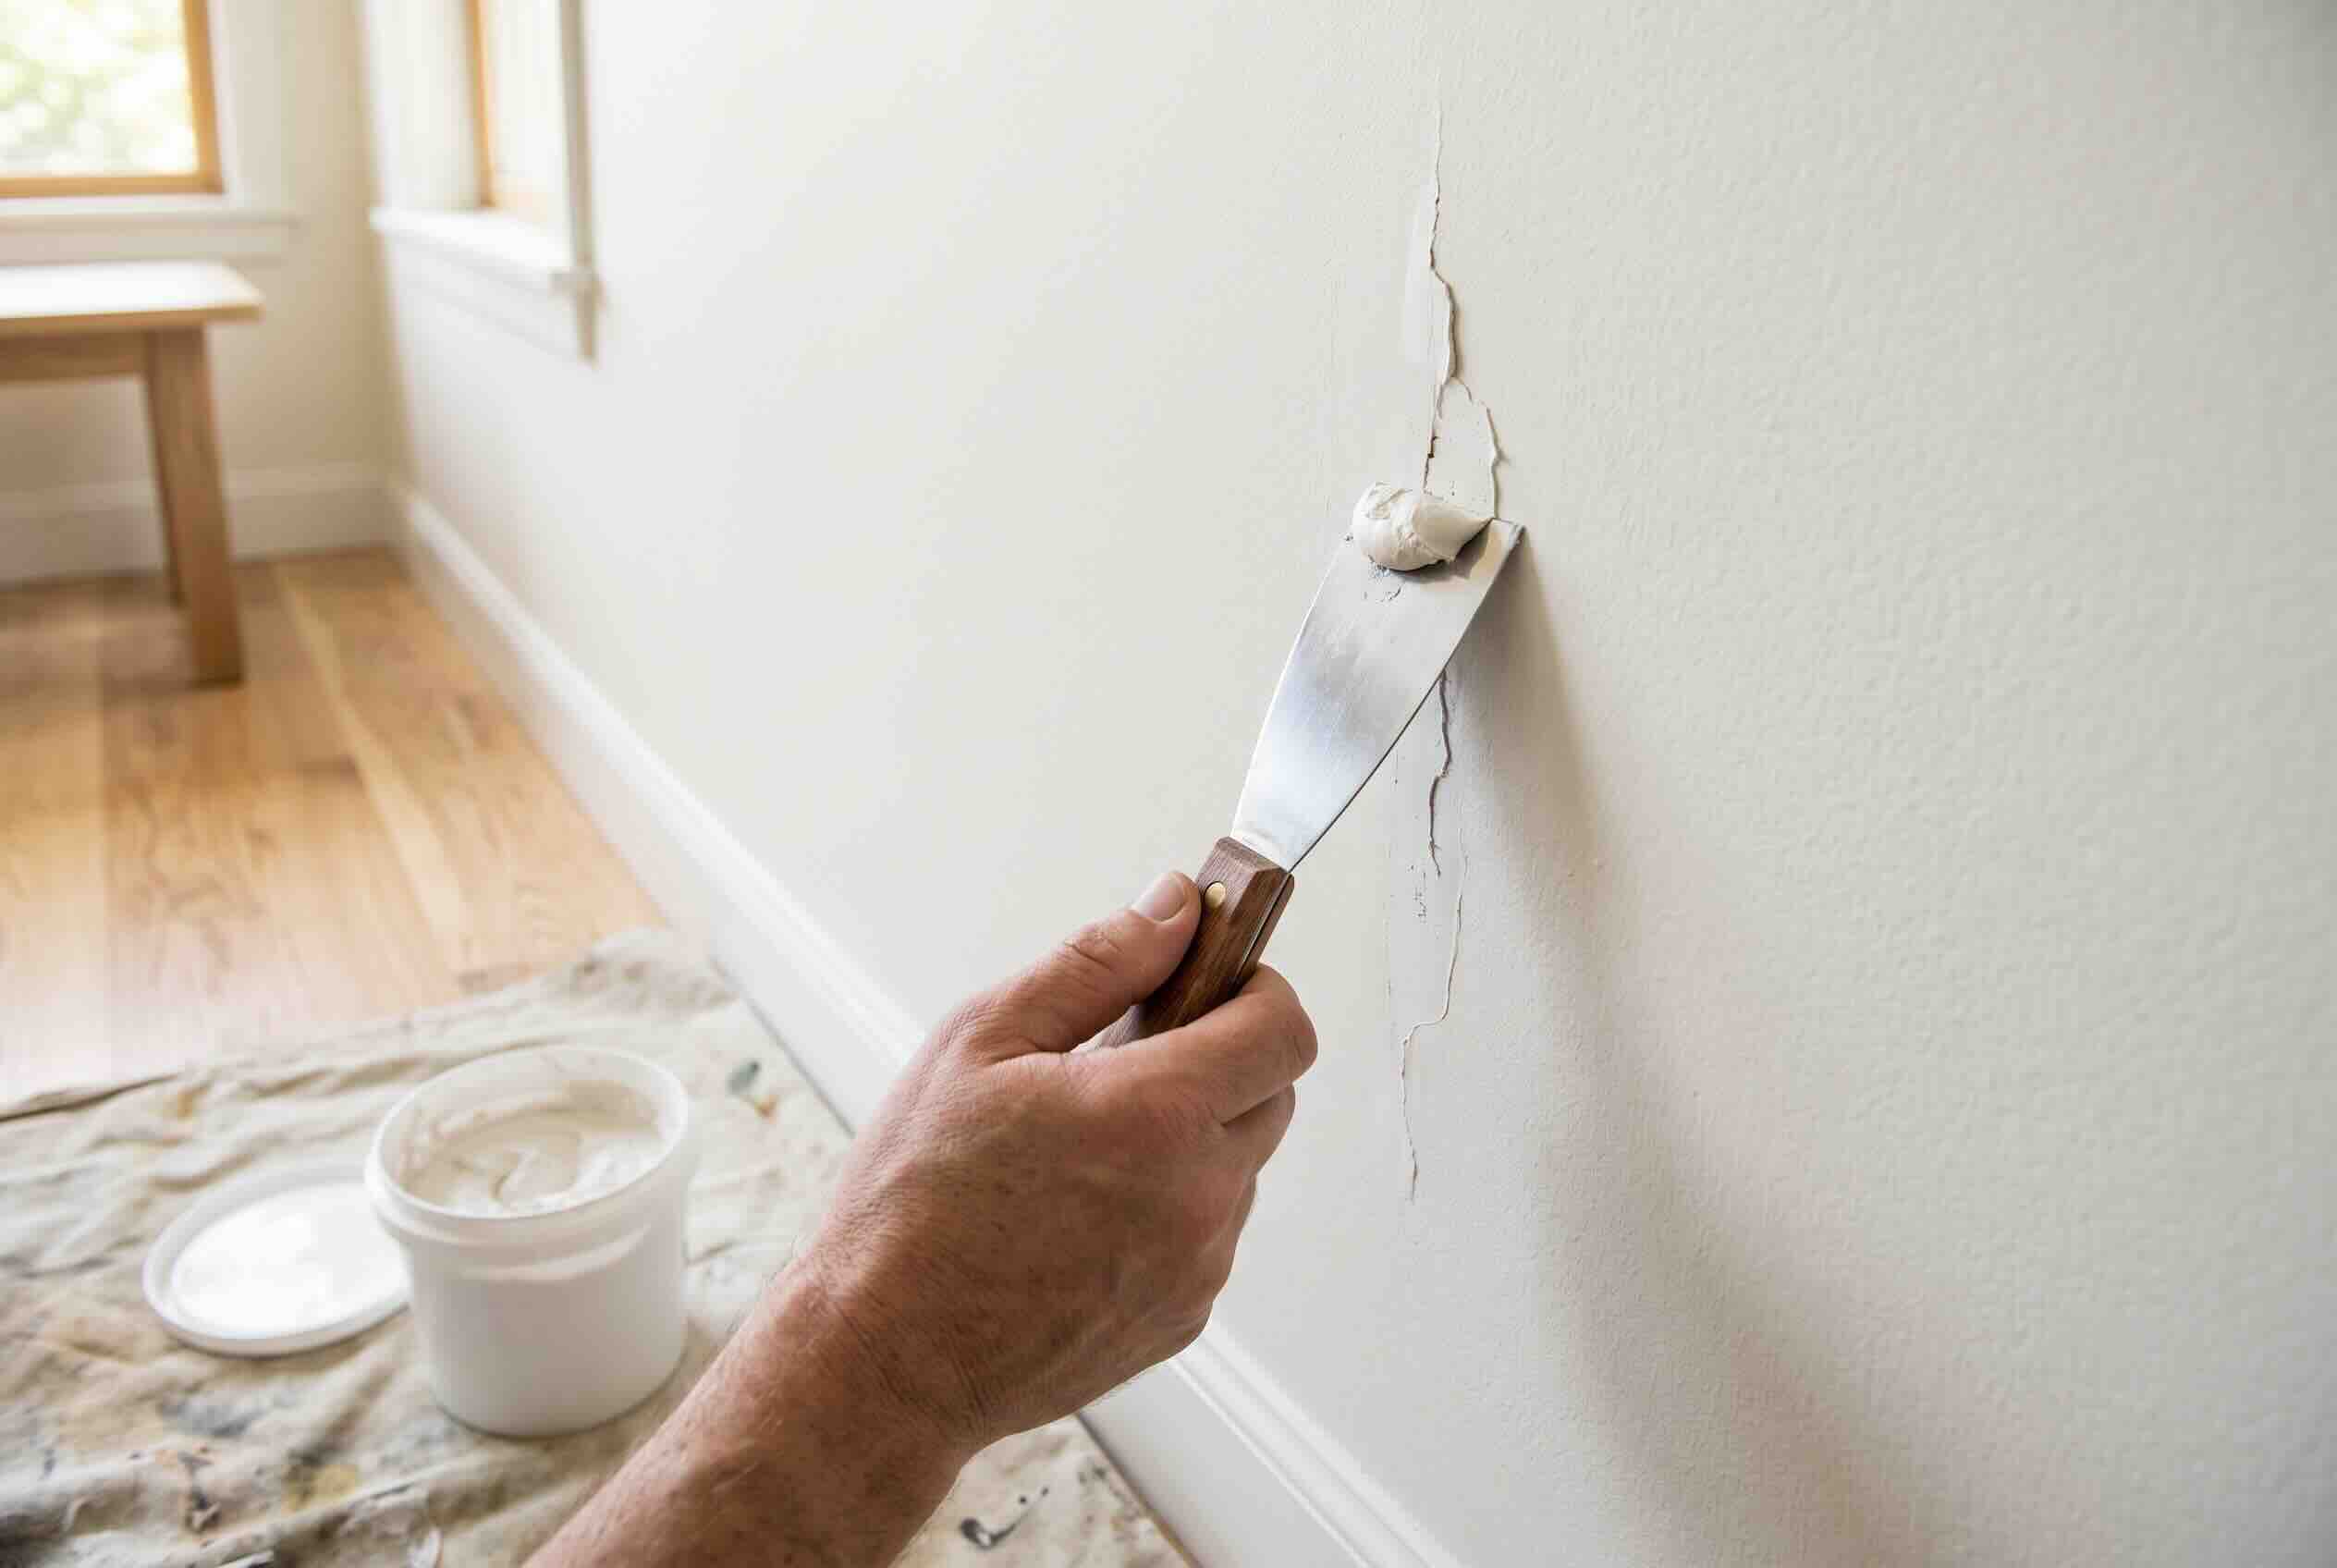
2. Repair and patch. Fill cracks, holes, and gouges with spackle so the surface sits flat. Both bumps and dips turn into lifting points once the paper goes over them.
3. Sand smooth. Sand the patches flush with 120- to 150-grit paper, and scuff-sand any glossy areas to dull the sheen. Wipe the sanding dust away with a tack cloth before you go further.
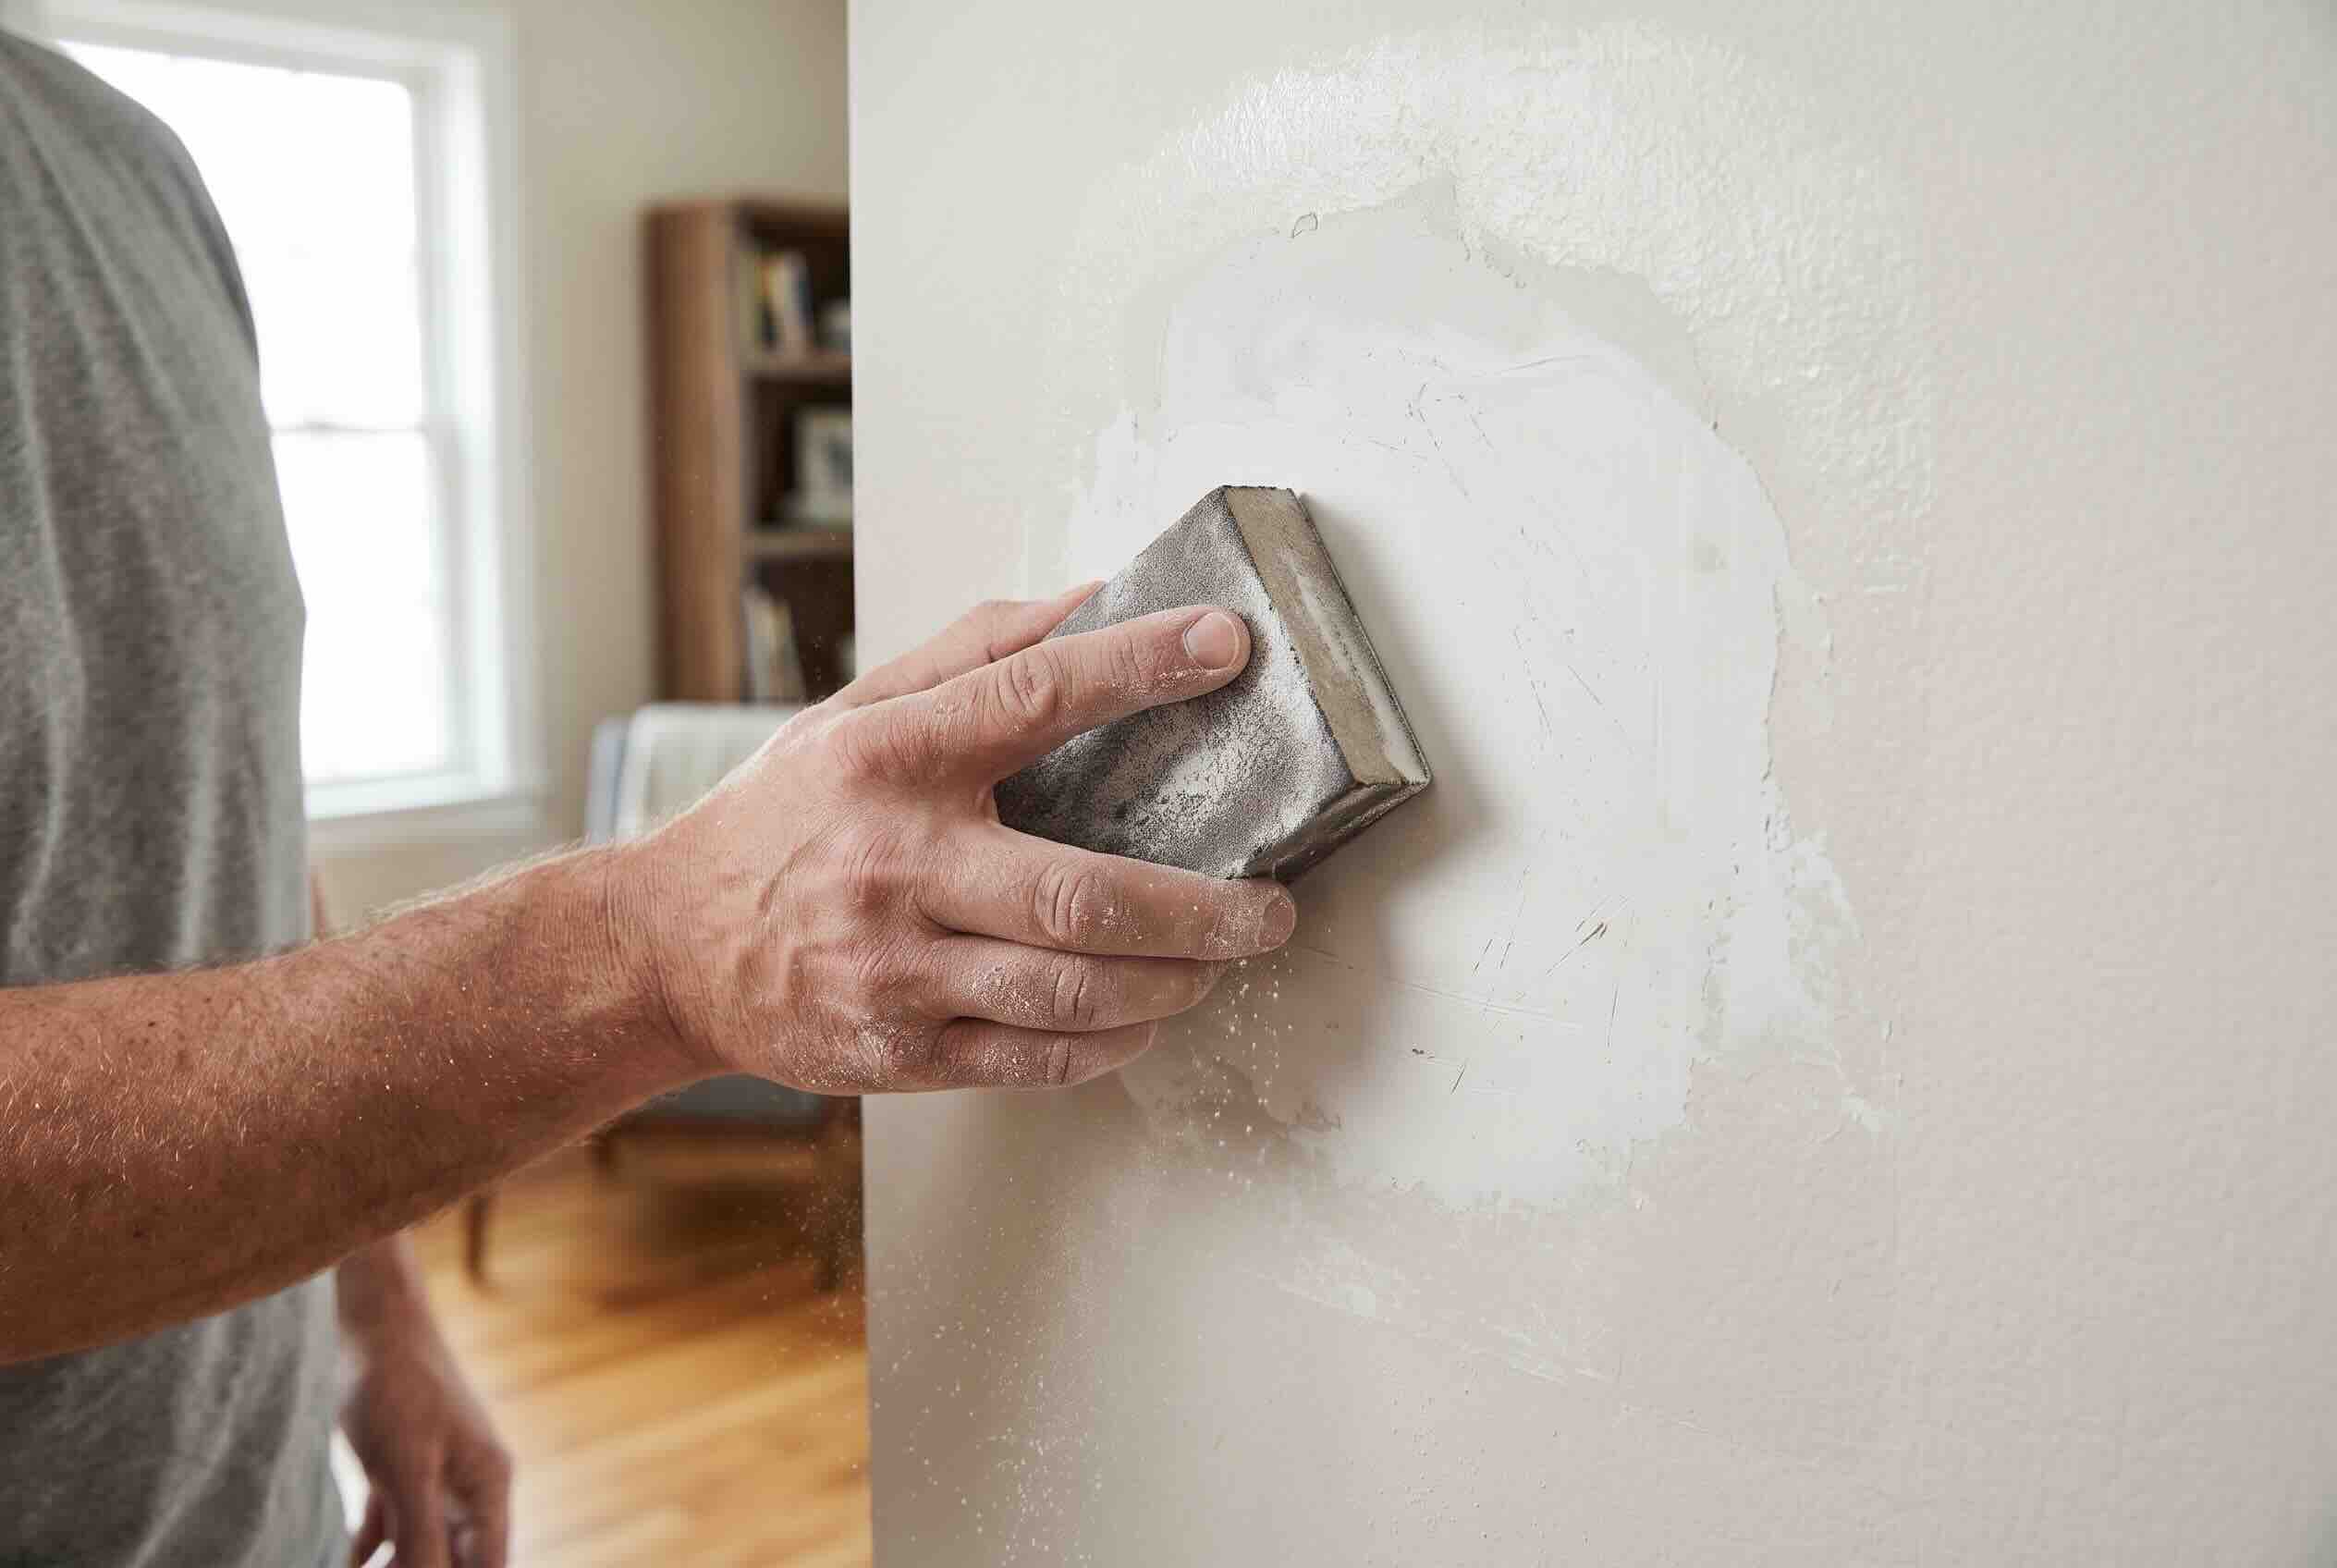
4. Prime if needed. Prime bare, glossy, patched, or dark walls so the adhesive meets a sealed, matte layer. You can skip this on a wall that is already clean, cured matte paint.
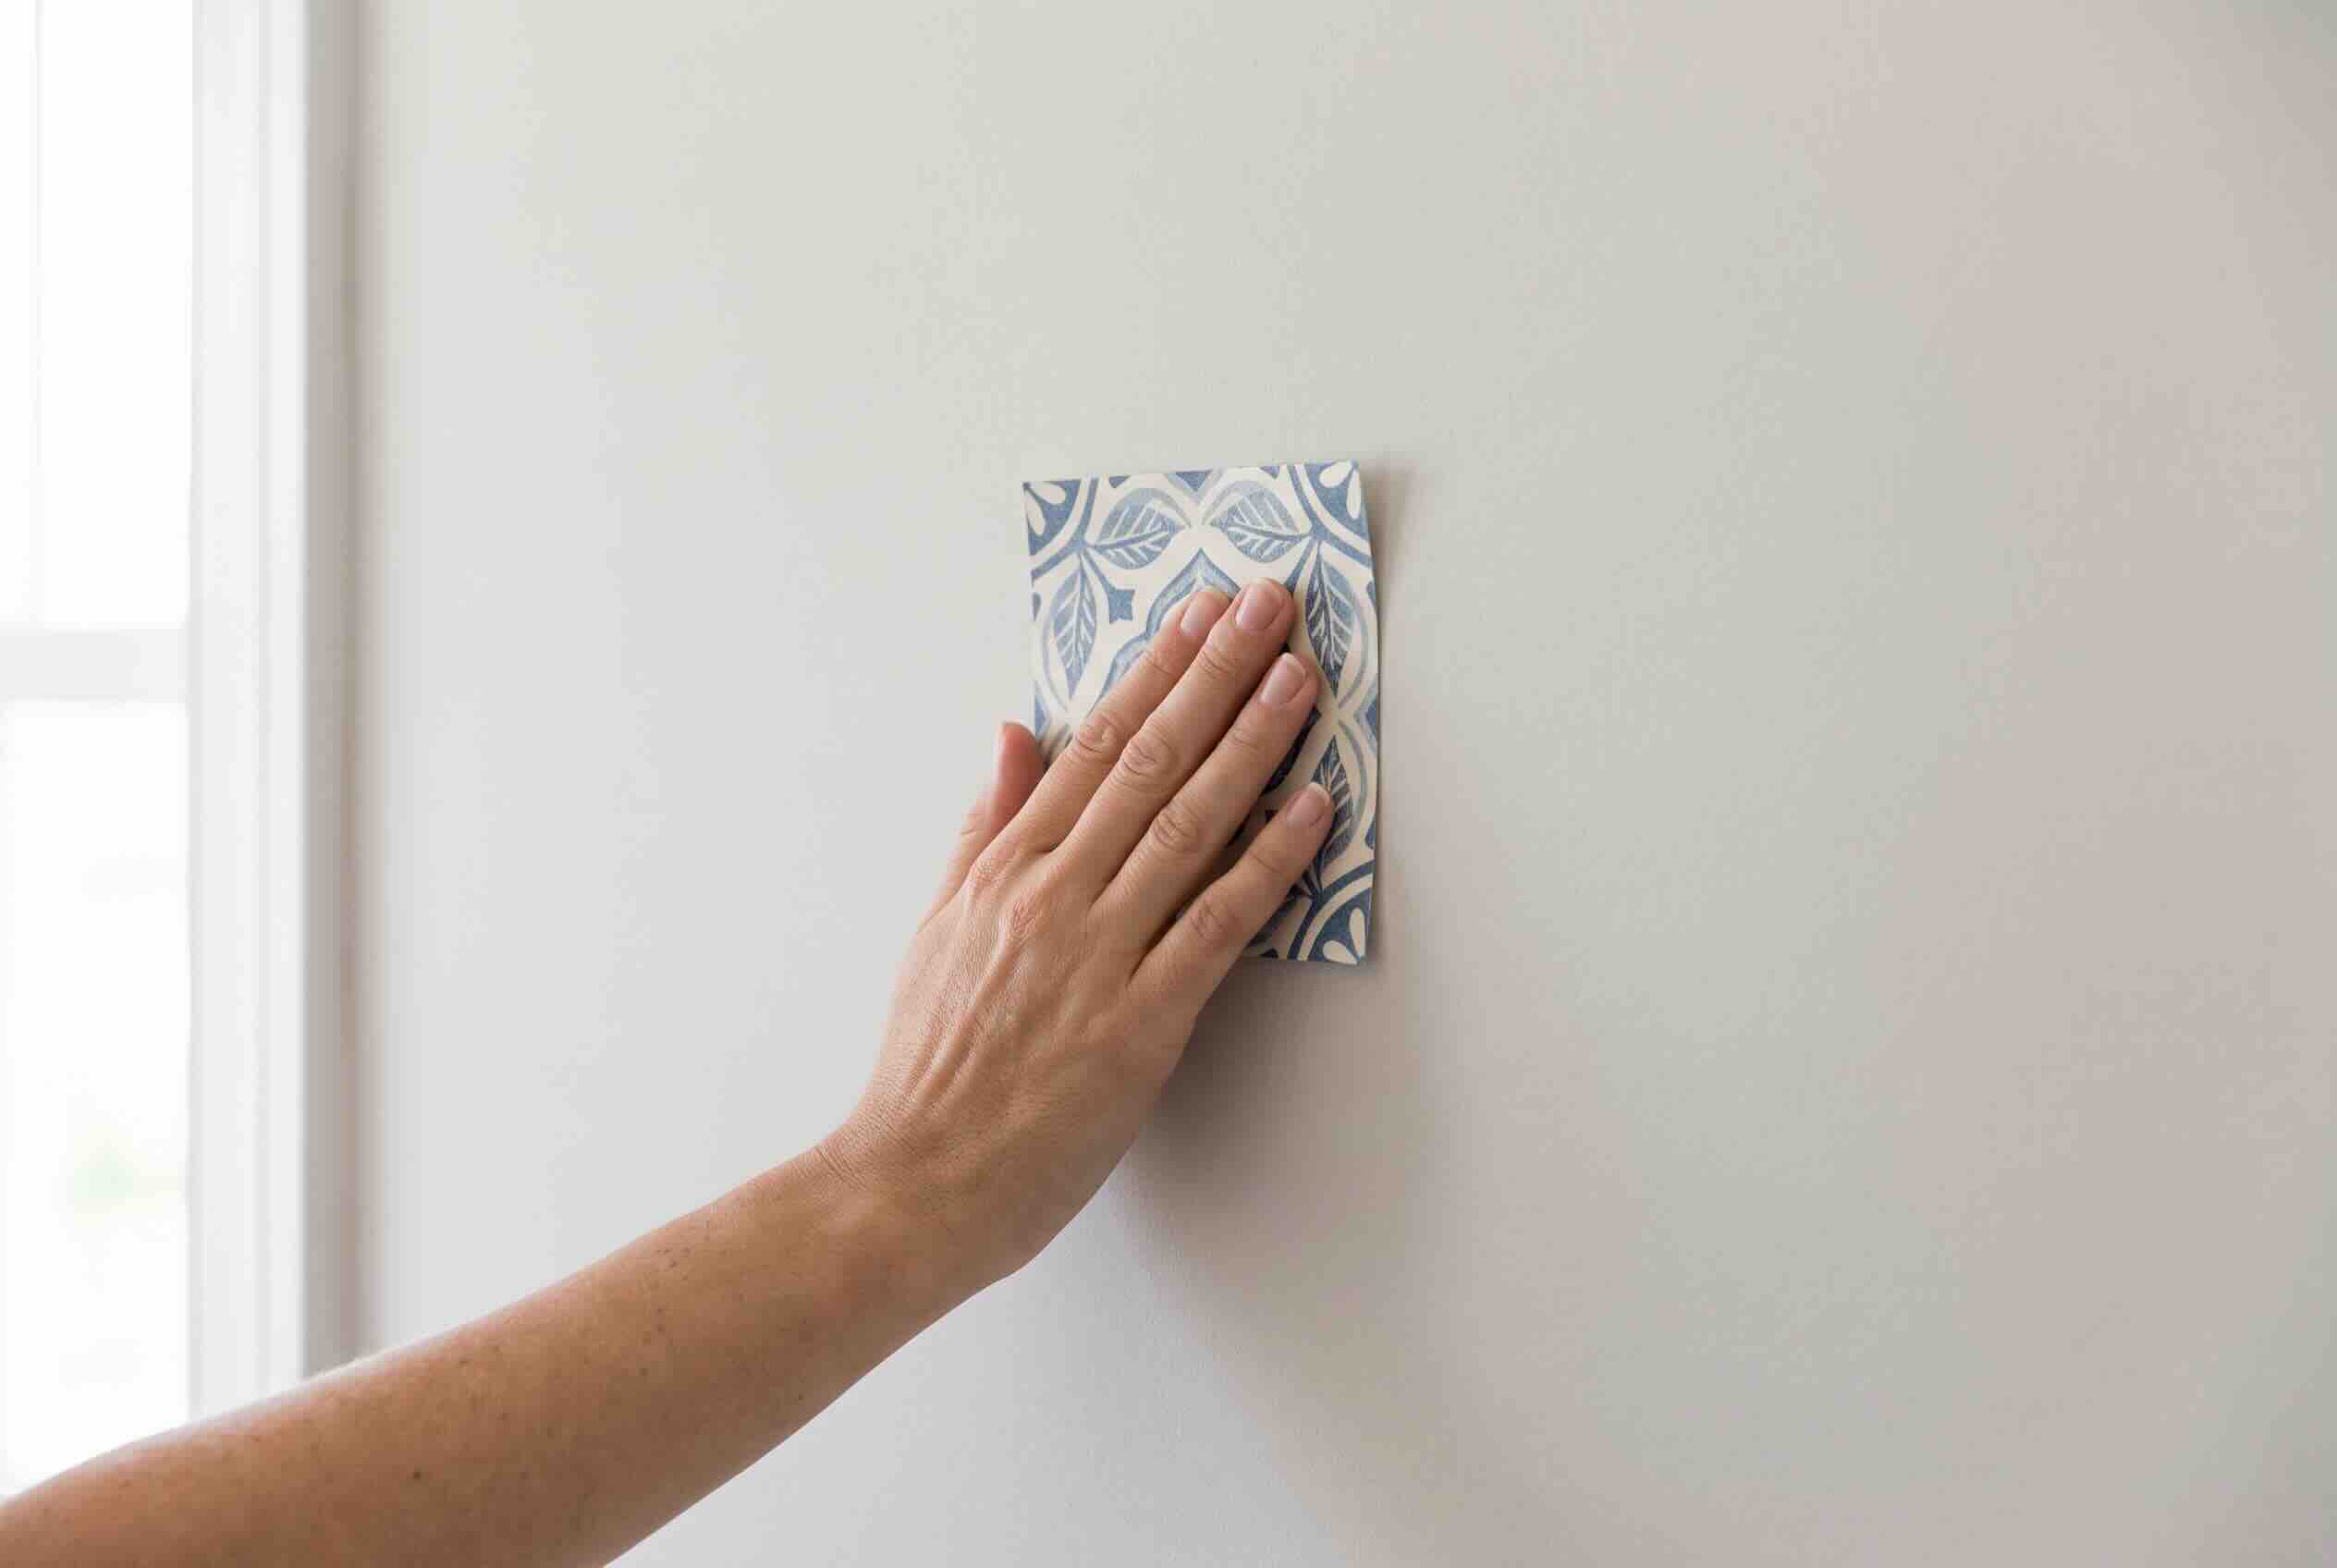
5. Cure and test. Let any fresh paint or primer cure fully, then run a swatch test before you commit to the whole wall.
How to Prep Different Wall Types for Peel and Stick Wallpaper
Your surface type is the single biggest factor in whether the paper sticks, more than the room or the brand. Identify which wall you have before you start, because the surface-specific part of how to prep walls for peel and stick wallpaper changes from one type to the next. The table gives the short version, and the sections below fill in each case.
| Wall type | Sticks well? | Key prep step |
| Matte / eggshell drywall | Yes | Clean and cure |
| Satin / semi-gloss / gloss | With prep | Scuff-sand or prime |
| New / bare drywall | After sealing | Prime, then cure |
| Plaster | Usually | Patch, sand, prime chalky spots |
| Textured | Hard | Skim coat or liner |
| Wood paneling | With prep | Fill grooves, sand, prime |
| Brick / concrete / masonry | No | Skim coat or panel first |
| Moisture-prone | Yes, with care | Deep clean and ventilate |
Matte and Eggshell Painted Drywall
Matte and eggshell paint is the surface everything else is trying to imitate. The slightly rough, low-sheen finish gives pressure-sensitive adhesive plenty to grip, so it holds without special treatment. All this wall needs is a wipe-down to remove dust and grease, plus confirmation that the paint has fully cured. If your wall already looks like this, most of your prep is done.
Satin, Semi-Gloss, and High-Gloss Painted Walls
Anything with a sheen fights you, because the slick surface gives the adhesive little to hold onto. Glossy paint is the most common cause of lifting seams, since the bond looks fine at first and then releases days later. Fix it by scuff-sanding the wall lightly to dull the sheen, then wiping it down with 70% rubbing alcohol, or prime over it for a fresh matte layer. Either route turns a slick wall into one that keeps the paper.
New or Unpainted Drywall
Bare drywall looks ready, but it is a trap. The exposed paper face and joint compound are porous, so the adhesive sinks in and grabs too well, which means the wallpaper tears the drywall surface when you remove it later. Seal it first by priming, and ideally painting, then let that coat cure before you hang anything. Sealing turns a fragile surface into a sound one.
Plaster Walls
Plaster usually cooperates once it is smooth and sound. Fill any cracks or holes with spackle, sand them flush, and prime spots that feel chalky or powdery so the surface holds together under the adhesive. Older plaster is where to slow down, since decades of settling can leave it uneven or crumbling in places. Get it flat and sealed, and it takes wallpaper well.
Textured Walls (Orange Peel, Knockdown, Popcorn)
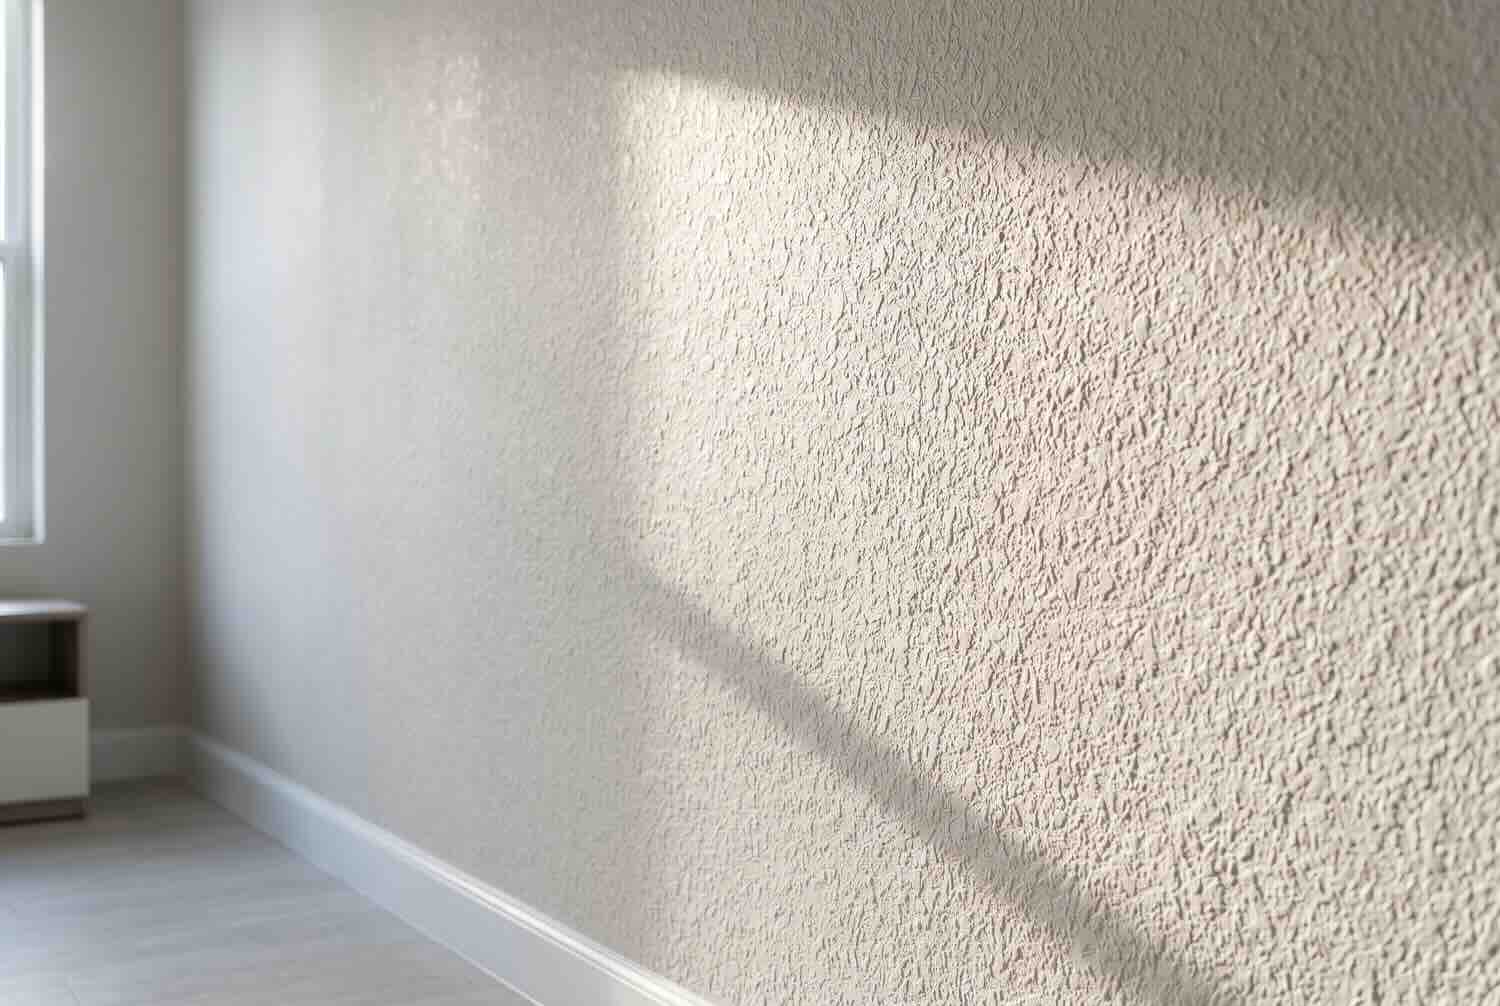
Texture is where most prep jobs get hard, because the adhesive only grabs the high points and skips the valleys. Light orange peel sometimes holds after you test a small patch, so a swatch is worth it before you commit. Knockdown and popcorn are rougher, and they usually need a skim coat of joint compound or a wallpaper liner to create a smooth plane. Without that, the paper bridges the dips and lifts.
Wood Paneling and Grooved Surfaces
Grooved wood paneling has one enemy: the grooves. Fill every seam and groove with joint compound, sand the wall flat, and prime it so the adhesive meets one continuous surface. Any groove you leave telegraphs through the wallpaper as a line and becomes a starting point for lifting. Flatten it fully and paneling stops being a problem.
Brick, Concrete, and Masonry
Brick and masonry are the walls to talk yourself out of. Their surfaces are too irregular and porous for the adhesive to form a reliable bond, so wallpaper hung straight on them rarely lasts. If you want the look, the only dependable path is to skim-coat the surface smooth first or mount a panel over it and wallpaper that. On raw brick, this is not a job worth forcing.
Moisture-Prone Walls (Bathrooms and Kitchens)
Damp rooms follow the same rules with the volume turned up. Clean these walls harder to cut through soap film and cooking grease, since that residue is heavier here than anywhere else in the house. Ventilation does the rest of the work by keeping the wall dry once the paper is up. For the full damp-room breakdown, see whether peel and stick works in bathrooms before you start.
Common Mistakes to Avoid
The most common failure is hanging over a wall that only looks clean, since a thin film of dust, grease, or hand oil is enough to keep the adhesive from bonding. Rushing the paint cure sits close behind, where an install over a two-week-old coat bubbles as the paint keeps outgassing underneath. Ignoring texture is the third, because a wall that needs a skim coat lifts no matter how carefully you press.
Two smaller mistakes round out the list. Over-wetting the wall during cleaning leaves moisture behind that weakens the bond, so wipe with a damp cloth rather than a soaking one and let it dry fully. And skipping the swatch test removes your one chance to catch a problem before it costs you a whole roll.
Frequently Asked Questions
Can you apply peel and stick wallpaper over existing wallpaper?
It is not recommended, since you are trusting the old wallpaper’s bond to hold your new sheet, and any seam or bubble underneath telegraphs through. Remove the existing paper and prep the bare wall instead. If the old paper is painted over and dead flat, a swatch test is the only way to know.
How do you prep a rental wall without priming?
Clean it with mild soap, let it dry, then wipe with 70% rubbing alcohol to strip residue. As long as the wall is cured matte or eggshell paint, that is usually enough to skip primer. Save priming for glossy or bare walls, which a landlord may not want altered anyway.
How long does primer need to dry before you can wallpaper?
Most primers are dry to recoat in a few hours, but give a new primer coat at least 24 hours before hanging wallpaper. If you primed bare drywall, treat it like fresh paint and allow a longer cure. Check the label, since fast-dry and standard formulas differ.
Can you use a Magic Eraser or vinegar to clean the wall first?
A Magic Eraser can lift scuffs, but it may also dull or thin the paint, so test a hidden spot first. Skip vinegar, since it leaves an acidic residue that can interfere with the adhesive. Mild soap followed by rubbing alcohol is the safer routine.
Can you speed up paint drying with a fan and apply the same week?
A fan speeds surface drying, but it cannot shortcut the full cure that happens underneath. Applying the same week still risks bubbling from trapped moisture and outgassing. Airflow helps, but the 30-day cure rule still stands.
Conclusion
Strong prep comes down to three make-or-break points: get the wall clean and smooth, let the paint fully cure, and match the prep to your surface type. Handle those and the adhesive has what it needs to hold flat for years instead of failing at the edges. Rush any one of them and you will be re-hanging before long. When your wall is ready, read up on how to remove it cleanly on Home Tips Daily so you know what to expect once it is up, because getting how to prep walls for peel and stick wallpaper right is what makes the whole project work.