

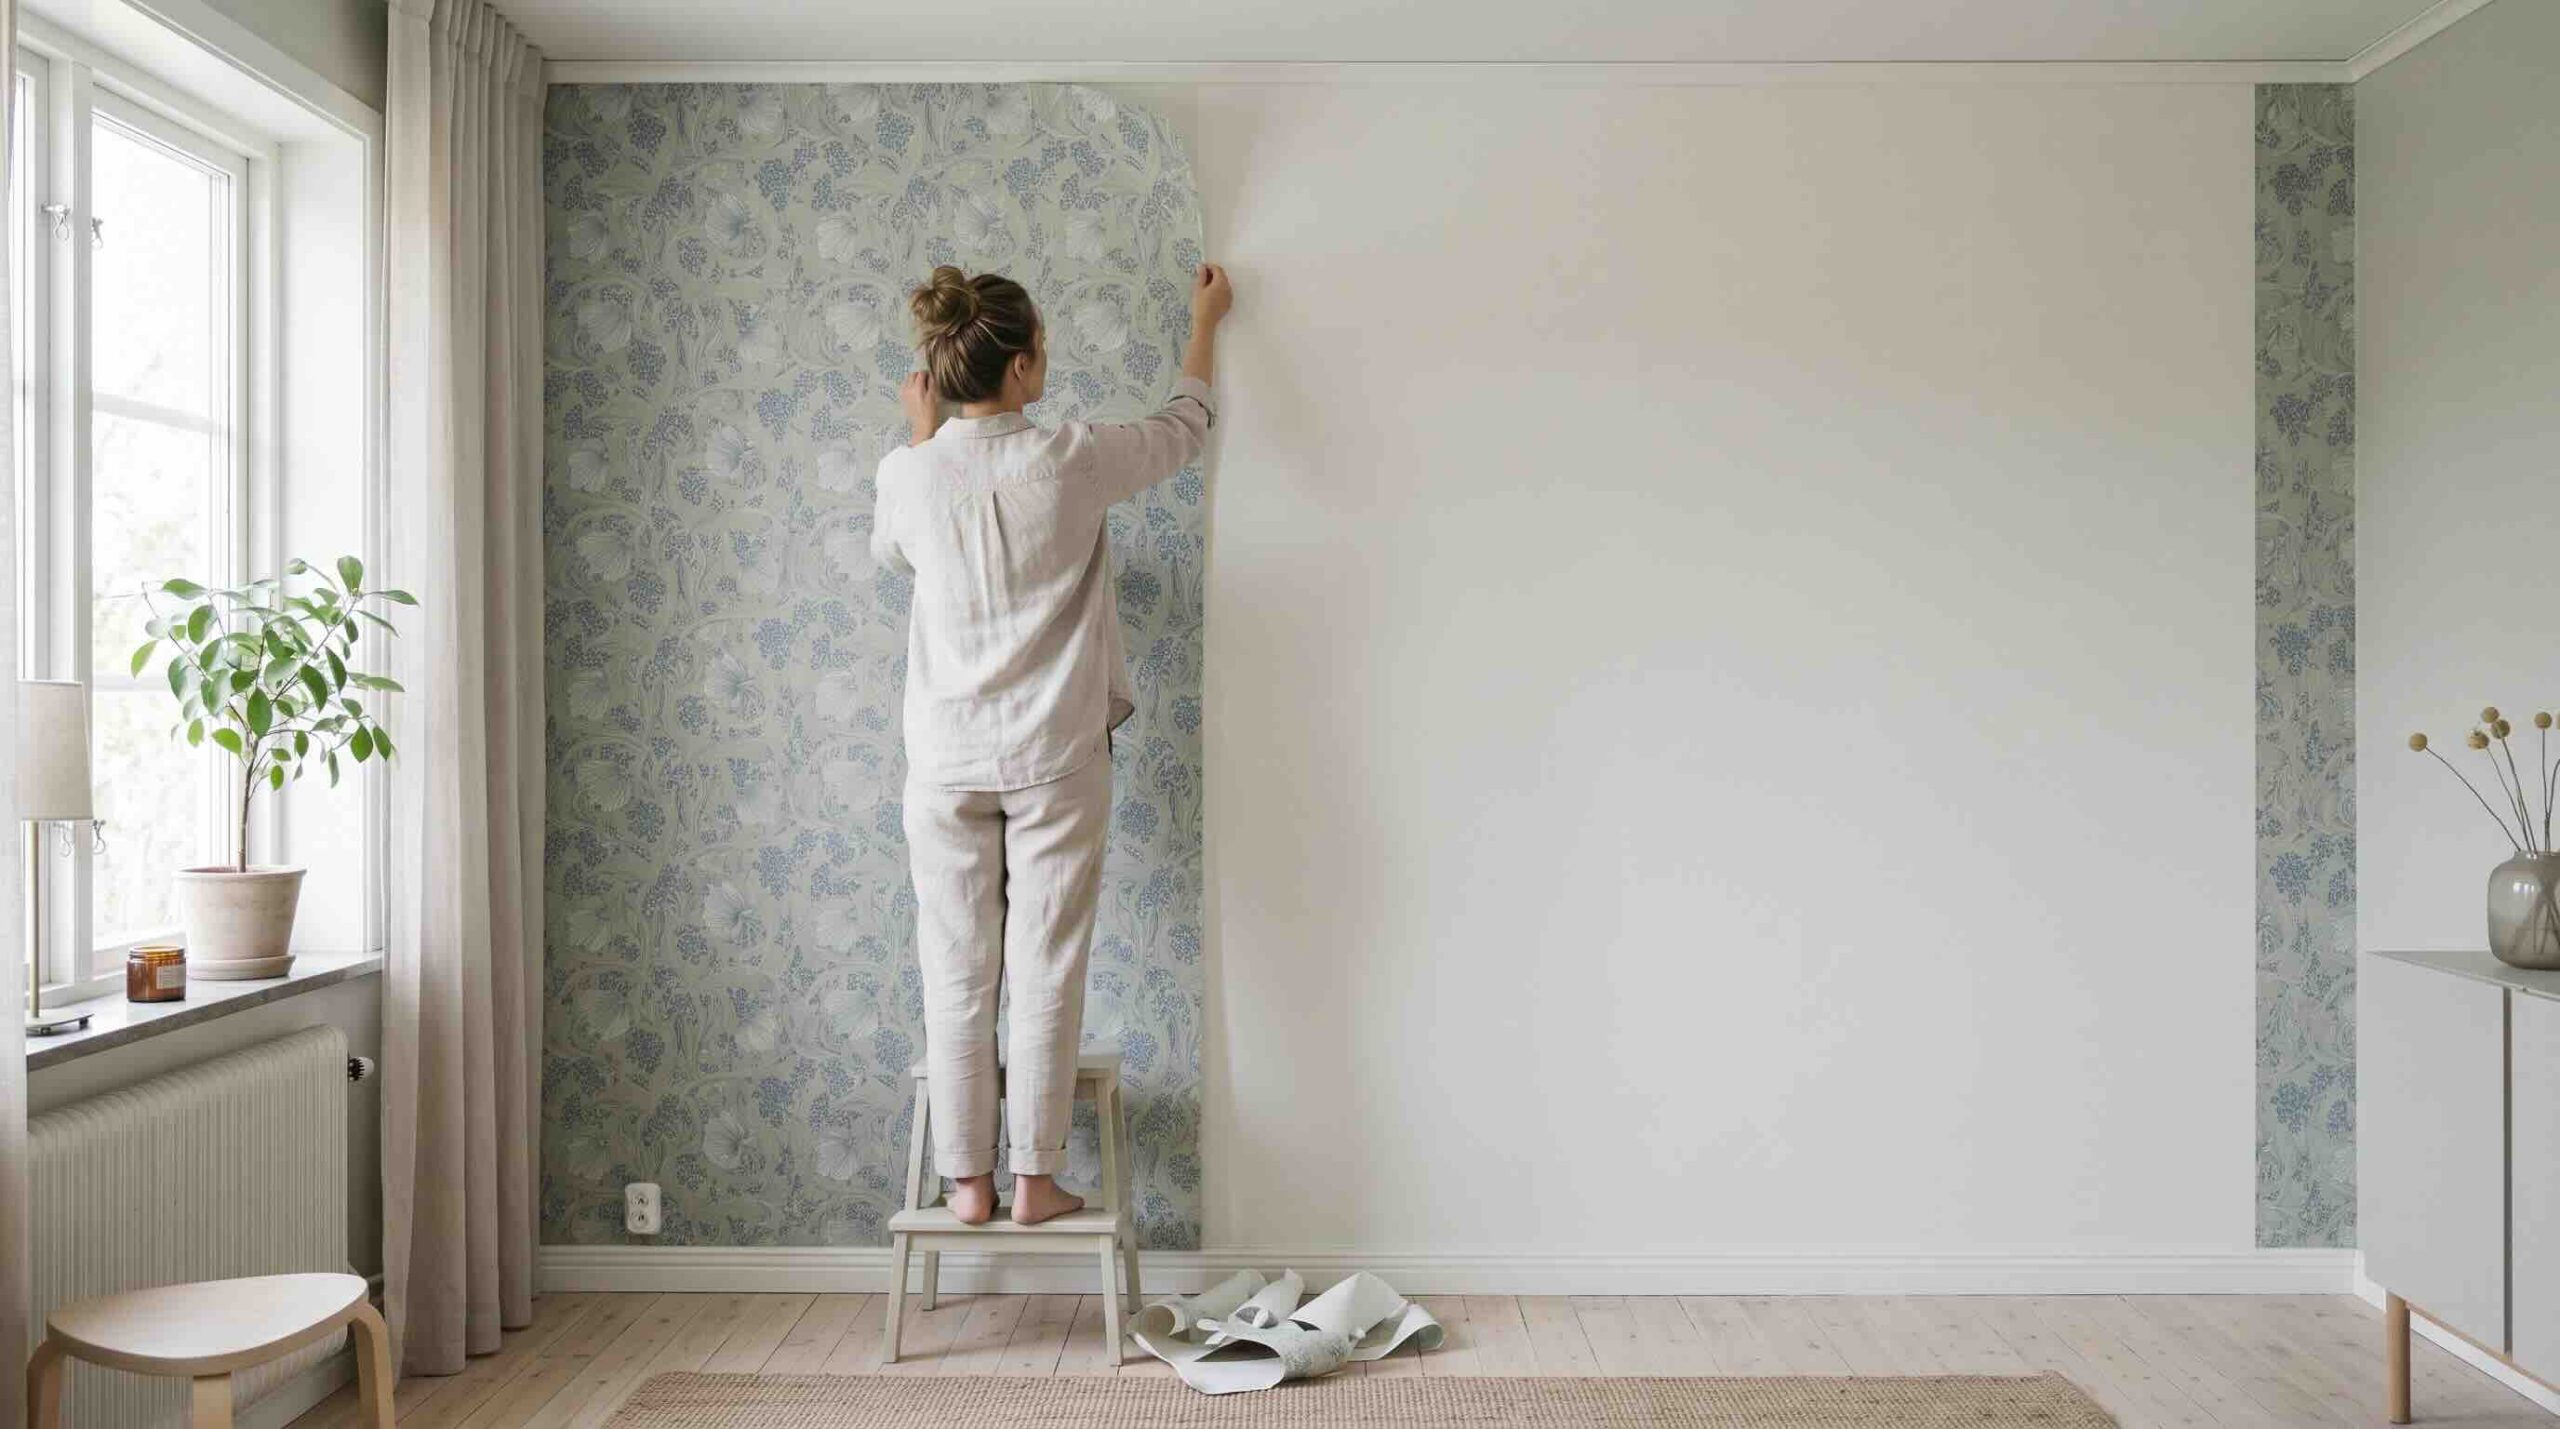
Peel and stick wallpaper is sold as temporary, so most people expect it to come off the moment they lose interest. In practice, how to remove peel and stick wallpaper without tearing your paint depends on getting the technique right: pull the wrong way and you end up patching damaged drywall. Two things decide the outcome: whether you can spot when the wall is vulnerable, and how you handle the sticky residue left behind. This guide covers both, walks through how to remove peel and stick wallpaper from wall to trim in a clear step-by-step process, and adds reliable fixes for when a sheet tears.
How Easy Is It to Remove? The Factors That Decide
Three things mostly decide how hard the job will be: how thick the wallpaper is, what state the drywall underneath is in, and how old your paint is.
Not every brand behaves the same way when it is time to take it down. Thicker, well-made paper usually releases in large sheets, whereas cheap vinyl frequently shreds into tiny pieces. Surface preparation matters just as much. A wall primed before installation lets the adhesive let go cleanly, while bare or freshly painted drywall often lifts right along with the decor.
Paint age feeds into the same problem. Fully cured finishes that have hardened for several weeks take the pulling force far better than soft, recent coats. Older installations grip more stubbornly because they have been up longer, and textured surfaces hold glue in every dip compared with flat finishes.
>>> Read More: How Long Does Peel and Stick Wallpaper Last? (Real Numbers)
What You Will Need (Tools and Prep)
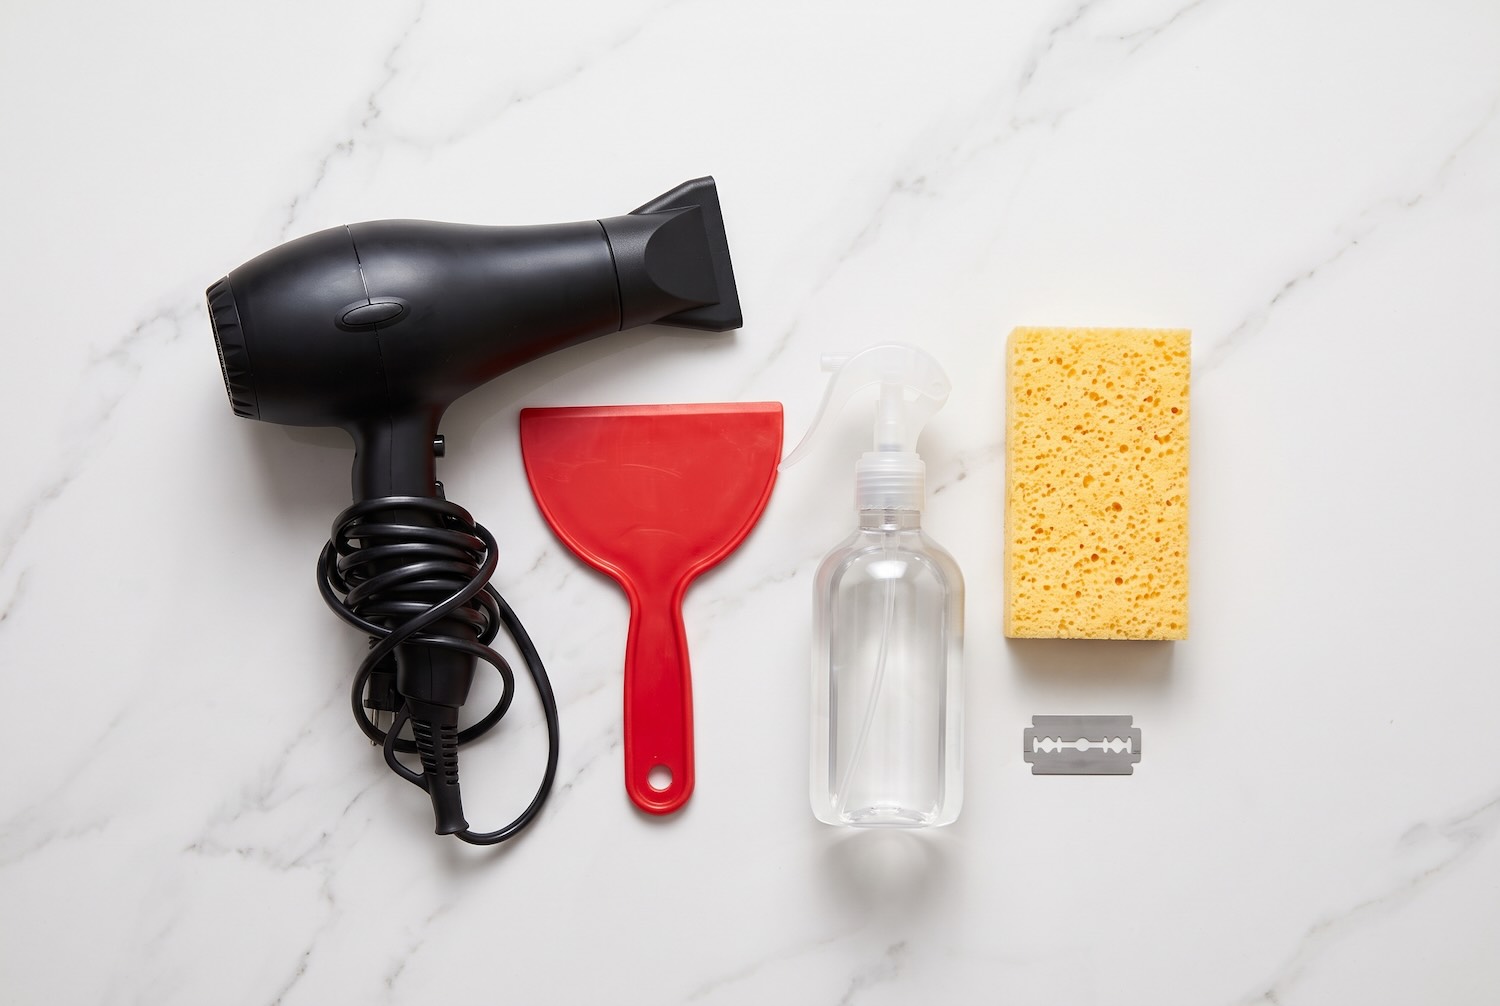
Keep the toolkit simple and non-damaging: a plastic scraper, a heating tool, a spray bottle, a sponge, a fresh razor, and a drop cloth.
Gather this whole kit before lifting a single corner. Stopping halfway to hunt for tools gives peeled sheets time to dry back down and stick again. Lay the drop cloth along the baseboard first to catch sticky peelings and drips, then clear the area of switch plates or hooks so nothing snags the paper as it falls.
One rule shapes the toolkit: keep metal away from the drywall wherever possible. Metal scrapers and putty knives dig into the surface and gouge paint the second they catch a rough edge, turning a peel job into a patch job. A stiff plastic scraper does the same lifting work without scarring the surface. Save the razor for scoring sealed edges, and never use it for prying.
How to Remove Peel and Stick Wallpaper From a Wall, Step by Step
The actual removal takes four moves, all aimed at a slow, steady release rather than brute force. Rushing tears the sheets and lifts the paint, so patience is part of the technique.
1. Start at the top corner.
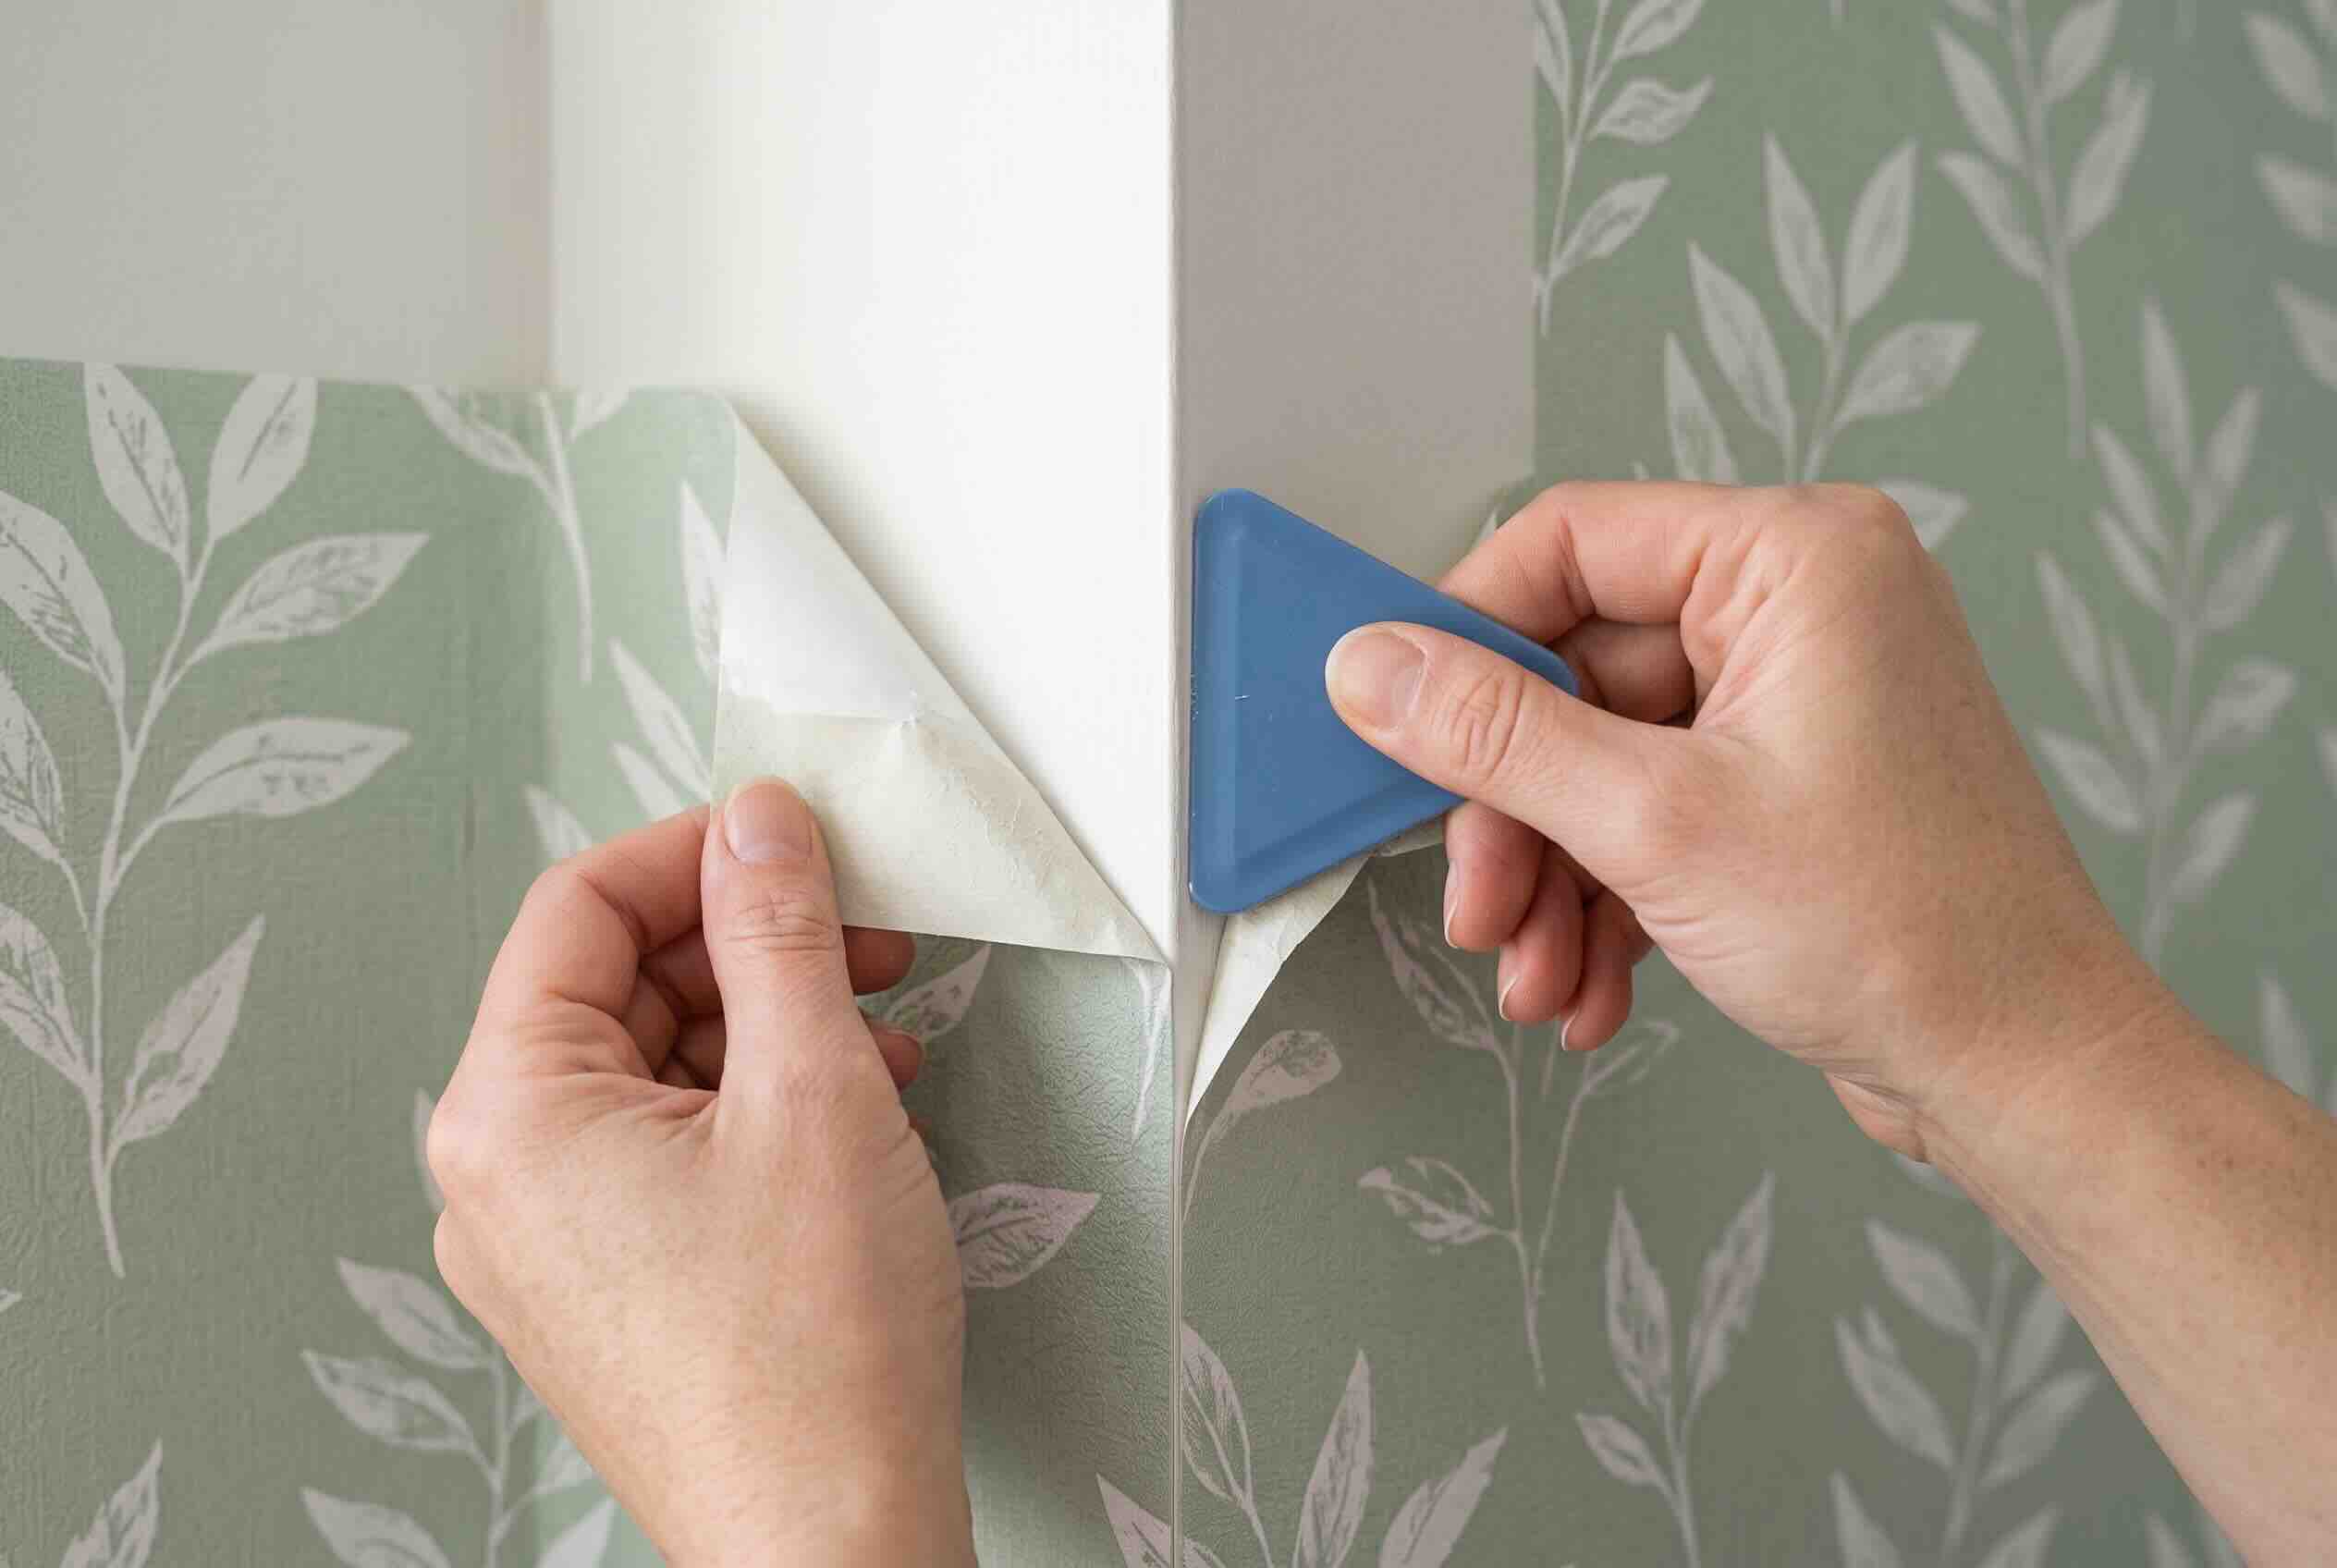
Catch the top edge with your fingernail or the tip of a plastic scraper to lift a small, grippable flap. Corners give you a clean anchor and preview how the sheet wants to come away. Take a moment to see whether it lifts in a wide strip or starts splitting before you commit to pulling.
2. Peel slowly and at the right angle.
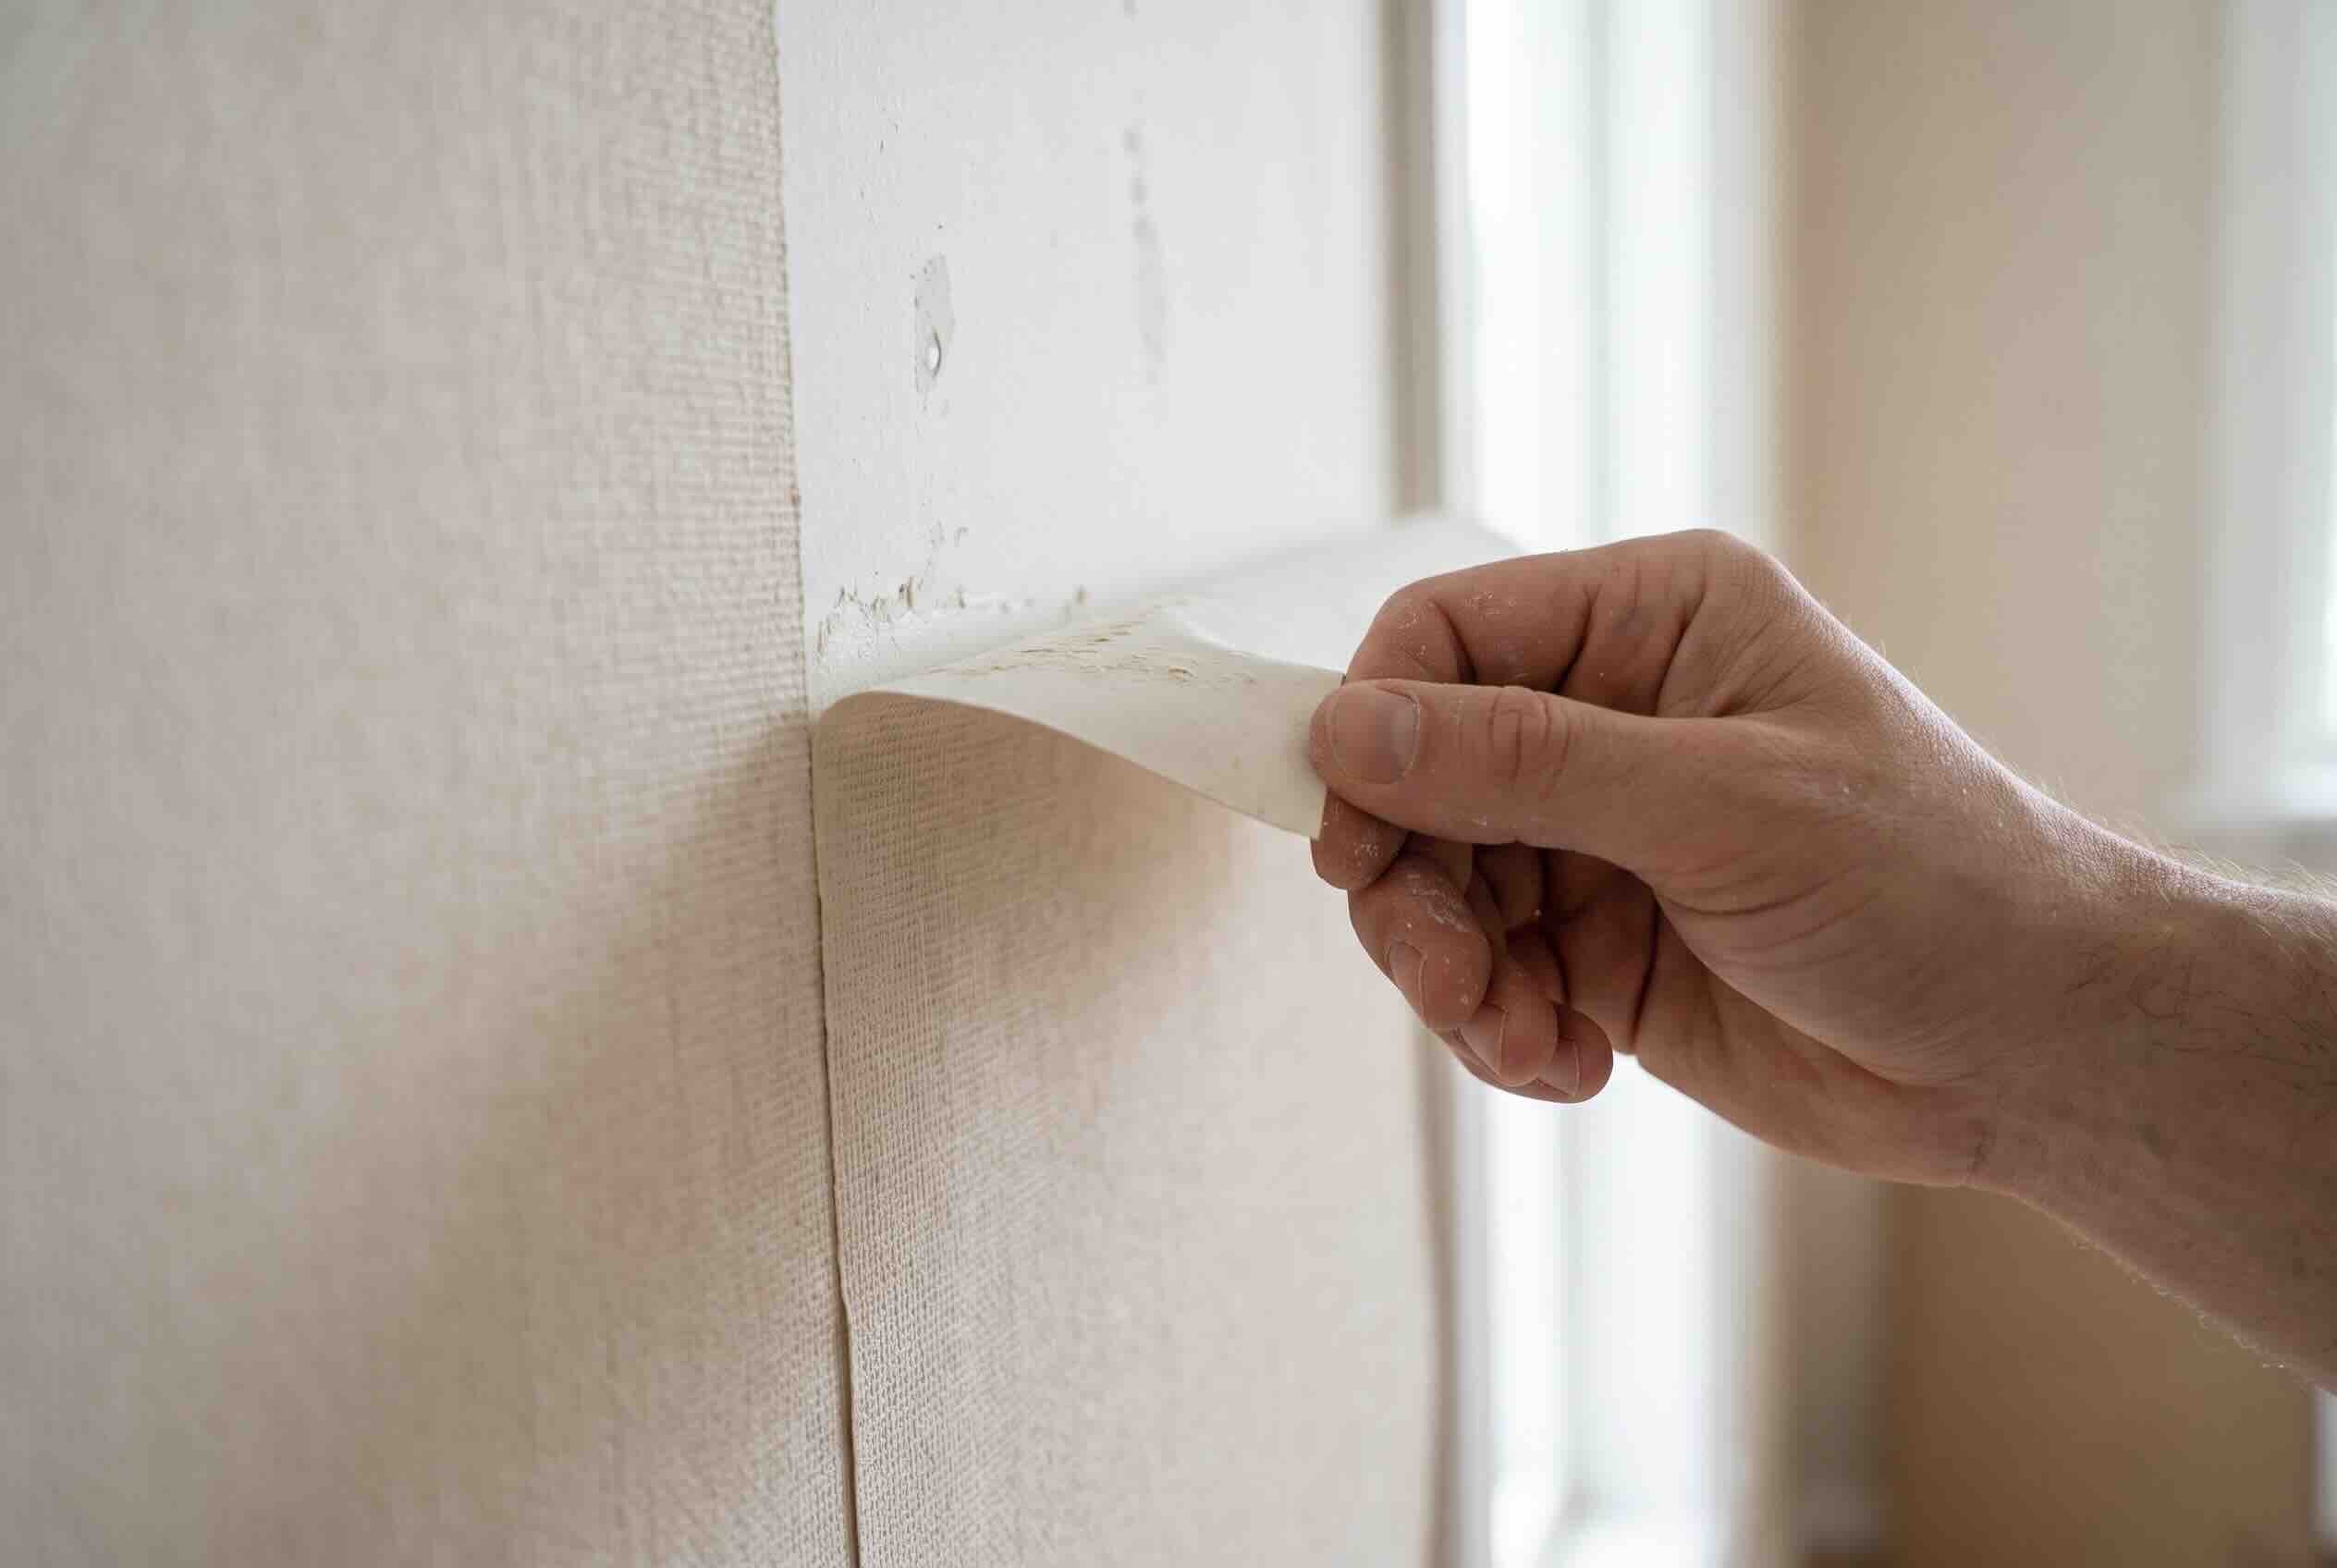
Fold the flap back on itself toward the opposite wall to make a tight bend close to 180 degrees, rather than a straight-out 45-degree tug. That tight fold keeps the tension on the glue line instead of dragging at the paint. Easing the sheet off gradually gives the adhesive time to release, which fixes the common mistake of peeling too fast.
3. Apply heat to stubborn sections.
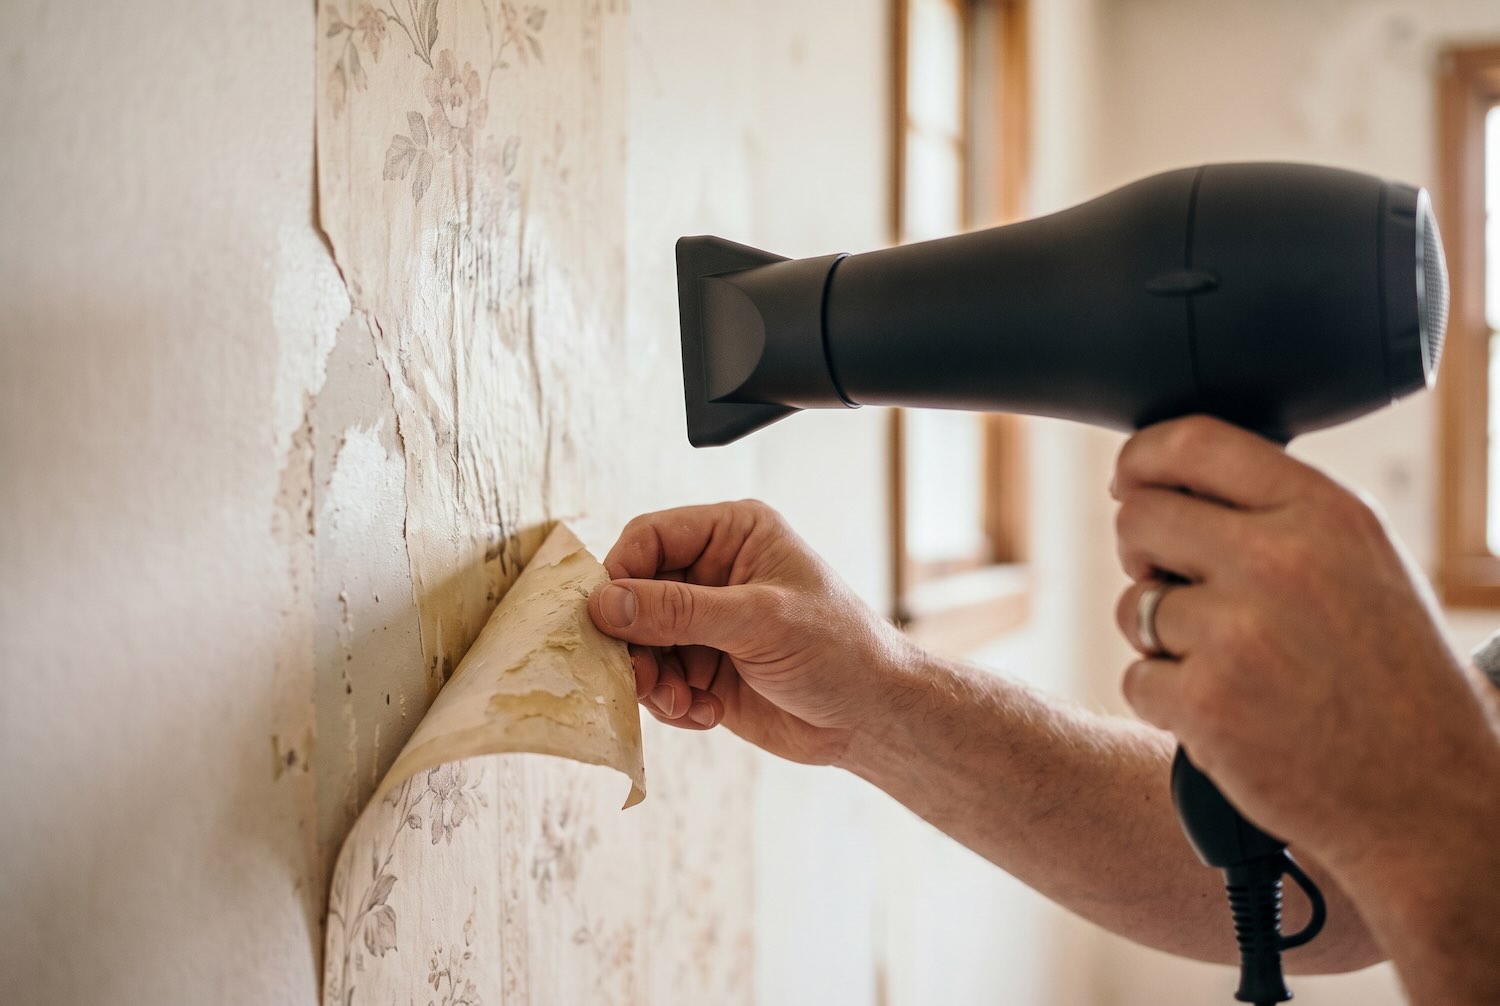
Warm any clinging patches with a hairdryer or heat gun held 6 to 8 inches away, keeping the tool moving. Heat softens brittle glue back into a pliable state, so shredding sections lift smoothly. Work just ahead of your peel in small zones to avoid scorching the paint.
4. Free any paper under trim or caulk.
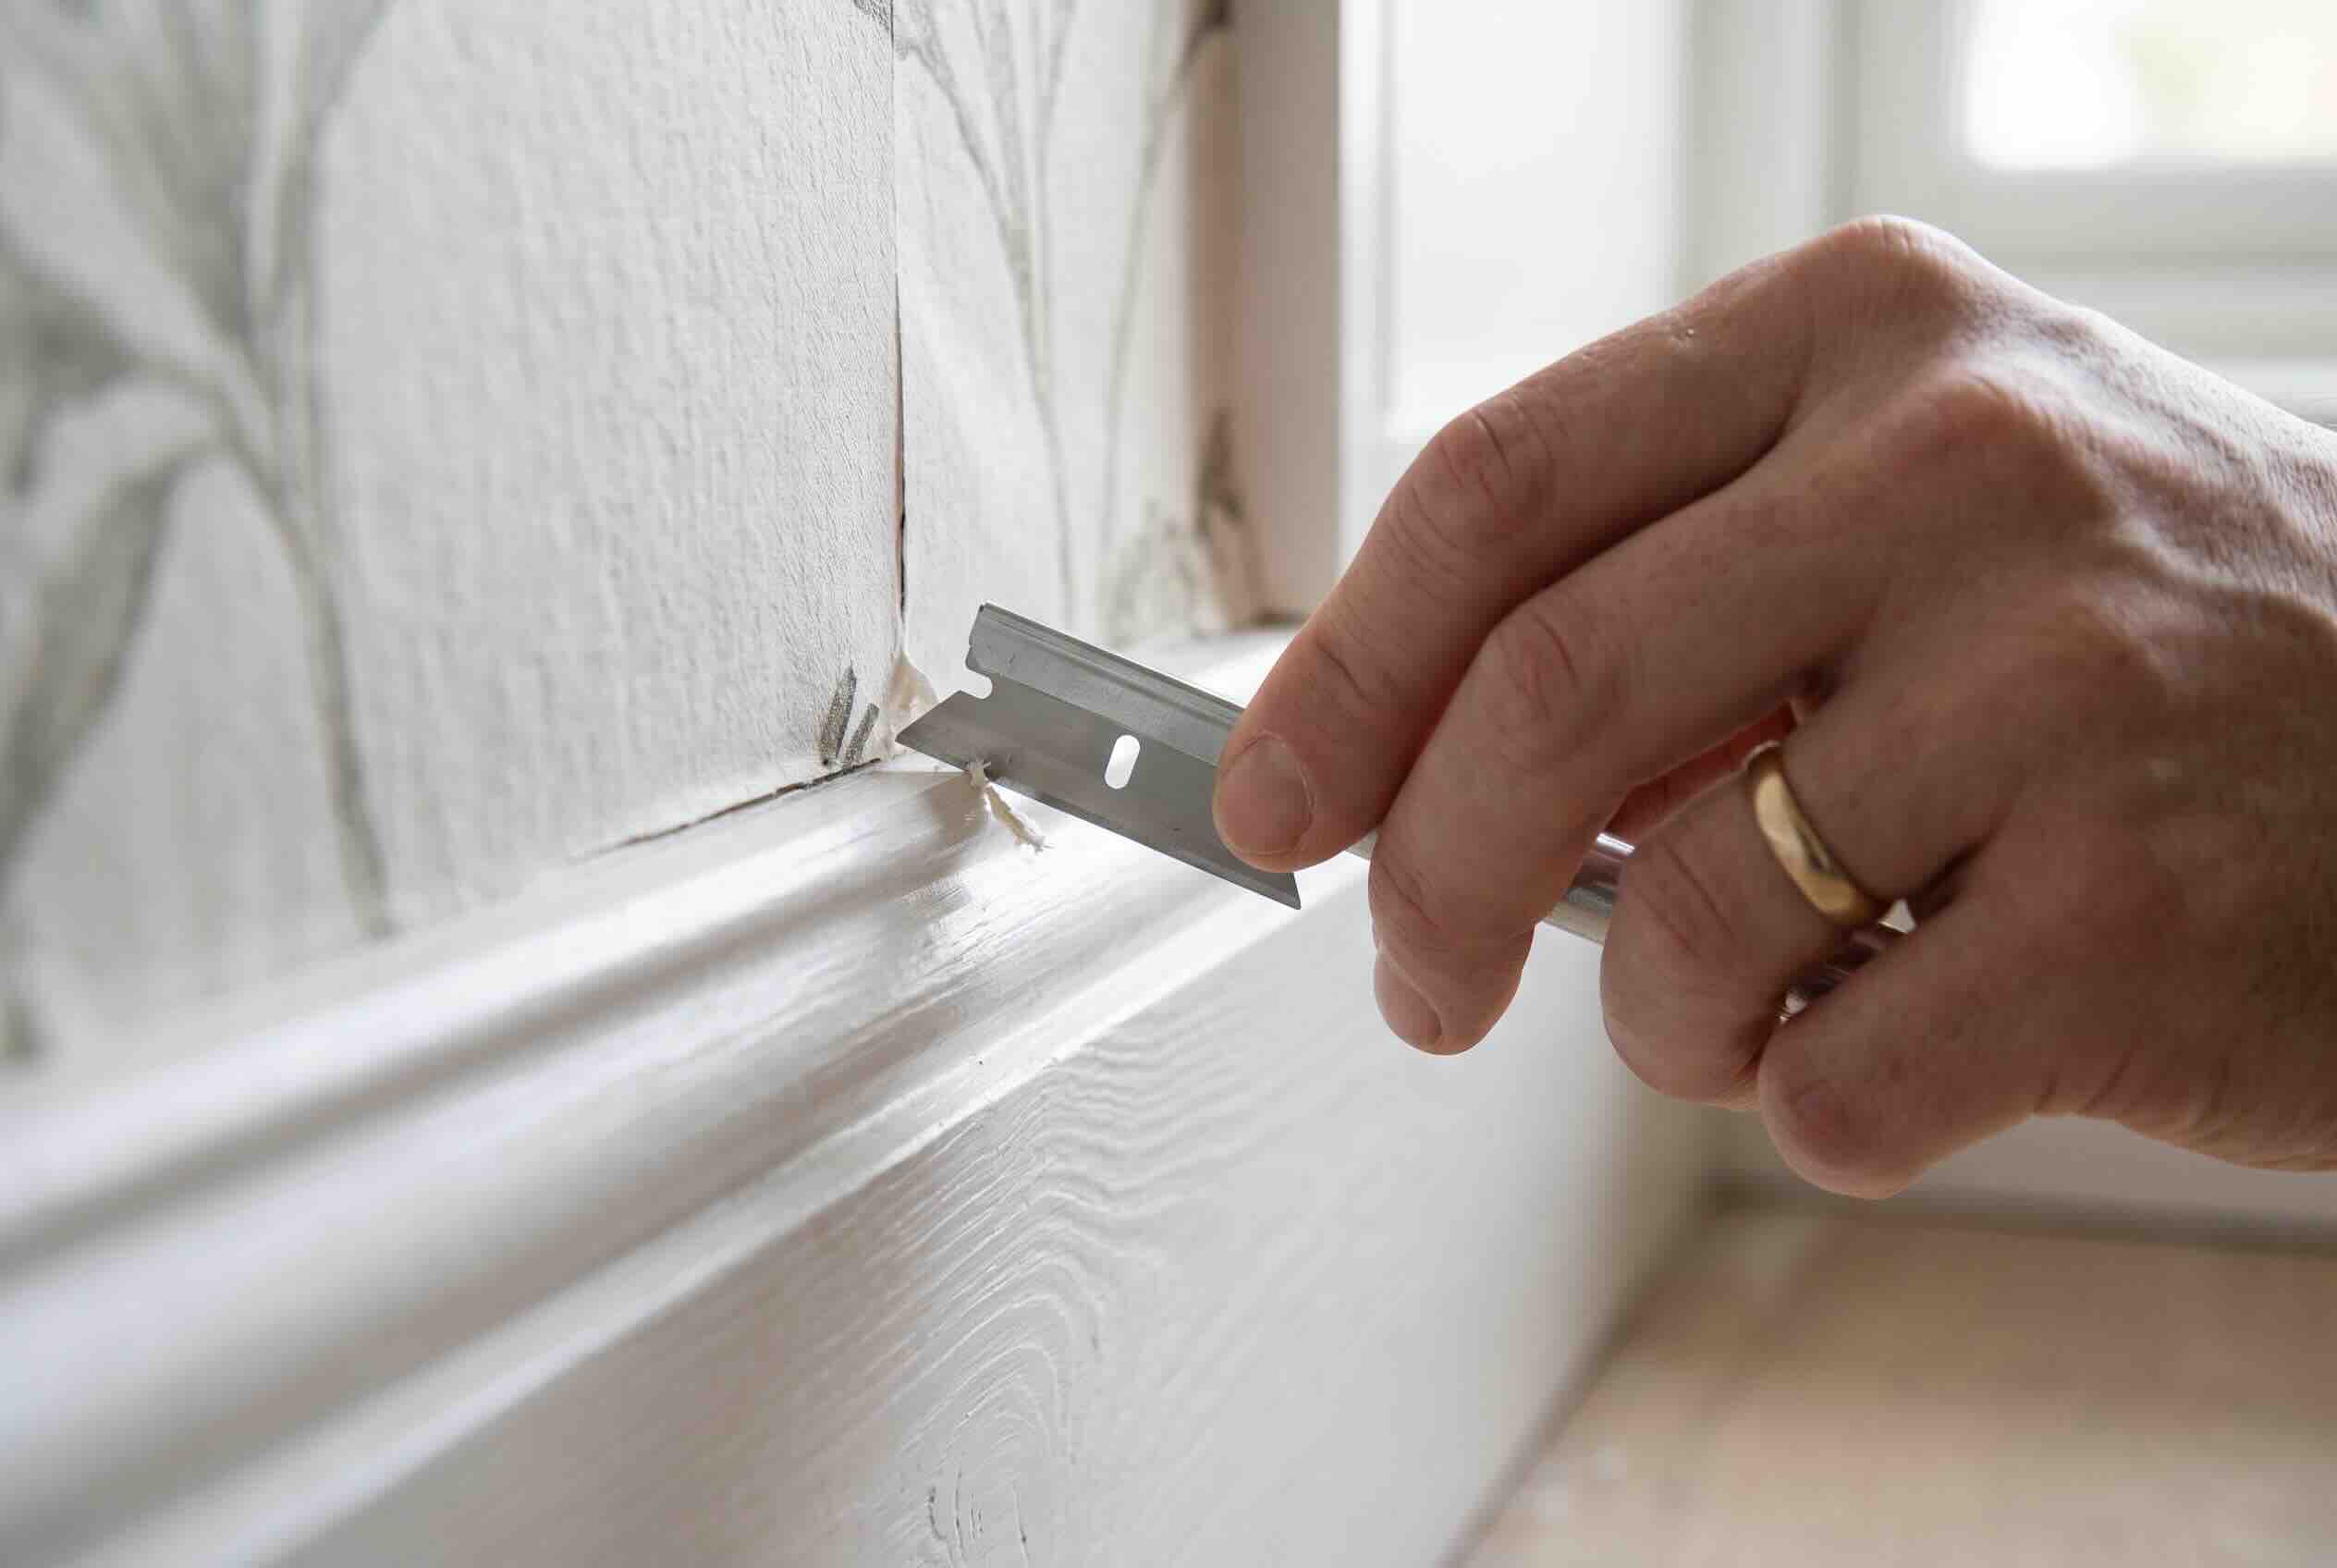
Wallpaper tucked beneath baseboards or molding will not budge until you release that sealed edge. Run a fresh razor lightly along the seam to score the paper free. Cut shallow and follow the trim line so you avoid nicking the woodwork, and the rest of the sheet peels normally.
How to Remove Peel and Stick Wallpaper Residue
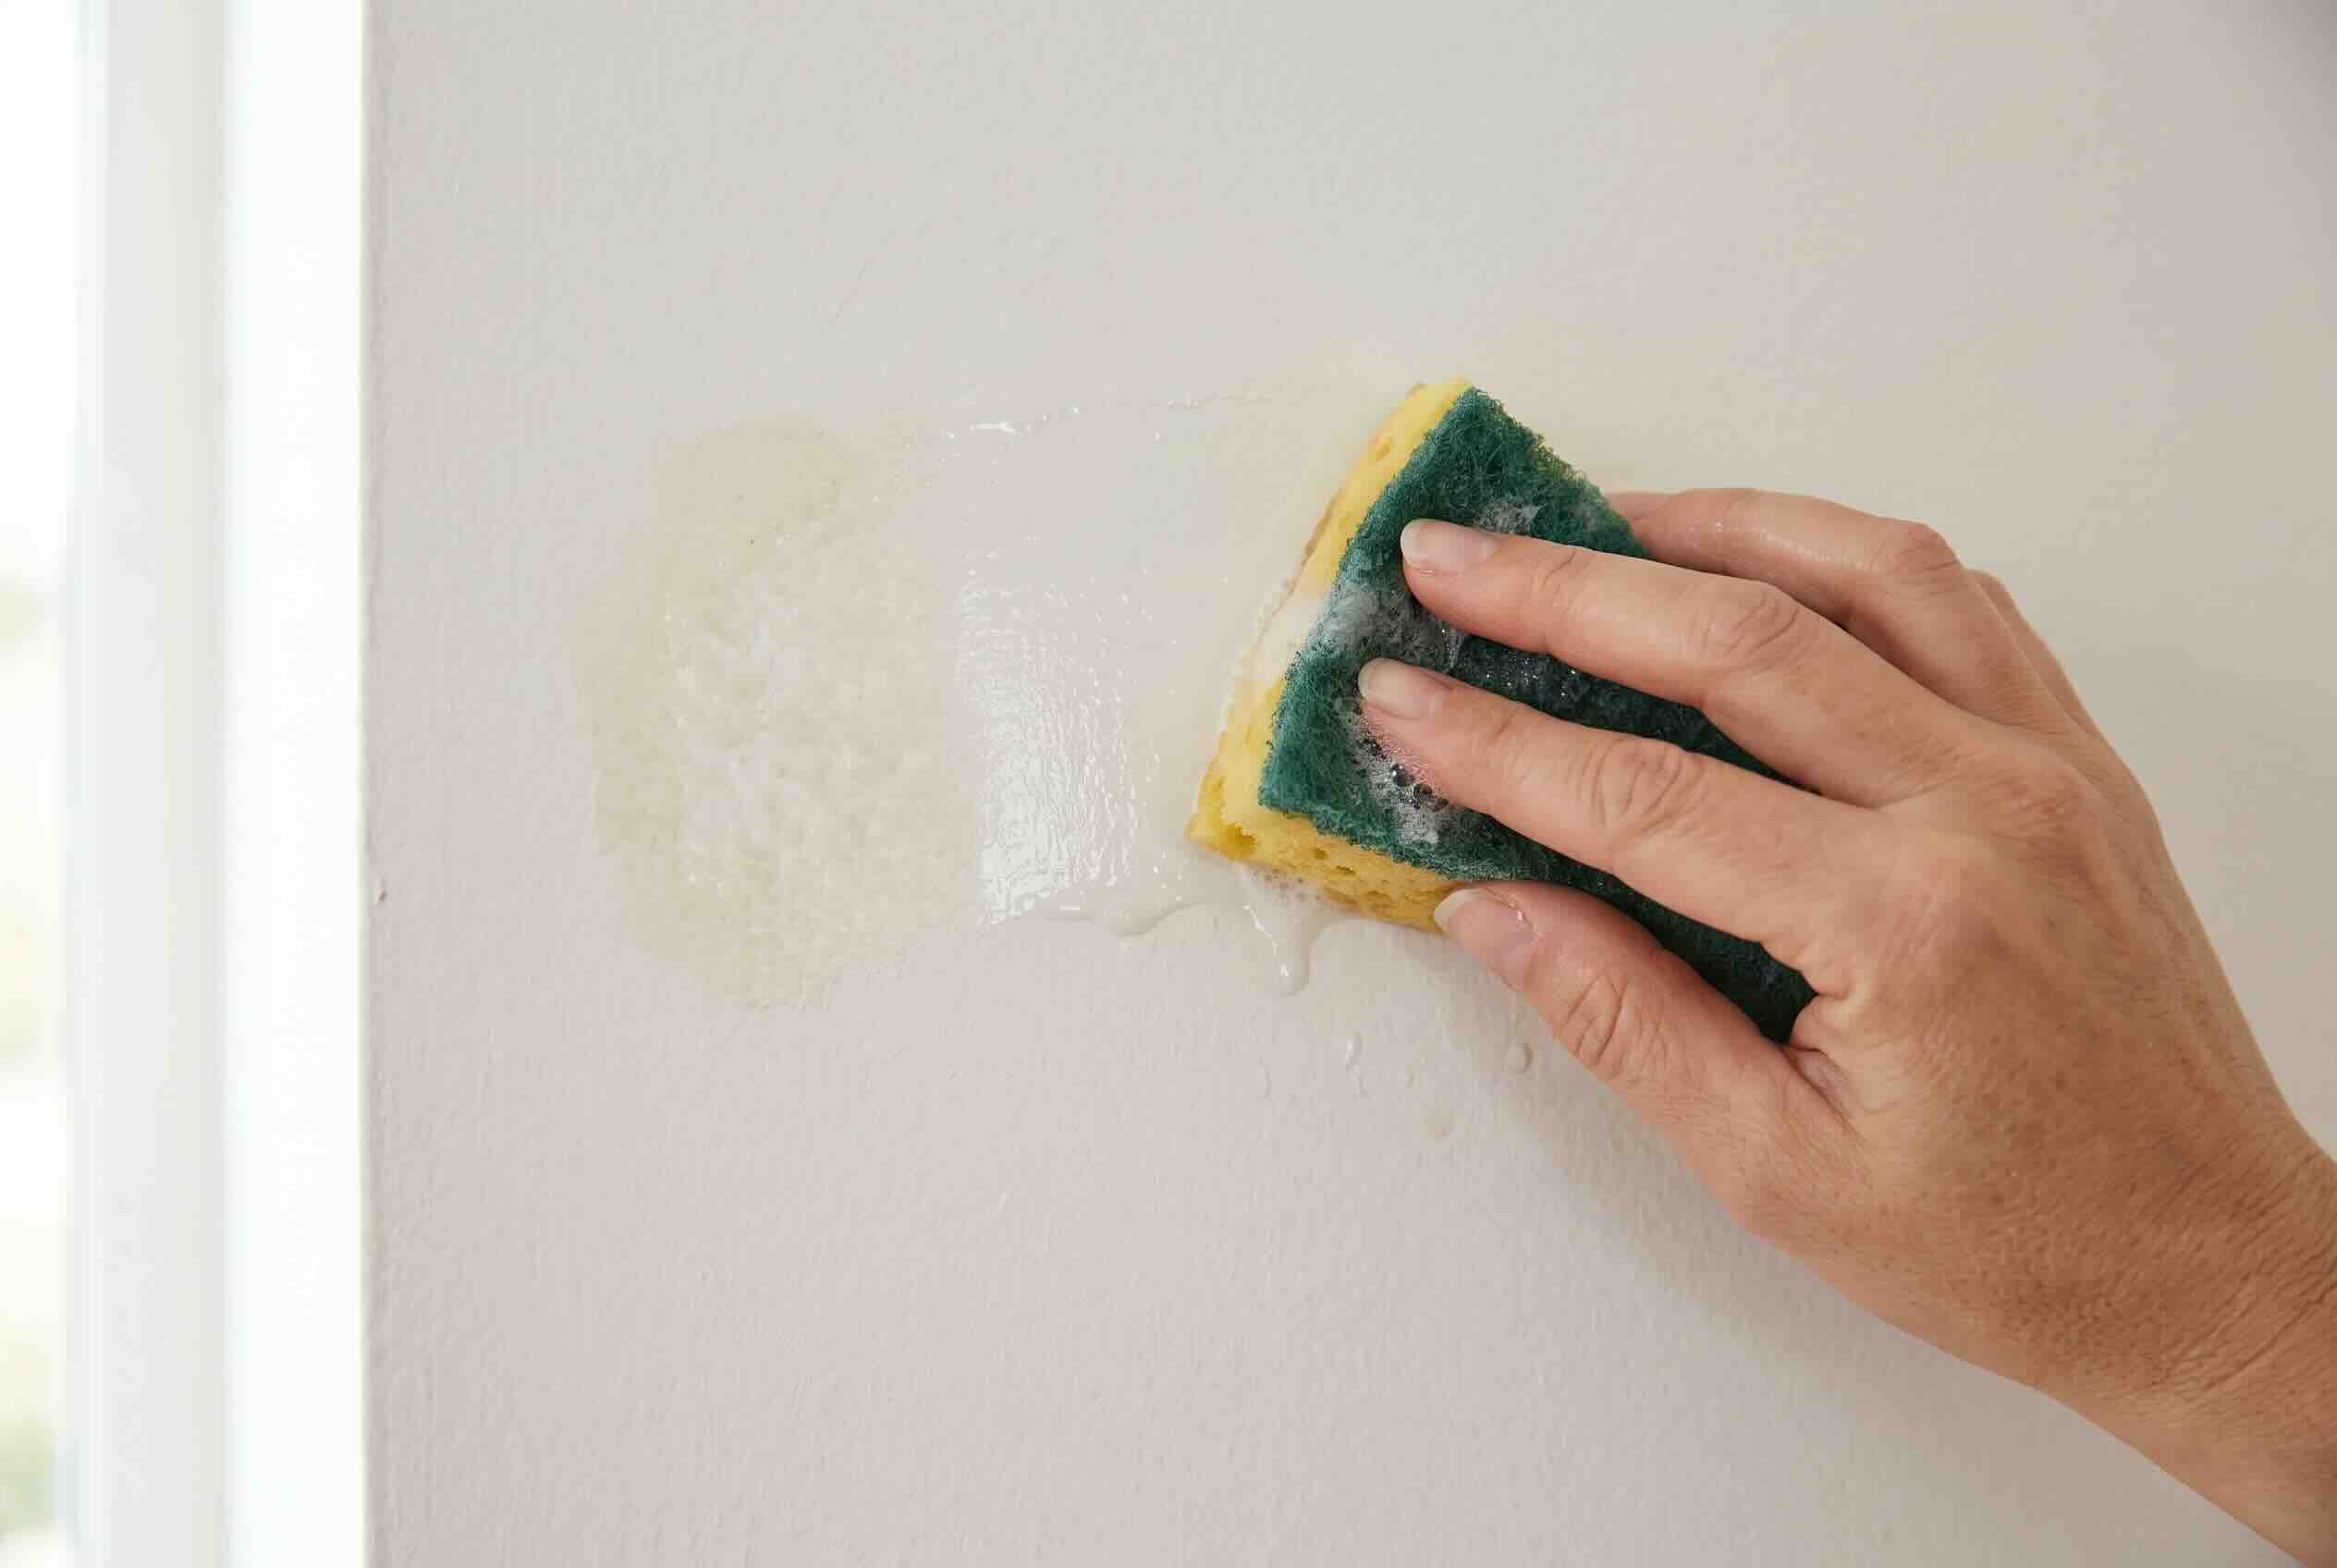
Start by naming what you are dealing with, tacky adhesive or a dull film, then step up your cleaner from there.
A clean peel still tends to leave a trace behind. Tacky adhesive feels sticky and rolls into little balls under your finger, whereas a dull residue reads as a hazy sheen with no grab. Both types lift off, but use the mildest cleaner first so the underlying paint survives. Spot-test every product in a hidden corner before committing to the whole room.
- Warm, soapy water. Wet the residue with a damp sponge and let it sit for a minute to soften. Most fresh adhesive and filmy haze wipe away at this stage with light pressure.
- Rubbing alcohol. Dab rubbing alcohol onto a soft cloth and work the spot in small circles if water fails to cut it. Alcohol breaks down the glue without the harshness of paint-stripping solvents.
- Commercial adhesive remover. A product like Goo Gone is your last option for residue that refuses both. Apply it sparingly, give it the dwell time on the label, then wipe clean. Rinse the spot afterward so no oily film stays behind.
Skip abrasive pads and scouring cleaners at every stage. They may lift the glue, but they also burnish and dull the paint in a patch that shows the moment light hits it.
If the Wall Gets Damaged: Repair and Repaint
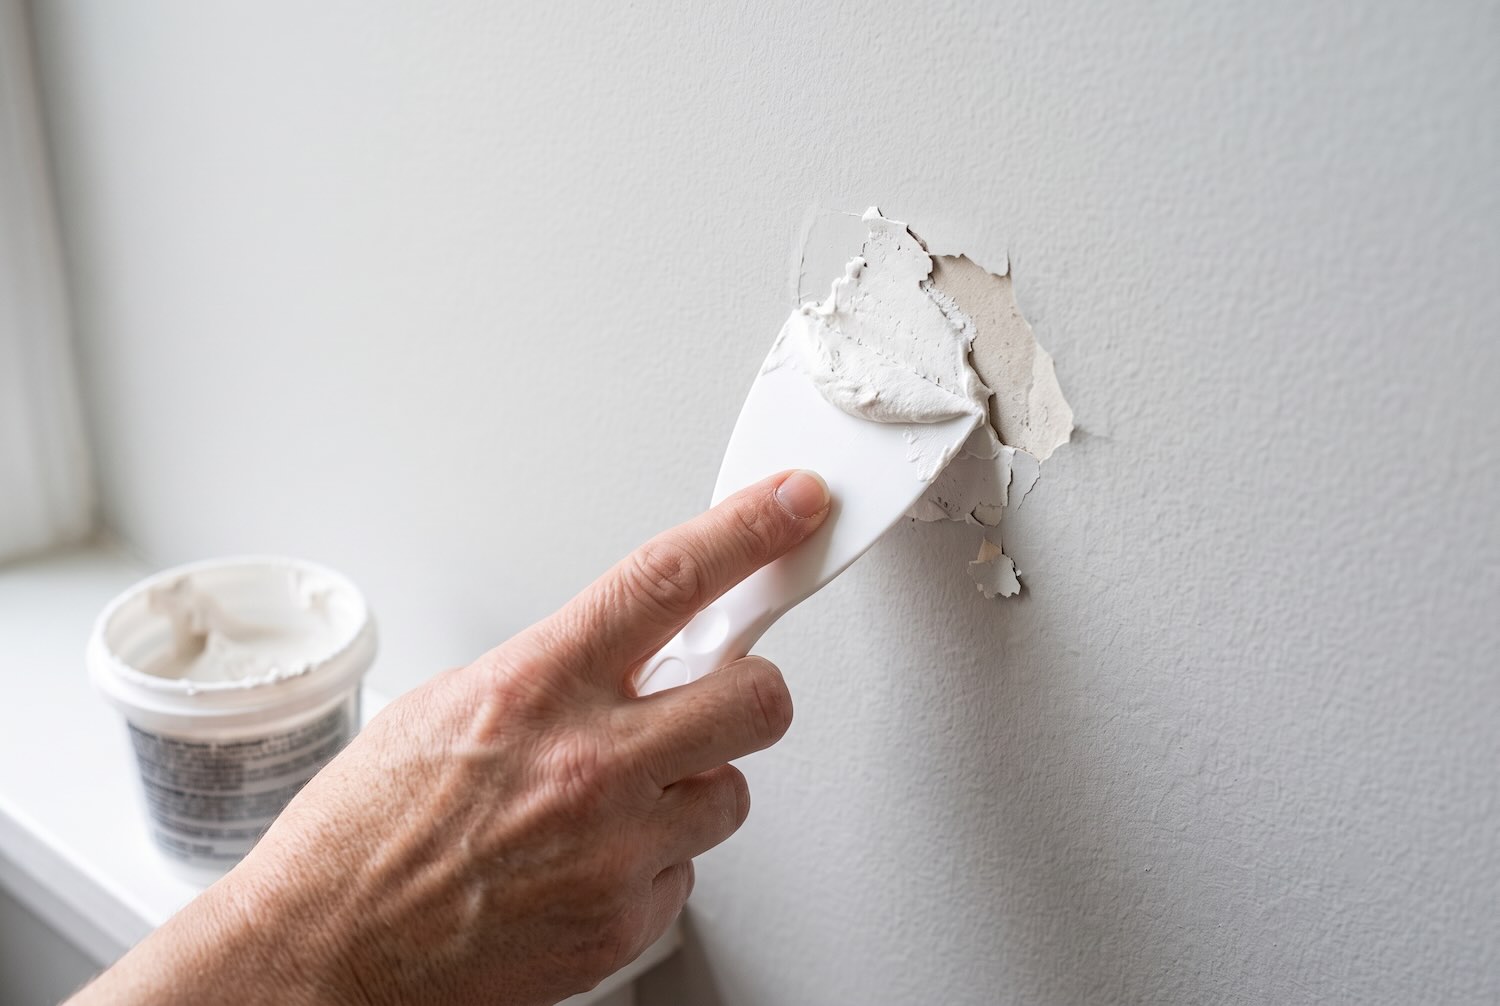
If the paper took some paint with it, the repair is quick: fill, sand, prime, then repaint.
Set expectations plainly before you start. On most jobs you end up repainting anyway, which makes minor damage less of a disaster than it seems. Fill any lifted spots or gouges with a lightweight spackle and let them dry fully before sanding flush. Then spot-prime the bare and repaired areas so the new paint bonds evenly without flashing a different sheen.
When you repaint, feather the fresh coat past the repair so the edges blend instead of framing the patch. Carry the color slightly around inside corners rather than stopping dead on the line. Light pencil guidelines help you keep clean cuts at the ceiling and trim.
Troubleshooting Common Problems
Even careful removals run into torn paper, stuck adhesive, or bubbling drywall, and each one has a fix.
Paper tearing into small pieces. Thin wallpaper often splits when the adhesive holds harder than the sheet can take. Warm the section with your hairdryer and slow your pulling speed right down. Heat plus patience turns shredding confetti back into a manageable strip.
Adhesive that will not lift. Glue that stays put after peeling needs softening, not forceful scraping. Lay a warm, damp cloth over the spot for a few minutes. Work upward through the residue steps rather than dragging a dry scraper across the paint.
Drywall lifting or bubbling. Stop pulling the moment the wall surface itself starts coming up. Score the paper flush with a razor and leave that stuck patch in place. Treat the raised drywall like a standard repair: sand, prime, and skim rather than tearing the hole deeper.
How to Make Future Removal Easier (Prevention)
The cleanest removal starts months earlier, when you wipe the wall down and prime it before the wallpaper ever goes up.
A primed wall gives the adhesive a smooth, sealed layer to grip. That way the decor later releases from the primer instead of clawing into raw drywall. Keeping the room light and dry helps too, since heat and humidity slowly bond the glue tighter over time. Taking time to prep the surface correctly up front is the best favor you can do for your future self.
Removing Peel and Stick Wallpaper From Other Surfaces
Hard, non-porous surfaces give the adhesive up easily, while plaster and textured walls grab it in every pore.
Standard painted walls are the trickiest case. Glass, tile, sealed furniture, and cabinet fronts are far more forgiving, and the vinyl and its glue usually lift off these smooth finishes with warm water and a plastic scraper, rarely leaving marks. Plaster sits alongside drywall at the harder end, because its uneven, porous surface lets glue settle into every pit.
Bathrooms deserve their own caution. Steam and humidity can either loosen a sheet or weld it down, so results there are less predictable than in a dry room. Check whether peel and stick holds up in damp bathrooms before committing to that install.
>>> Read More: Does Peel and Stick Wallpaper Work in Bathrooms? (Yes)
Frequently Asked Questions
Can you paint over it instead of removing it?
You can, occasionally, if the material is smooth, well stuck, and free of lifting seams. Prime it first with a bonding primer, since paint applied straight onto vinyl tends to peel. Remove any lifting sheets, because trapped bubbles will telegraph through the new paint.
Does a wallpaper steamer or fabric softener work?
A steamer acts much like a heat gun, softening the adhesive so it releases. Fabric softener solutions are aimed at traditional pasted rolls and do little for pressure-sensitive glue. Plain heat is your more reliable tool here.
Can you do this without a hairdryer or heat gun?
Yes, especially on newer installs or high-quality sheets that peel willingly. A spray bottle of warm water along the edges is often enough to soften the grip. Heat only becomes essential when a section turns brittle and starts to tear.
Is it harder to remove in cold weather?
It is. Cold makes the adhesive stiff and more likely to snap the paper, while warmth keeps it flexible. Heat the room or the wall itself before starting a winter removal.
Will the process leave a color stain on light paint?
A faint outline occasionally shows where the sheet sat, especially in rooms exposed to sun or smoke. It usually cleans up with standard residue removers, and a quick spot-prime plus touch-up paint erases anything that lingers.
Final Thoughts
Taking down temporary decor does not have to end in a drywall repair project. A clean removal comes down to pulling slowly at a tight angle and stepping up through residue cleaners gently, and accepting that a little touch-up paint is a normal step saves you a lot of frustration. Handle those basics and the room returns to its original state. Prepping the surface before your next install makes future teardowns far easier. For more practical household fixes, explore the other guides on Home Tips Daily and keep this one handy the next time you need to work out how to remove peel and stick wallpaper.