

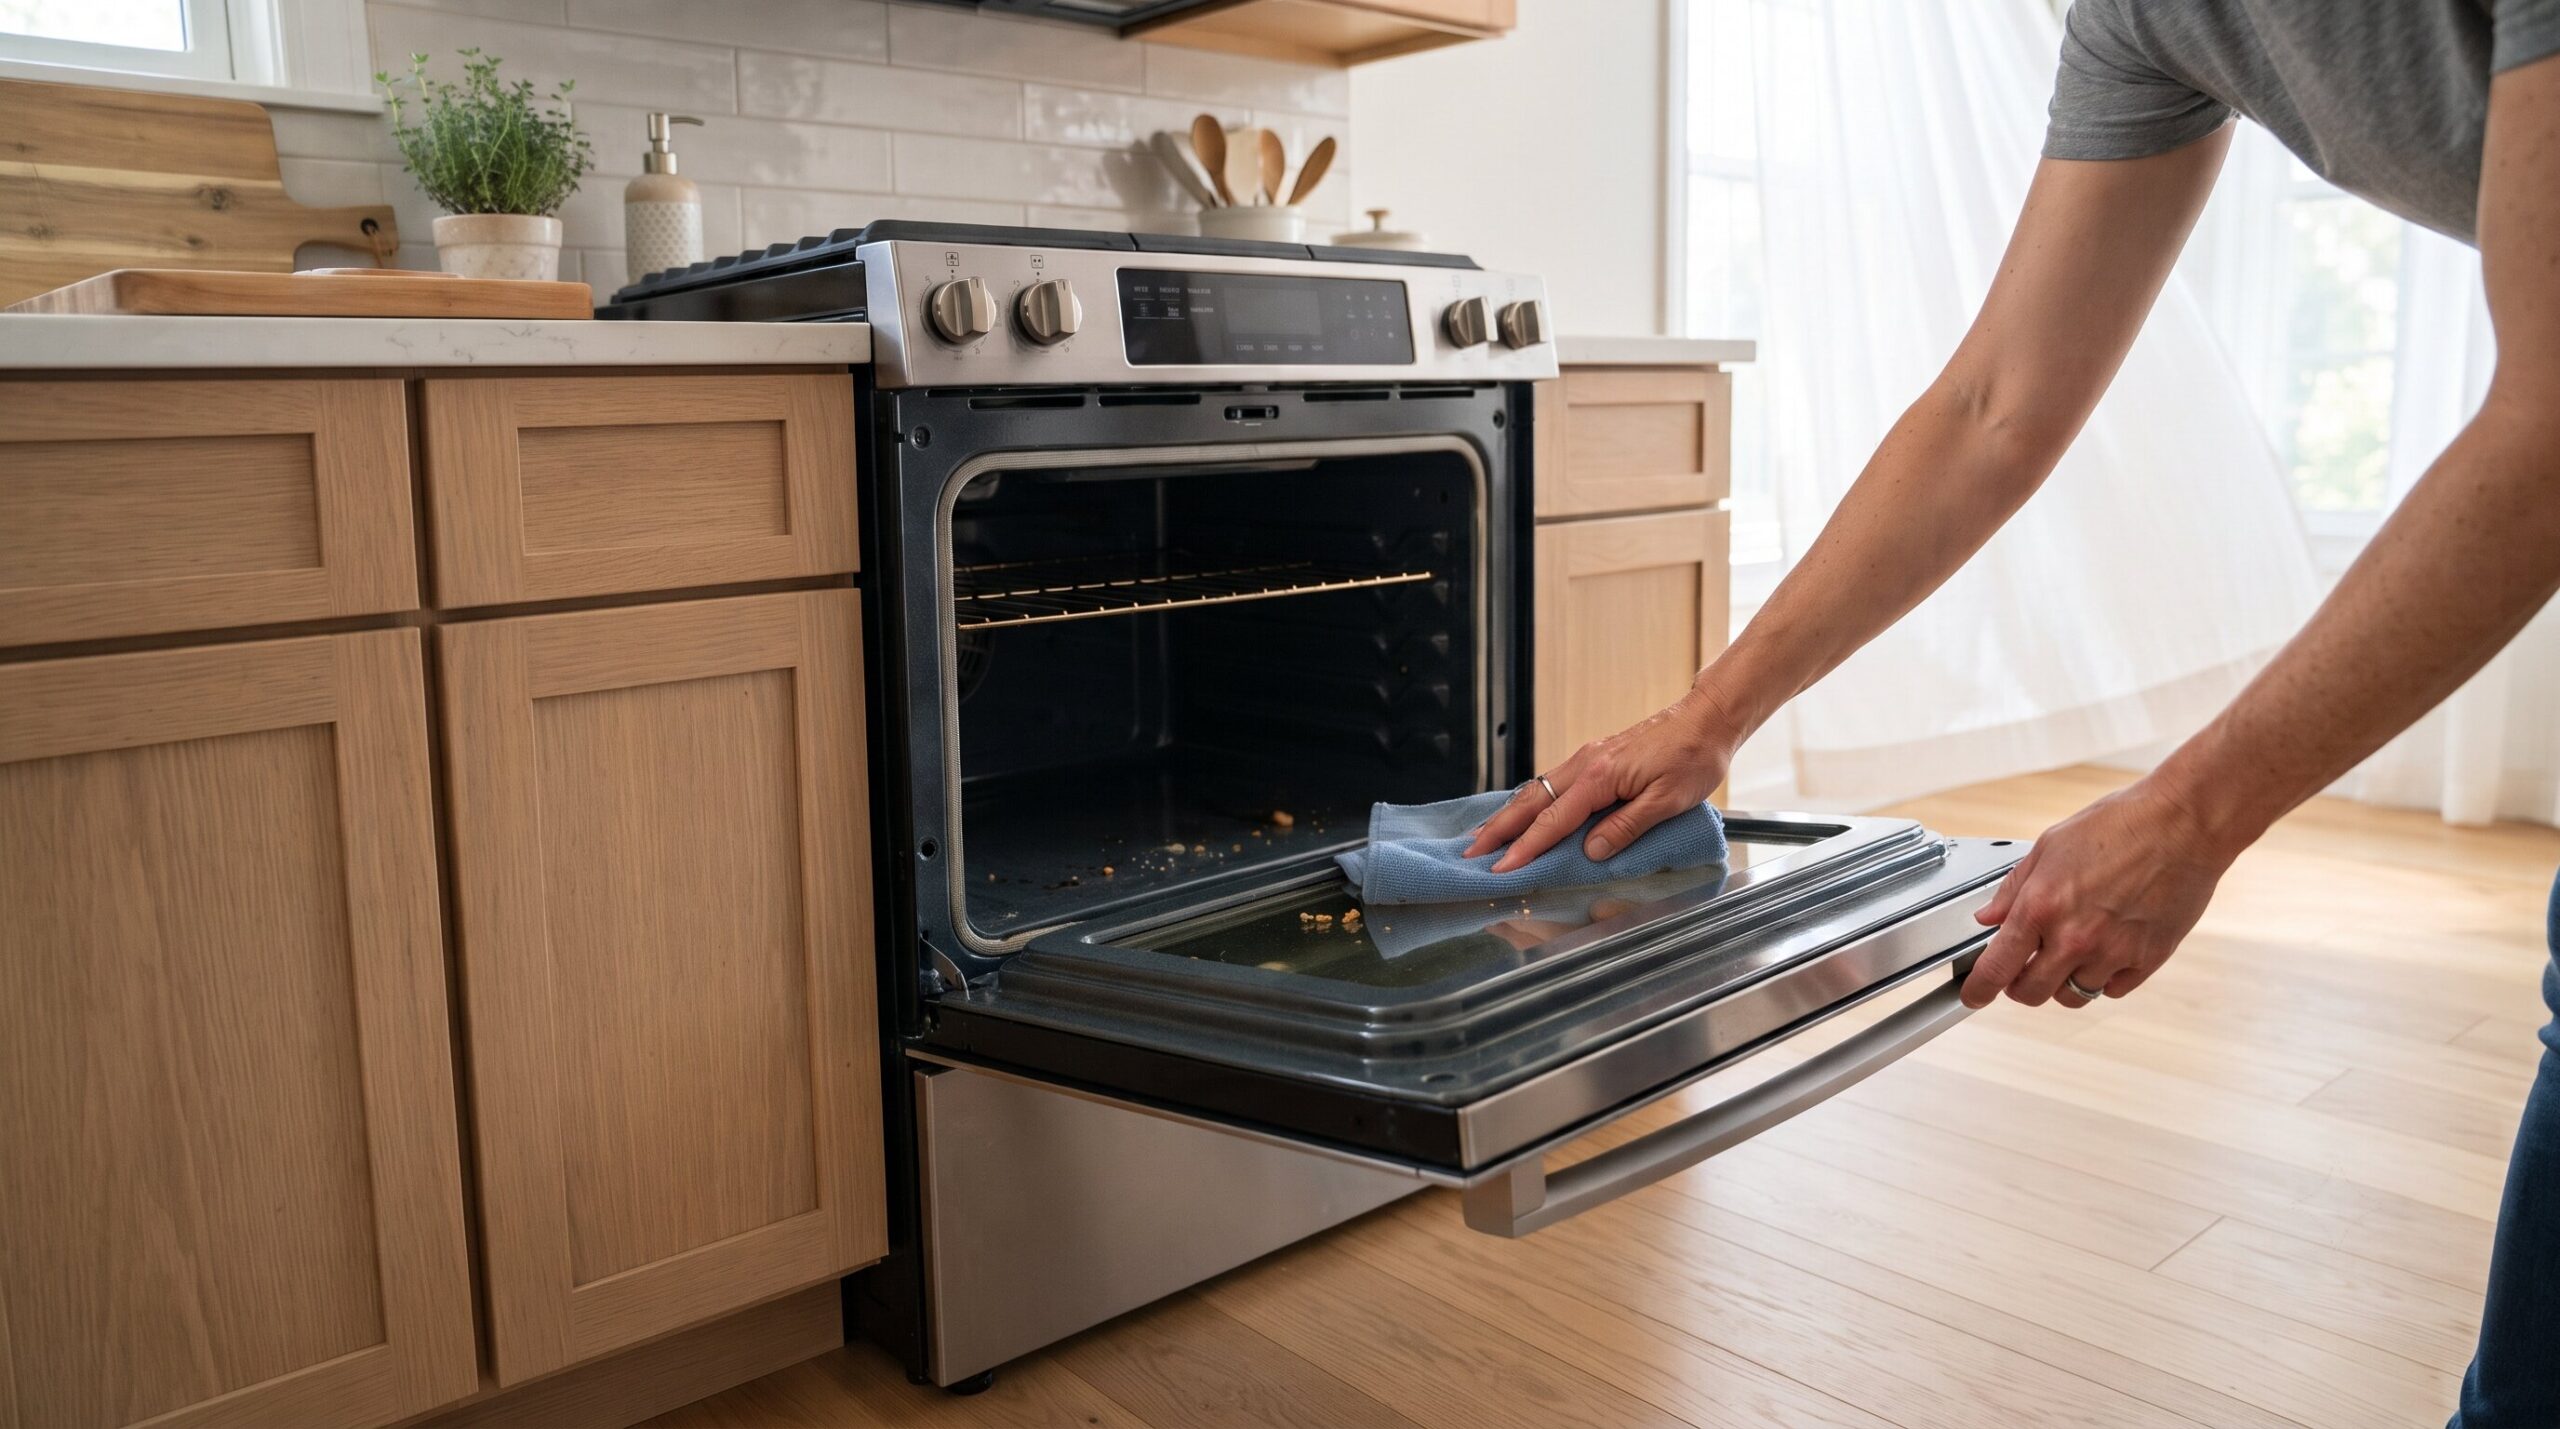
Many people think learning how to clean a self-cleaning oven is as simple as pressing a button. In reality, a little preparation beforehand can make a big difference in both safety and cleaning performance. The cycle uses extreme heat, often close to 500°C or 900°F, to burn grease, spills, and food residue into white ash. After the oven cools, you wipe that ash away with a damp cloth.
The risk is in the details. If you leave oven racks inside, the high heat can dull their finish, warp the metal, or make them harder to slide. If you leave large chunks of food or heavy grease on the bottom, the cycle may create smoke, strong odors, or even trigger your smoke alarm. If you use a commercial oven cleaner first, you may damage the special interior coating.
The safest 4 step process is simple: remove everything, wipe loose debris, ventilate the kitchen, run the correct cycle, then wait until the oven is completely cool before wiping out the ash.
The Brutal Truth: How Does Self-Cleaning Oven Work?
A self-cleaning oven usually works through pyrolytic cleaning. That sounds technical, but the idea is simple. The oven locks itself, raises the temperature far beyond normal baking heat, and incinerates food residue until it becomes ash.
This is different from a steam clean oven. Steam cleaning uses water and lower heat to soften light messes. It’s gentler and faster, but it won’t handle thick baked on grease as well. A high heat self clean cycle is stronger, but it also creates more odor, more heat, and more stress on the appliance.
That is why self-cleaning oven tips matter. The feature isn’t dangerous when used correctly, but it isn’t casual either. Treat it like a controlled high heat process, not a normal cleaning shortcut.
How to Clean a Self-Cleaning Oven Safely
Step 1: Remove Everything and Wipe Loose Soil
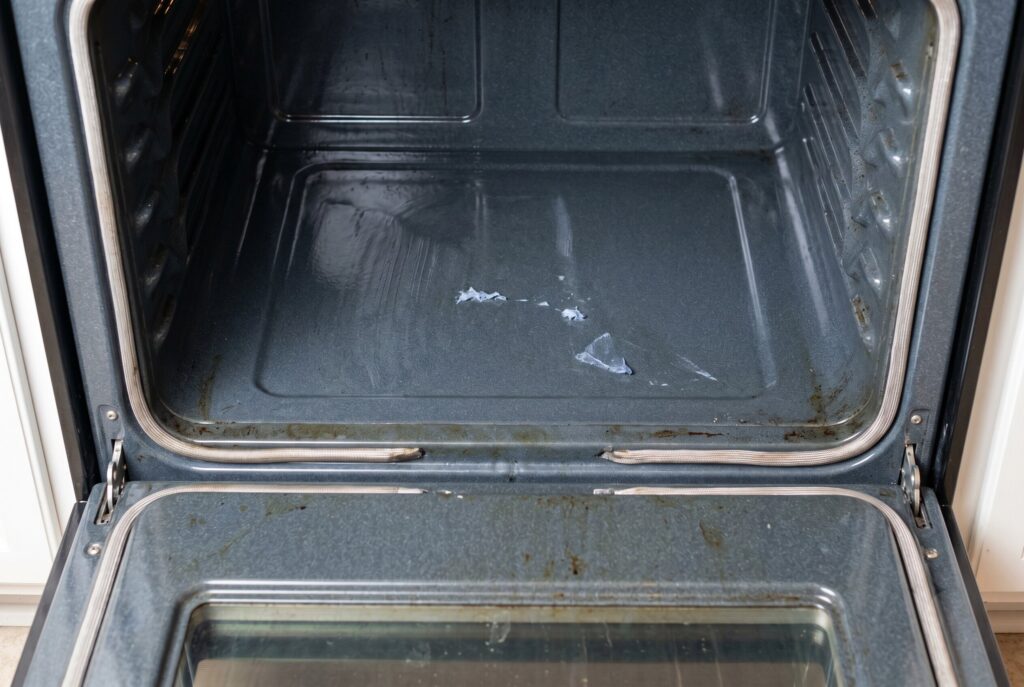
Before you start, remove all cookware, foil, oven liners, thermometers, pans, and oven racks. Don’t assume racks are safe just because they’re made of metal. Many racks aren’t designed to sit through 500°C or 900°F for hours.
Next, wipe out loose crumbs and large spills with a damp cloth. Pay close attention to the bottom of oven, corners, and areas near the door. You don’t need to scrub deeply, but you do need to remove anything that could smoke heavily.
If there is a big puddle of grease, sugary spill, or burned cheese, don’t let the self clean cycle handle all of it. Scrape it gently with a plastic scraper after the oven is cool. The less fuel inside, the less smoke you’ll create.
Step 2: Clean the Oven Door Glass First
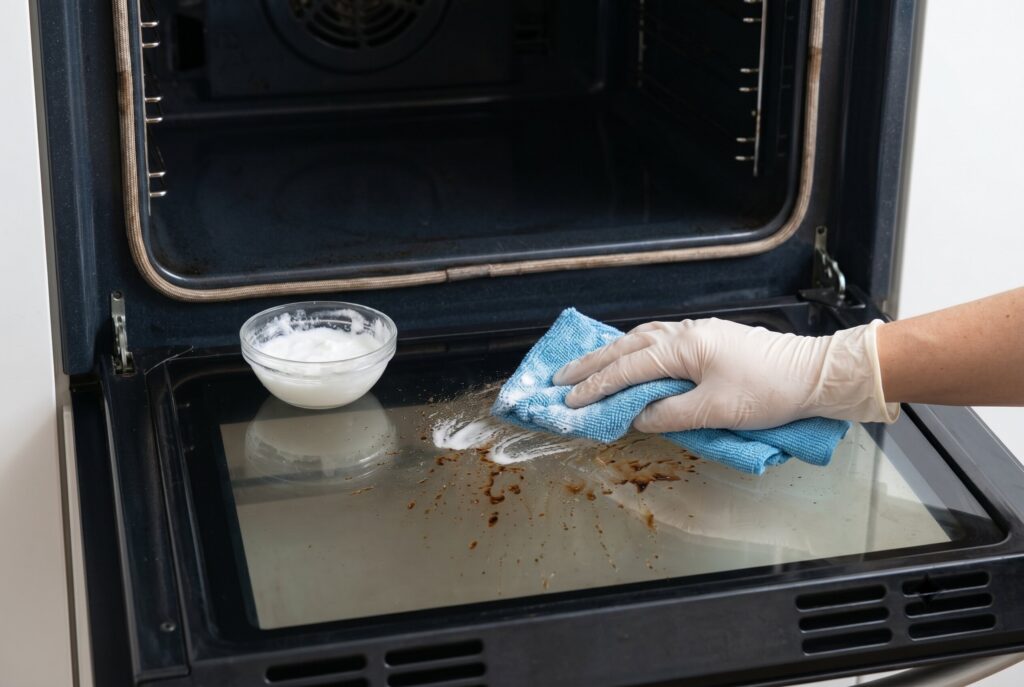
The oven door glass often needs special attention because baked on splatter can become harder to see through after heat exposure. Use a damp cloth and a little baking soda paste if needed. Keep water away from vents and gaps around the glass because liquid can drip between the panes.
Don’t use rough metal pads, flood the door, and spray cleaner into seams. A self-cleaning oven can handle heat, but the glass, gasket, vents, and electronics still need careful treatment. This step also helps you check the door seal. If the gasket is loose, torn, or badly damaged, don’t run the cycle until the oven is inspected. A weak seal can let heat and fumes escape.
Step 3: Ventilate and Start the Cycle
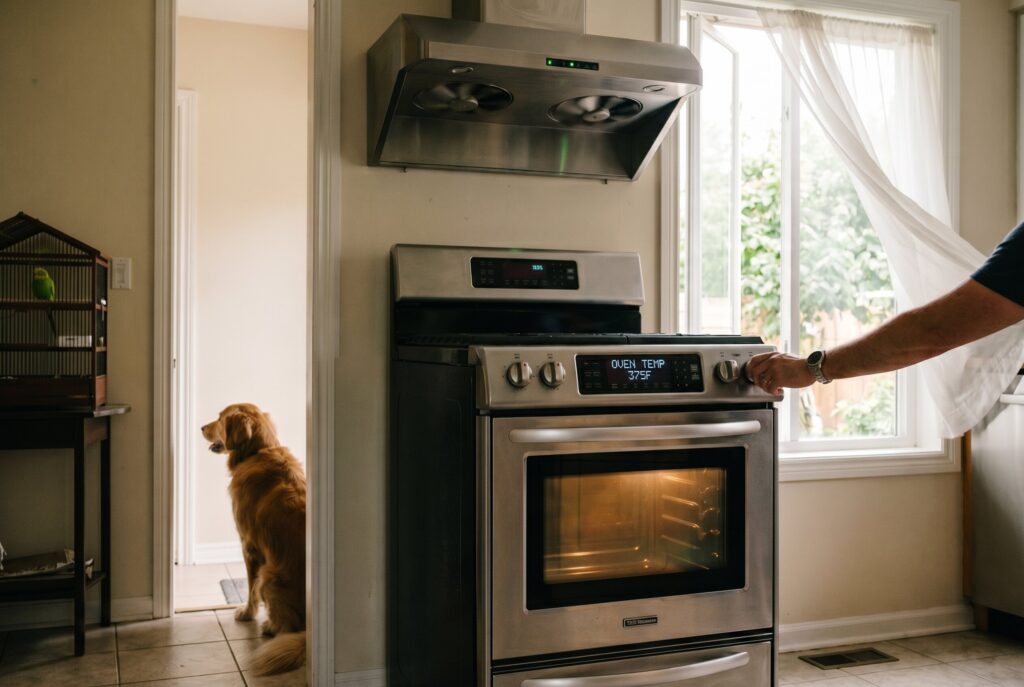
Now prepare the room. Open windows, turn on the range hood, and keep children and pets away from the kitchen. If you have birds, move them far from the area because they’re especially sensitive to fumes.
Choose the cycle length based on soil level. Light messes may need a shorter cycle. Heavy buildup may require a longer one. Many self-cleaning oven cycles take 2 to 5 hours, plus extra cooling time.
Once the cycle starts, the oven door should lock automatically. Don’t force it open. Don’t leave the house for hours while the cycle runs. You don’t need to stare at the oven, but you should stay nearby enough to notice unusual smoke, burning smells, or error messages.
Step 4: Cool Down and Wipe the White Ash
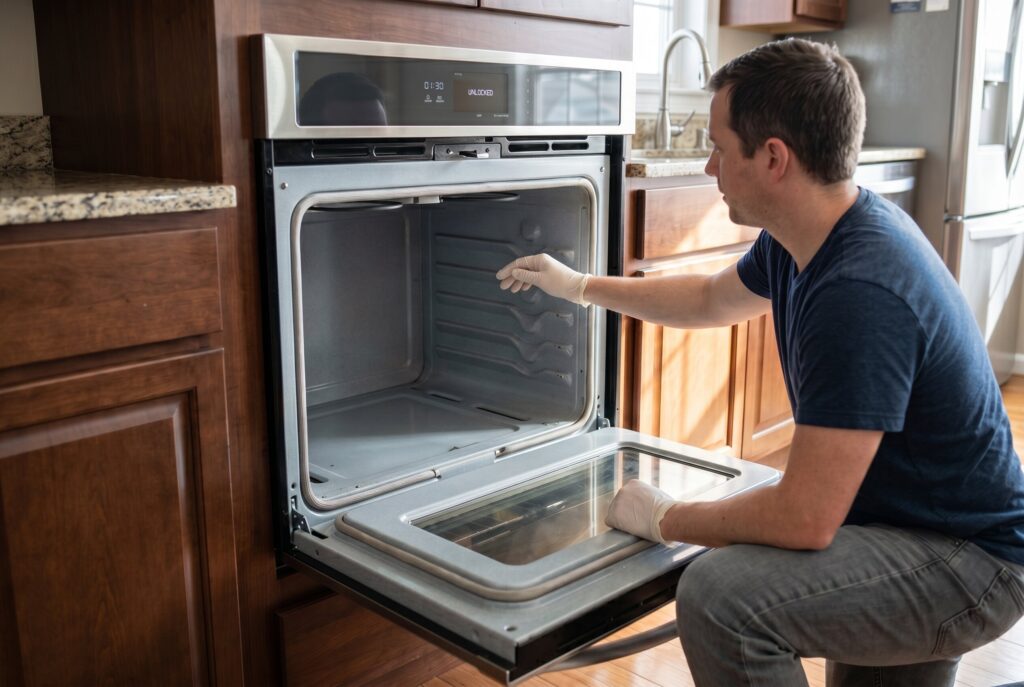
When the cycle ends, the oven still isn’t ready to touch. It must cool completely before the lock releases. This can take 1 to 2 hours or more. After it cools, open the door and wipe the interior with a damp cloth. The remaining white ash should come away easily. Rinse your cloth often so you don’t smear residue around the oven.
If some spots remain, don’t immediately run another cycle. Try manual cleaning with baking soda and water first. Frequent high heat cycles can stress the appliance, so use self clean only when it’s truly needed.
The Rack Dilemma: Best Way to Clean Oven Racks
Since racks should come out before the cycle, you need a separate plan. The best way to clean oven racks is the bathtub soak method. Place an old towel in the tub to prevent scratches. Lay the racks on top, cover them with hot water, and add 1/2 cup dish soap. Let them soak for 4 hours or overnight. Then scrub lightly with a sponge or soft brush, rinse, and dry fully before returning them to the oven. This method is easier than fighting each rack in the sink. It also avoids exposing rack coating to extreme self clean temperatures.
What Not to Do
Don’t use commercial oven cleaner inside a self-cleaning oven unless your manual clearly says it’s safe. Many strong oven cleaner products can damage the interior coating.
Don’t use foil on the oven floor. It can trap heat, melt, or damage the surface. Don’t leave oven liners inside unless the manufacturer specifically allows them. Don’t run the cycle right before guests arrive because odor and heat can linger. Also, don’t use the self clean cycle every week. For most homes, a few times per year is enough if you wipe spills regularly.
Conclusion
Learning how to use a self-cleaning oven safely is mostly about preparation. Remove the racks, wipe loose food, clean the glass gently, ventilate the kitchen, run the correct cycle, and wait for full cool down before wiping ash. The self-clean button can save you from harsh scrubbing, but it isn’t magic and it isn’t maintenance free. Use it with respect, skip commercial cleaners, clean oven racks separately, and handle small spills before they become a smoky 5 hour problem.
Related Articles
How to Clean an Oven: 3 Step by Step Methods for a Spotless Finish
How to Clean an Oven Naturally: An Effortless Overnight Formula