

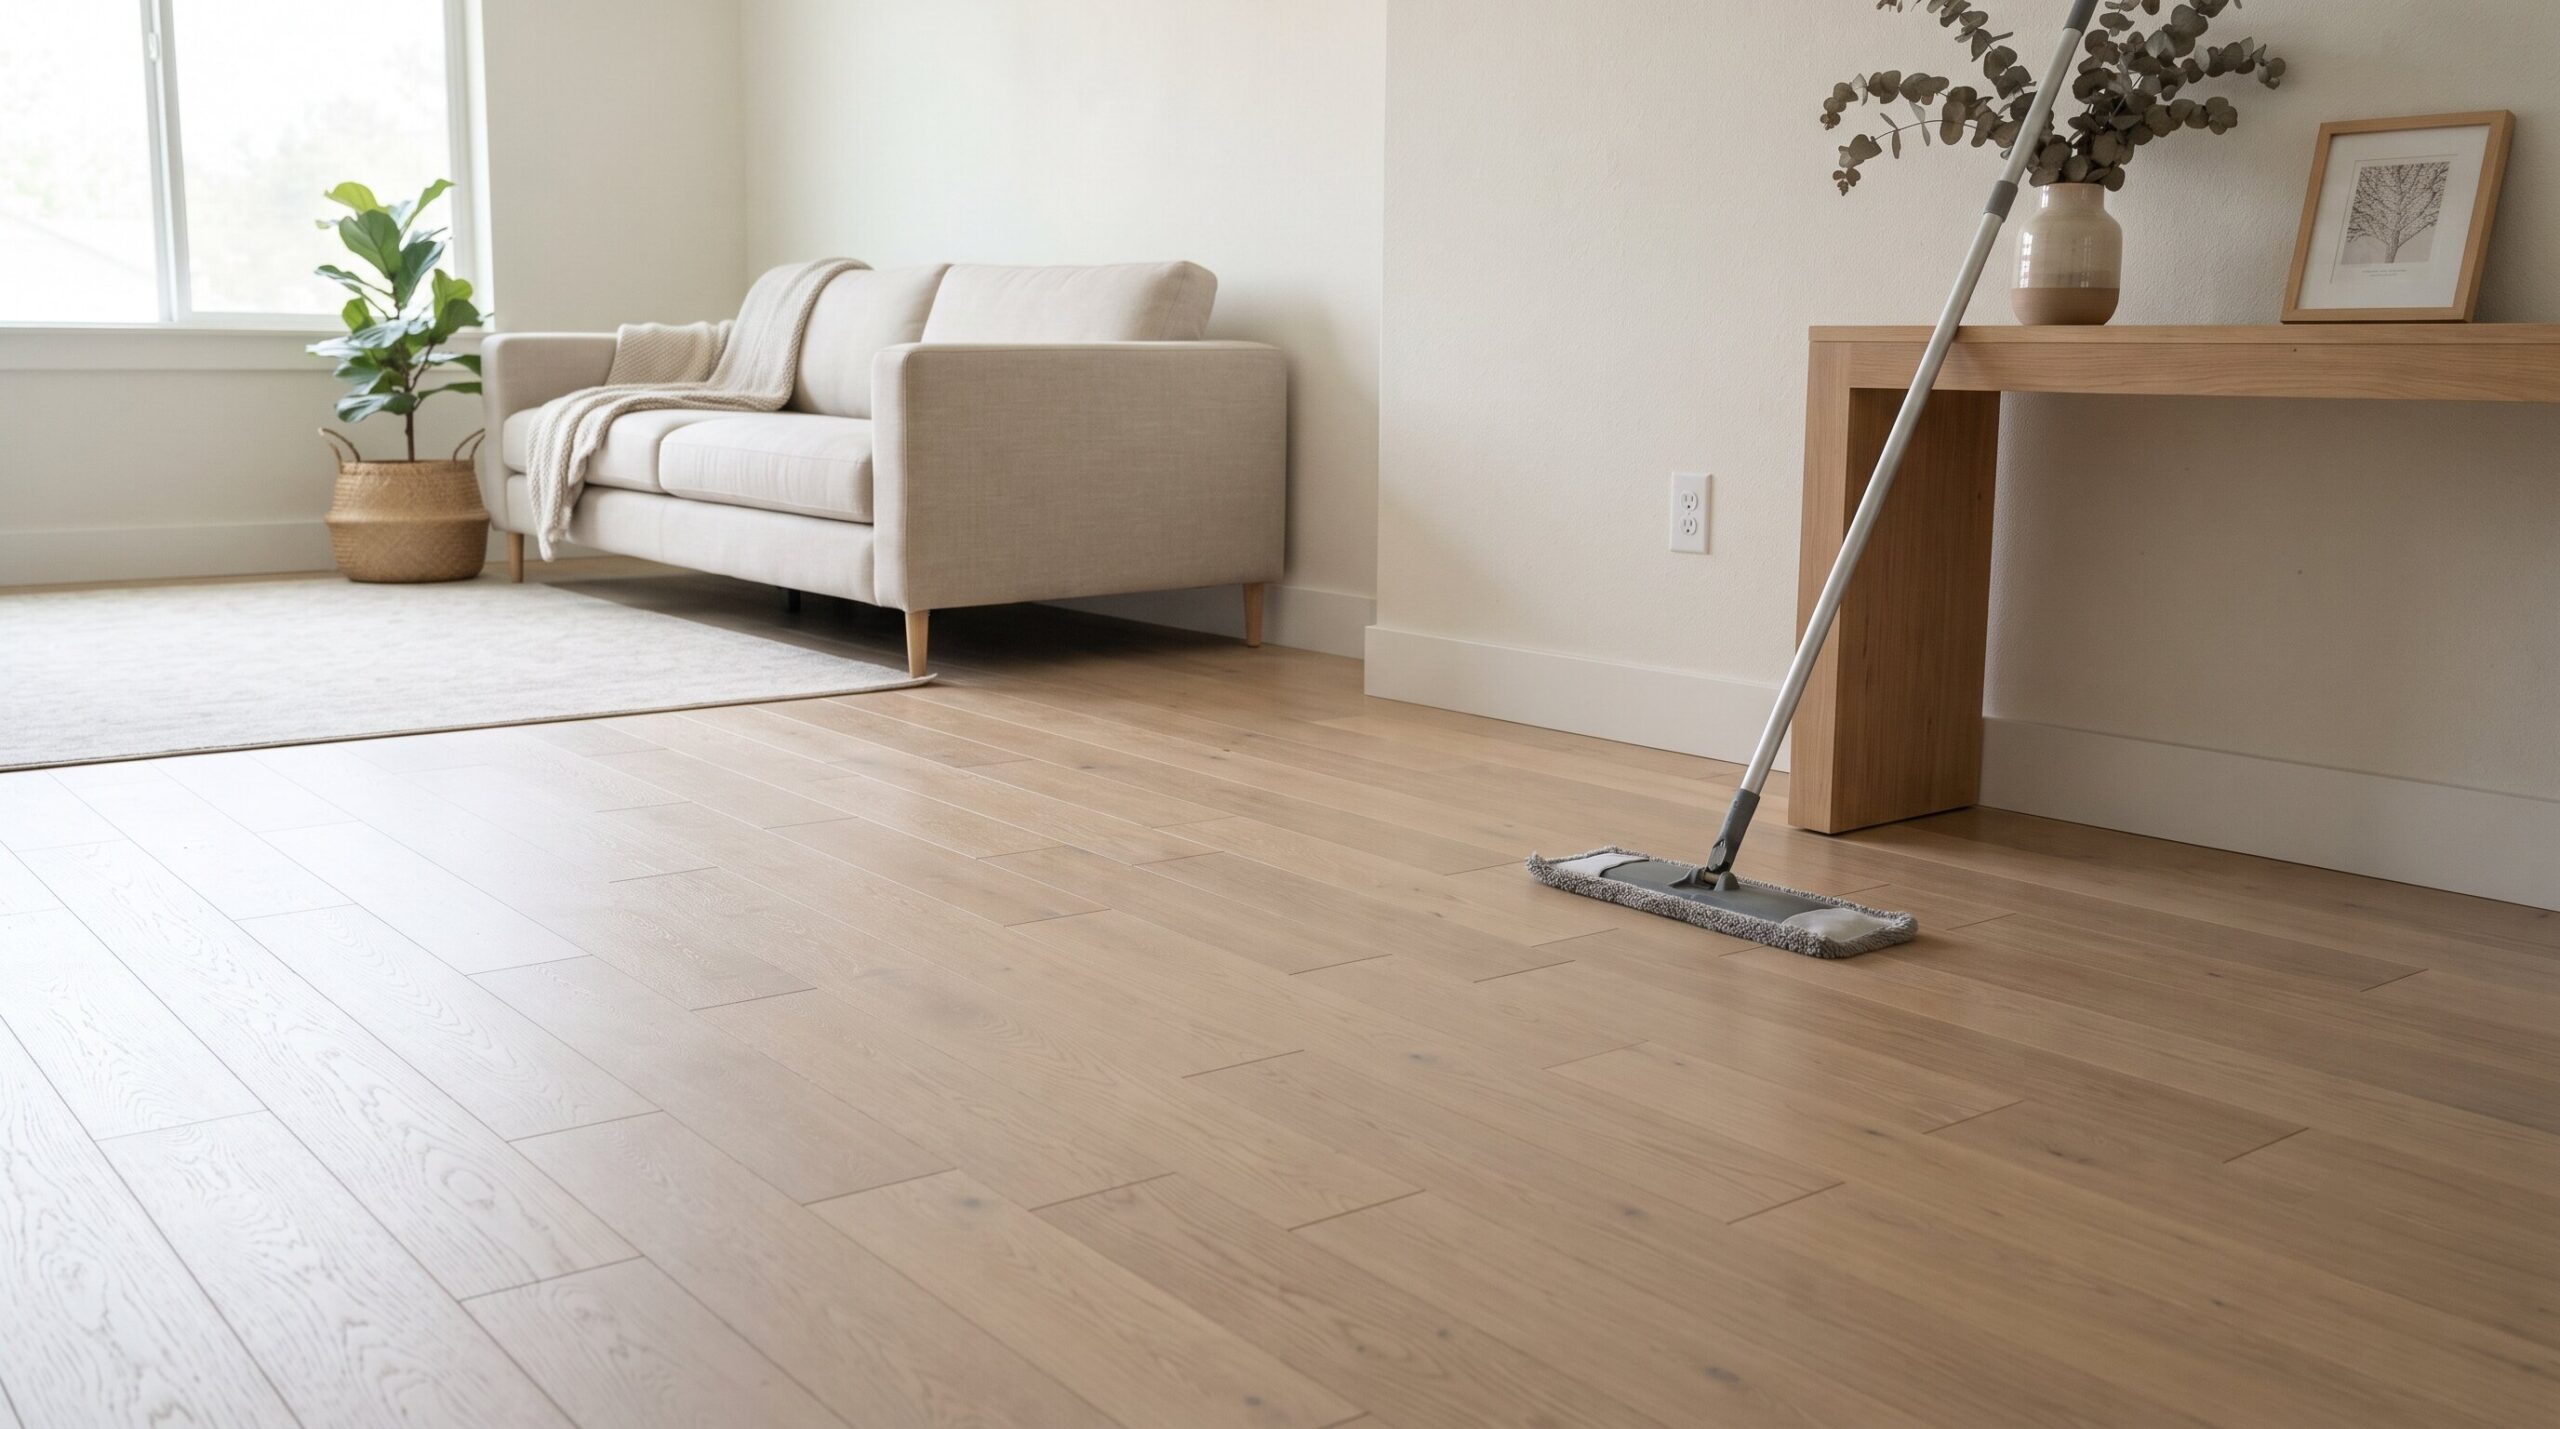
Scrubbing harder is never the answer. The real secret to learning how to clean engineered hardwood floors comes down to matching the right method to the right surface, not applying more elbow grease. The core principles are the same ones covered in cleaning hardwood floors generally, just adjusted here for the specific quirks of engineered planks.
A neutral pH solution paired with a microfiber mop handles almost everything a household floor deals with, while steam cleaners and vinegar quietly strip away the finish over time. What follows covers everything from reading a floor’s finish correctly to tackling the kind of grime a weekly wipe down can’t touch.
How to Clean Engineered Hardwood Floors
Step 1: Identify the Finish Before Buying Anything
Skipping this step is where most cleaning routines go wrong.
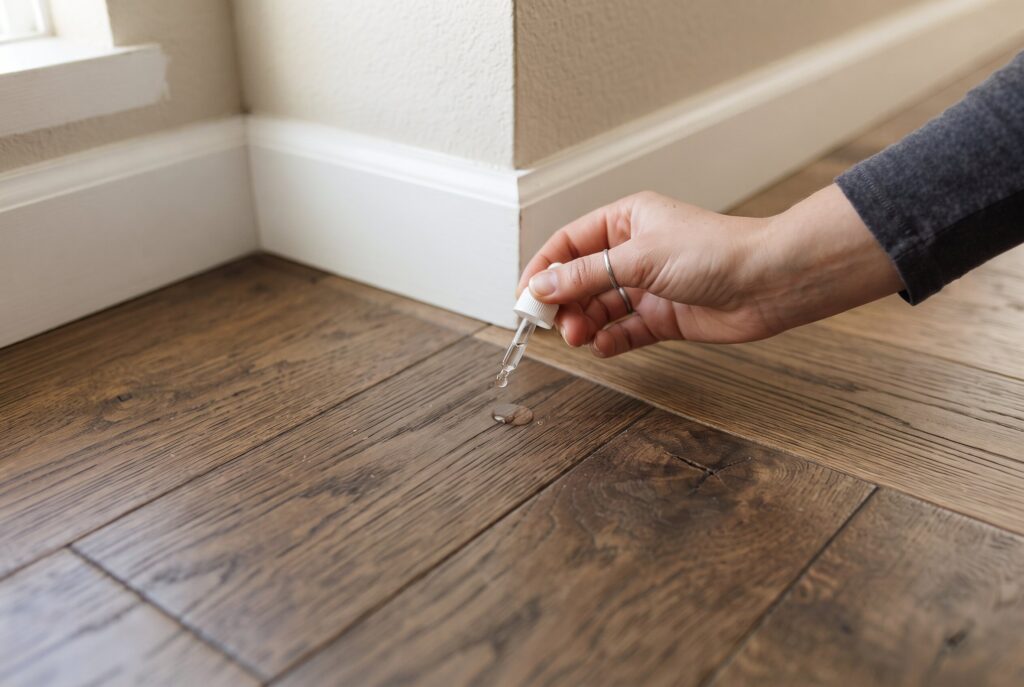
Engineered hardwood generally arrives with one of two finish types, oil finished or urethane and UV matte lacquer, and each one reacts differently to moisture and chemicals. A cleaner formulated for urethane can leave an oil finished floor looking dull or stripped, since it disrupts the natural protective layer worked into the wood rather than sitting on top of it.
Checking the manufacturer’s documentation, or running a small water test in an inconspicuous corner, settles the question before a single bottle of hardwood floor cleaner gets opened.
Step 2: Choose a Cleaner Without Overpaying for a Brand Name
Once the finish is confirmed, the next step is picking the product that will handle every cleaning session from here on out.
The market for hardwood floor cleaner is crowded, but the actual requirements are short: neutral pH, no wax residue, and a formula safe for the specific finish identified in step one. Widely available options like Bona and Swiffer’s hardwood specific solutions cover the vast majority of household needs without requiring a proprietary or overpriced system.
Reading the label for pH balance matters more than the brand printed on the bottle, and testing a small hidden area first remains the safest habit. Pairing that cleaner with a genuinely absorbent microfiber head, rather than the thinnest option on the shelf, tends to matter more for results than the cleaning solution itself, which is worth remembering when comparing the best mop for hardwood floors.
Step 3: Build a Weekly Reset Routine
Once the finish type is confirmed, the actual maintenance becomes fairly simple, and it works best as a short habit rather than an occasional deep clean.
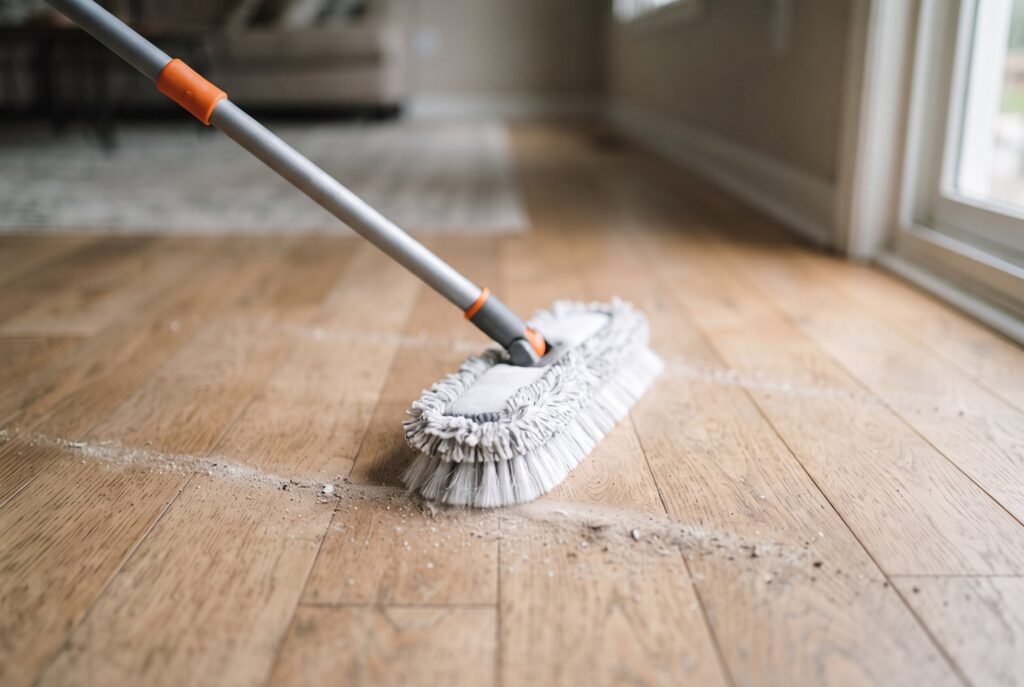
Dry cleaning always comes first. Sweeping or vacuuming clears away the grit that would otherwise get dragged across the surface and dull the finish through friction alone. Robot vacuums are fine for this job as long as they’re switched to a soft bristle setting made for hard flooring, since standard brush rollers can scratch a finish over months of daily runs.
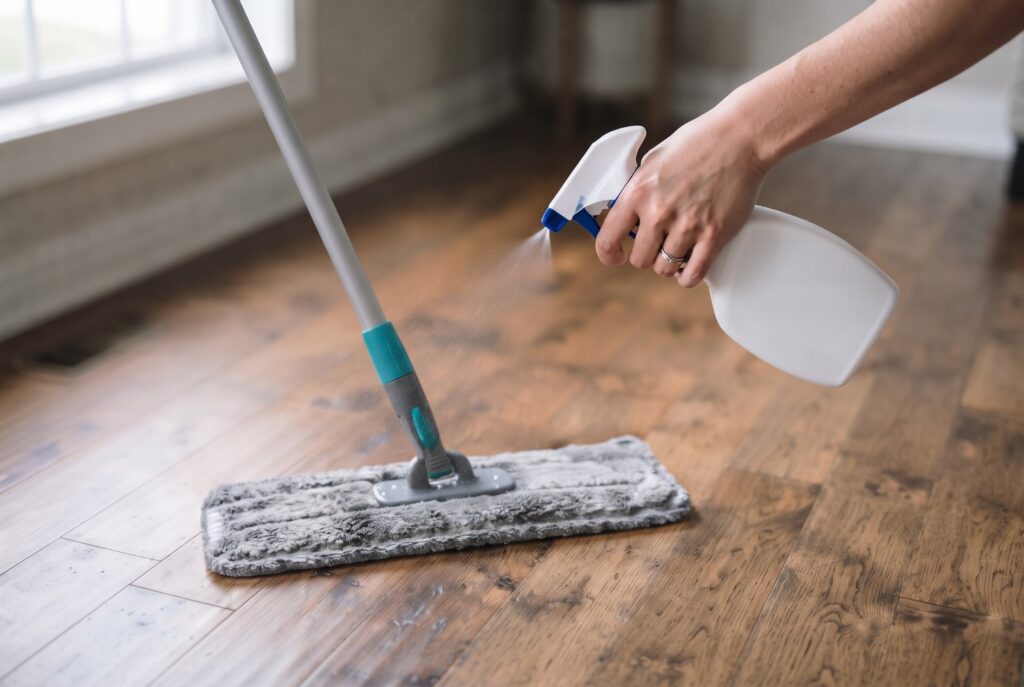
The damp mop stage comes next, and this is where technique matters more than product choice. A microfiber mop, lightly dampened rather than soaked, picks up dust and light residue without pushing moisture into the seams between planks. Solution never gets poured directly onto the floor. It goes onto the mop head first, which keeps standing water away from the wood entirely.
Step 4: Deep Clean When Weekly Mopping Isn’t Cutting It
Even a consistent routine eventually runs into buildup that a damp mop alone won’t clear, and that’s a different problem with a different fix.
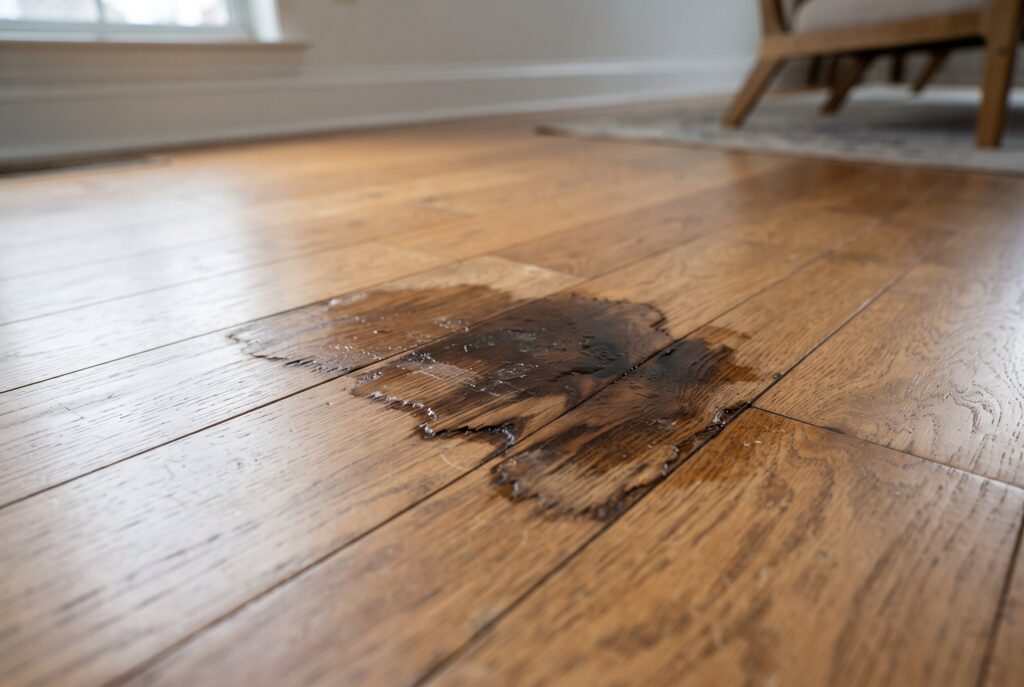
Hard water stains show up as a cloudy film left behind after mopping, caused by mineral deposits rather than dirt. A cleaner formulated specifically to break down mineral residue, used in place of a standard neutral solution just for that session, dissolves the film without needing an abrasive scrub.
This single issue trips up more households than almost anything else, largely because the cloudiness gets mistaken for a cleaning failure rather than a water chemistry one.
Commercial grade buildup is the other scenario worth addressing, particularly in high traffic zones or on acrylic infused engineered planks built to withstand heavier foot traffic. Years of foot traffic press dirt and residue into microscopic surface texture that a household mop can’t reach, and in those cases a slightly more concentrated solution, applied with a soft bristle scrub brush and immediately followed by a clean water rinse mop, lifts what routine cleaning leaves behind.
Four Everyday Hazards Quietly Damaging the Floor
Cleaning products aren’t the only threat to a finish. A few ordinary habits cause slow, cumulative damage, but each one has a quick fix.
Rolling Furniture and Office Chairs
Hard plastic casters grind the same spot into a groove over time. Swap them for rubber or polyurethane casters, add a chair mat for anything used daily, and stick felt glides under furniture legs that only move occasionally.
Heat Generating Electronics
Consoles, routers, and space heaters dry out the wood beneath them, causing warping or cracking over months. A slim stand, a stack of coasters, or a silicone mat lifts the device just enough to break direct contact and let air circulate.
Renovation and Construction Dust
Drywall dust and sawdust act like fine sandpaper underfoot. During any nearby renovation, sweep or vacuum daily instead of weekly, place a walk off mat at every entrance, and seal the work area with plastic sheeting to stop dust from spreading.
White and Light Toned Floors
White and whitewashed planks are prone to yellowing and fading rather than visible scratches. Use only pH neutral, dye free cleaners, add UV filtering window film or sheer curtains, and rotate rugs and furniture every few months to avoid uneven sun fading.

FAQ
Can Swiffer wet pads be used on engineered hardwood?
Yes, as long as the formula is labeled safe for wood floors specifically, since the standard multi surface version can leave a residue that dulls certain finishes.
Why does the floor look cloudy after mopping?
Cloudiness almost always traces back to either leftover soap residue from a non rinse formula or mineral buildup from hard water, both of which clear up with a rinse mop pass using plain water.
Conclusion
Cleaning engineered hardwood really starts before any mess shows up. A weekly routine built around a microfiber mop and a pH balanced solution removes the vast majority of what could ever dull a finish, while steering clear of steam, vinegar, and the wrong cleaner for the wrong finish handles the rest. Protecting the surface from chair casters, electronics heat, and construction dust rounds out the picture. A well maintained engineered floor stays ready for bare feet at any hour, and the best time to start protecting it’s well before the shine starts to fade.