

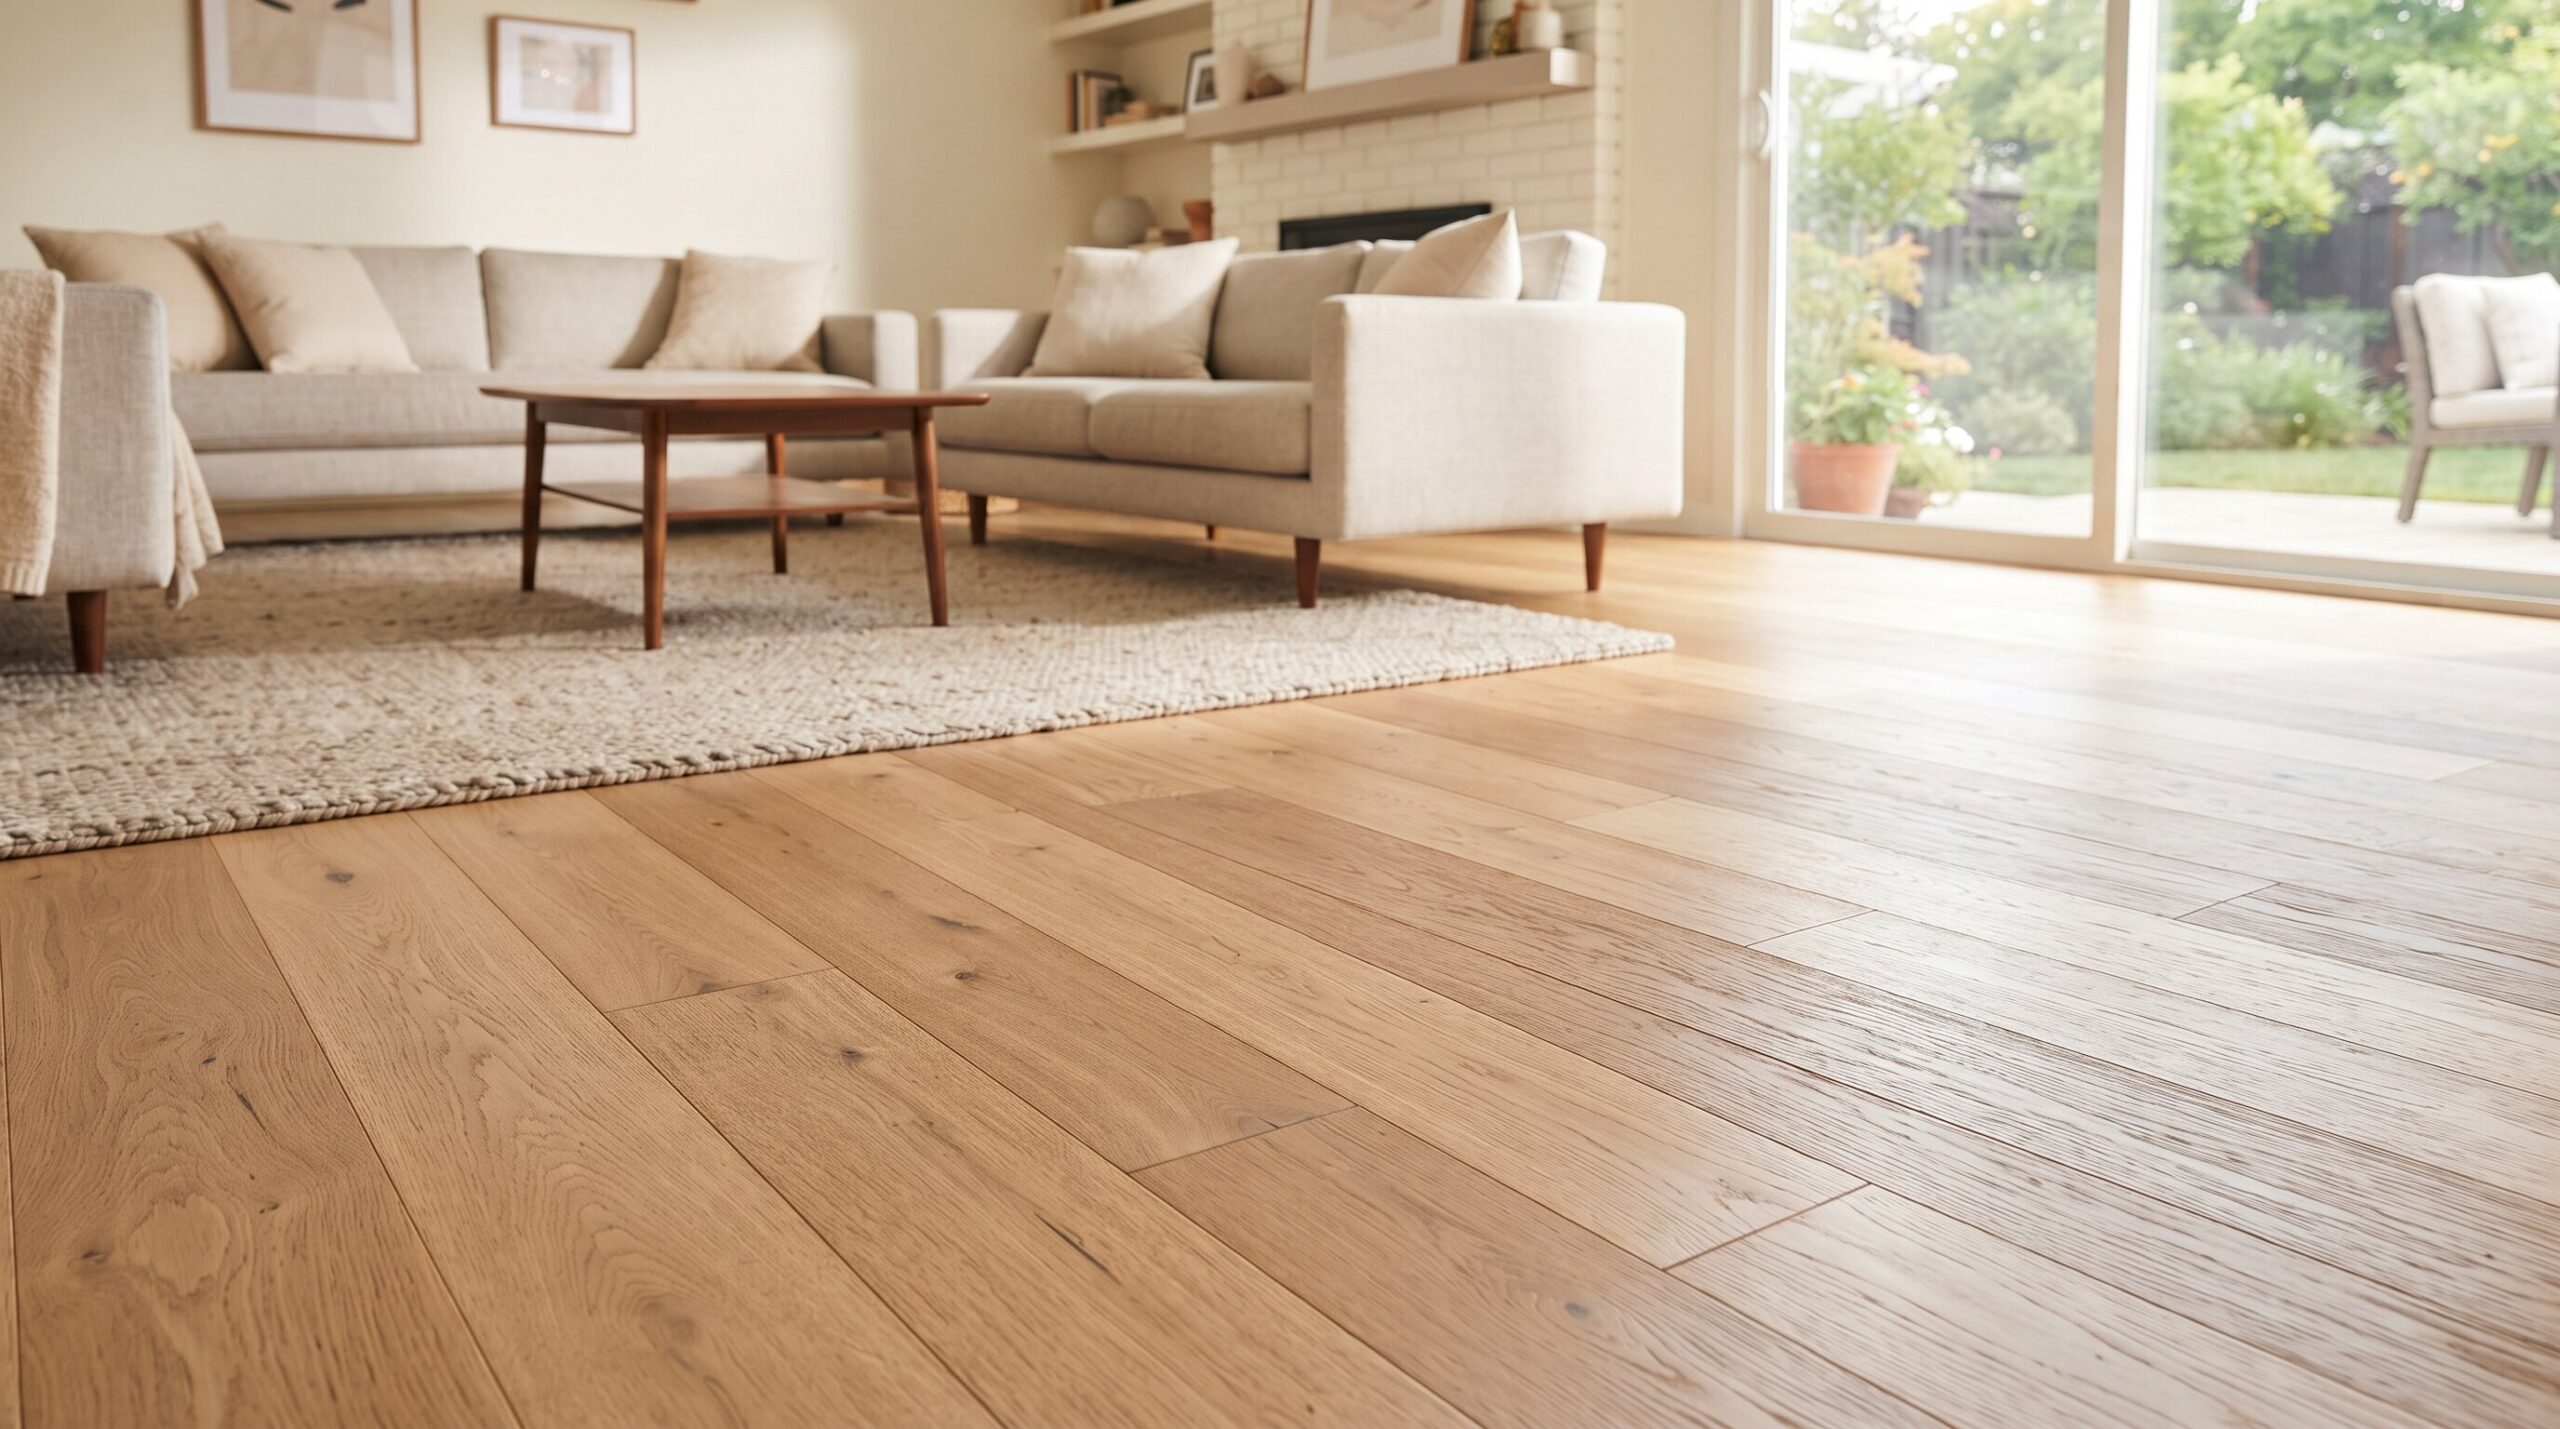
A dull, tired looking floor doesn’t automatically mean a sanding job. Most of the time, it just means the finish has never had a proper deep clean, not just a quick weekly pass at cleaning hardwood floors.
The first move before touching any hardwood floor cleaner is a simple water drop test: place a few drops on the wood and watch what happens. Water that soaks in fast signals a penetrating, oil based finish. Water that beads up and sits on the surface signals a surface finish, usually polyurethane. That single test decides everything that follows, and it’s the difference between restoring shine and accidentally damaging it, whether the plan is a routine clean or a deeper restoration.
What Never Belongs on a Hardwood Floor
Before the actual cleaning steps, a few products deserve a permanent ban from the supply closet.
Vinegar sits at the top of that list. Its acidity slowly eats away at the finish, leaving a dull, etched surface that gets worse with every use, not better.
Steam cleaners cause a different kind of damage, forcing moisture into the wood grain and causing the boards to cup or separate at the seams over time.
Oil heavy soaps round out the list, since they leave behind a filmy residue that dulls the shine instead of restoring it. Skipping all three from the start avoids the most common and most expensive hardwood mistakes. The same three culprits show up just as often on engineered planks, covered in more detail in some ways to clean engineered hardwood floors without ruining the finish.
How to Deep Clean Hardwood Floors: The Five Step Process
With the finish type identified and the wrong products ruled out, the actual process to clean wood floors properly stays fairly straightforward, and it doubles as the hardwood floors regardless of whether the finish is oil based or polyurethane.
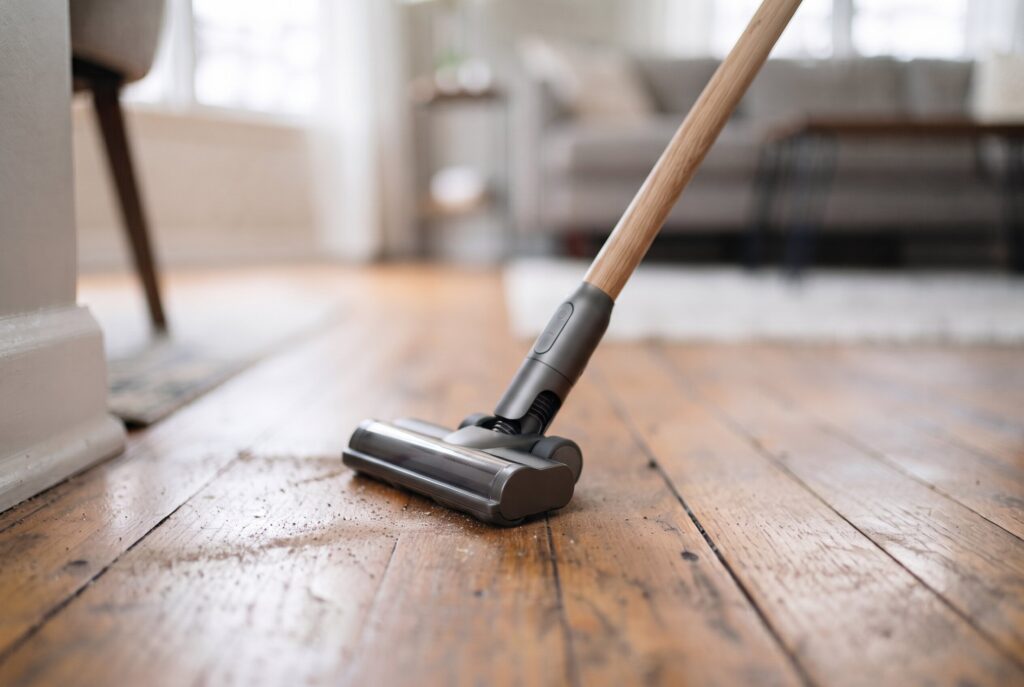
1. Prepare the space by sweeping or vacuuming thoroughly first, since skipping this step drags fine grit across the surface and scratches the finish before any solution even touches the floor.
2. Target stubborn spots individually with a pH neutral cleaner, working stains out before mopping the whole room, rather than hoping a general pass will handle everything at once.
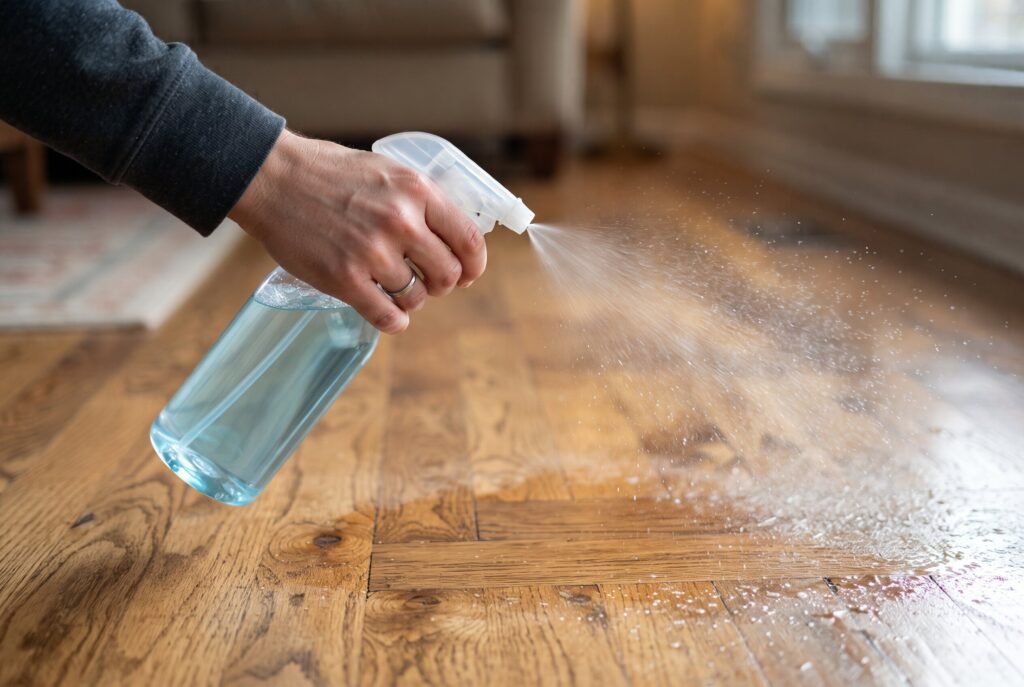
3. Spray the cleaning solution in a light mist rather than pouring it directly onto the boards, keeping moisture on the surface instead of pooling into the seams.
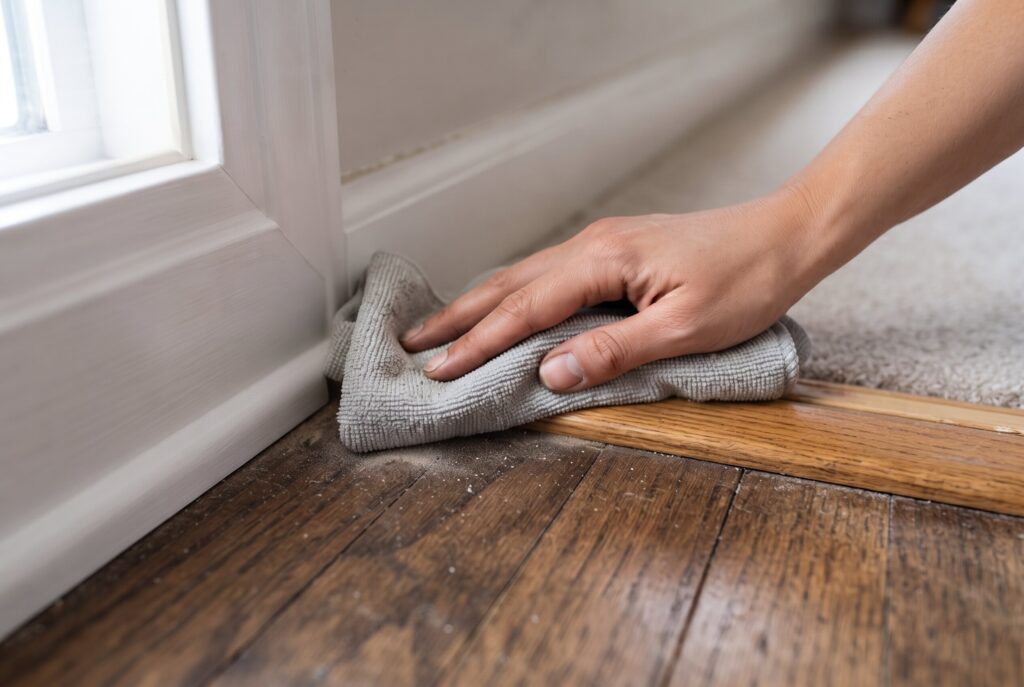
4. Inspect corners, baseboards, and transition strips closely, since these spots collect buildup that a standard mopping pass tends to miss.
5. Repeat only where genuinely needed. A floor that’s already responding well doesn’t need a second full pass just for the sake of thoroughness.
Dealing With Old Wax and Grime Buildup
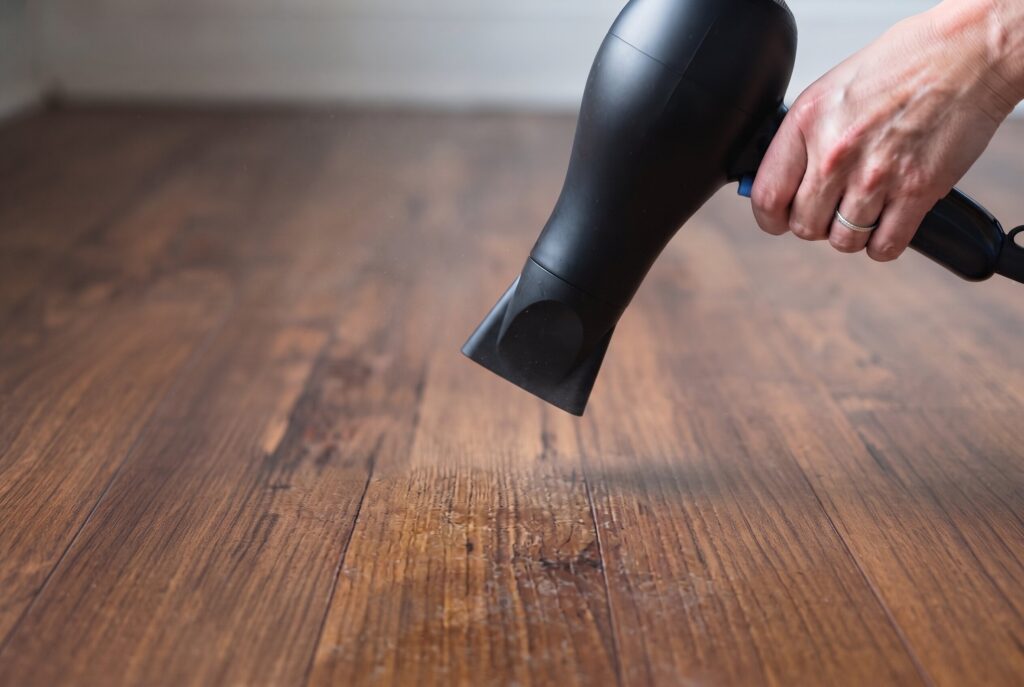
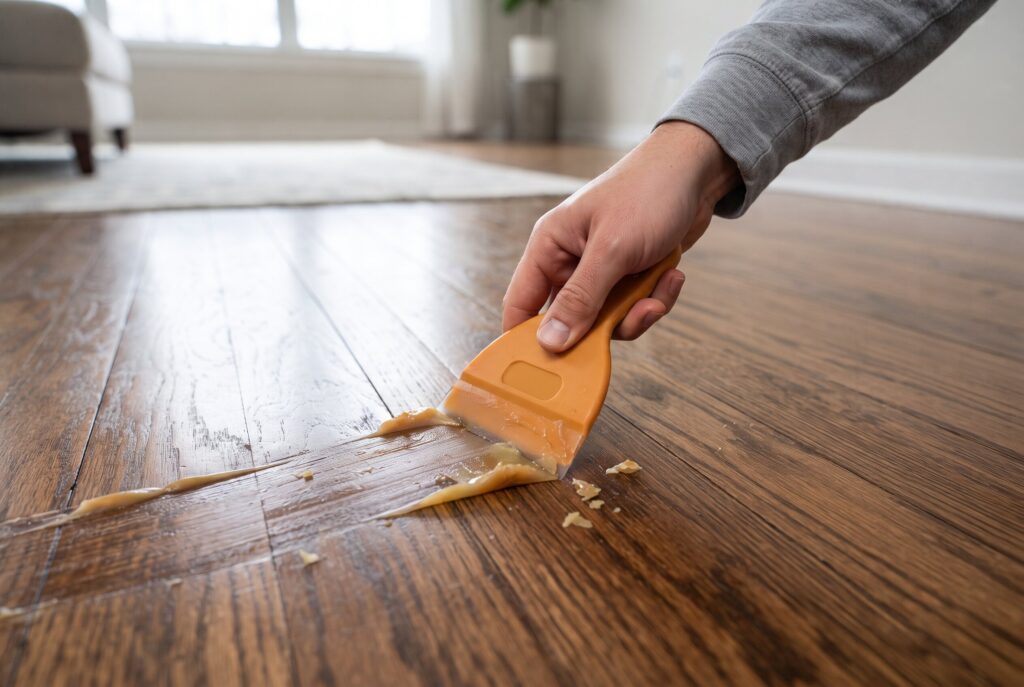
Some floors carry years of built up wax rather than simple surface dirt, and that calls for a slightly different approach than routine cleaning. A hairdryer set to medium heat, held a few inches above the affected area, softens hardened wax enough to work with. Once it loosens, a plastic scraper, never metal, lifts the softened wax away without gouging the wood underneath. This step alone solves the kind of stubborn dullness that a standard cleaning routine simply can’t touch.
Building the Right Toolkit
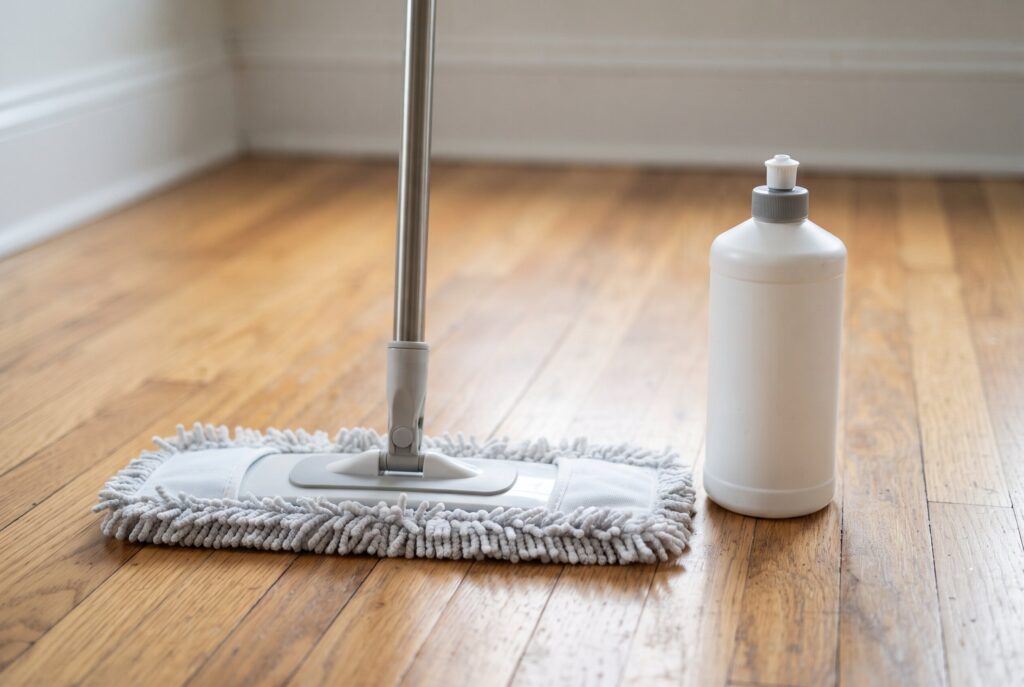
A genuinely clean, non damaging routine comes down to a short list of gear rather than an entire cabinet of products. Getting how to deep clean hardwood floors right long term depends as much on the tools in that routine as the steps themselves.
A microfiber mop head stands well above nearly every alternative, since it lifts dust and residue instead of just pushing it around the room, which is exactly why it consistently ranks as the best mop for hardwood floors among people who’ve tried the alternatives.
Pairing that with a hardwood floor cleaner that carries a GREENGUARD certification keeps harsh volatile compounds out of the air while still cutting through everyday grime effectively. Choosing gear this way, rather than defaulting to whatever’s cheapest on the shelf, tends to matter more for long term shine than the specific brand printed on the label.
Frequently Asked Questions
Can a steam mop be used on hardwood?
It’s best avoided entirely. The heat and moisture combination forces water into the wood grain and seams, which leads to warping and separation that no amount of cleaning can reverse.
How does sticky residue actually get removed?
Sticky spots usually trace back to an oily cleaner or too much product used in a previous cleaning session. A diluted, pH neutral solution applied lightly, followed immediately by a dry microfiber pass, lifts that residue without adding more of it.
What does gray or black staining actually mean?
Discoloration in that range usually signals moisture that has already penetrated below the surface rather than simple surface dirt. That kind of staining sits deeper than any cleaning solution can reach and often points toward a repair conversation rather than a deeper scrub.
Conclusion
A deep clean brings a tired floor back to life, but the shine only lasts with consistent upkeep afterward. Hardwood behaves like a living surface within the home, responding to humidity swings and reacting poorly to anything overly wet or acidic. Sticking to the diagnostic first, steering clear of vinegar and steam, and keeping a weekly pH neutral routine going protects that restored shine for years without ever needing to sand it back down.