

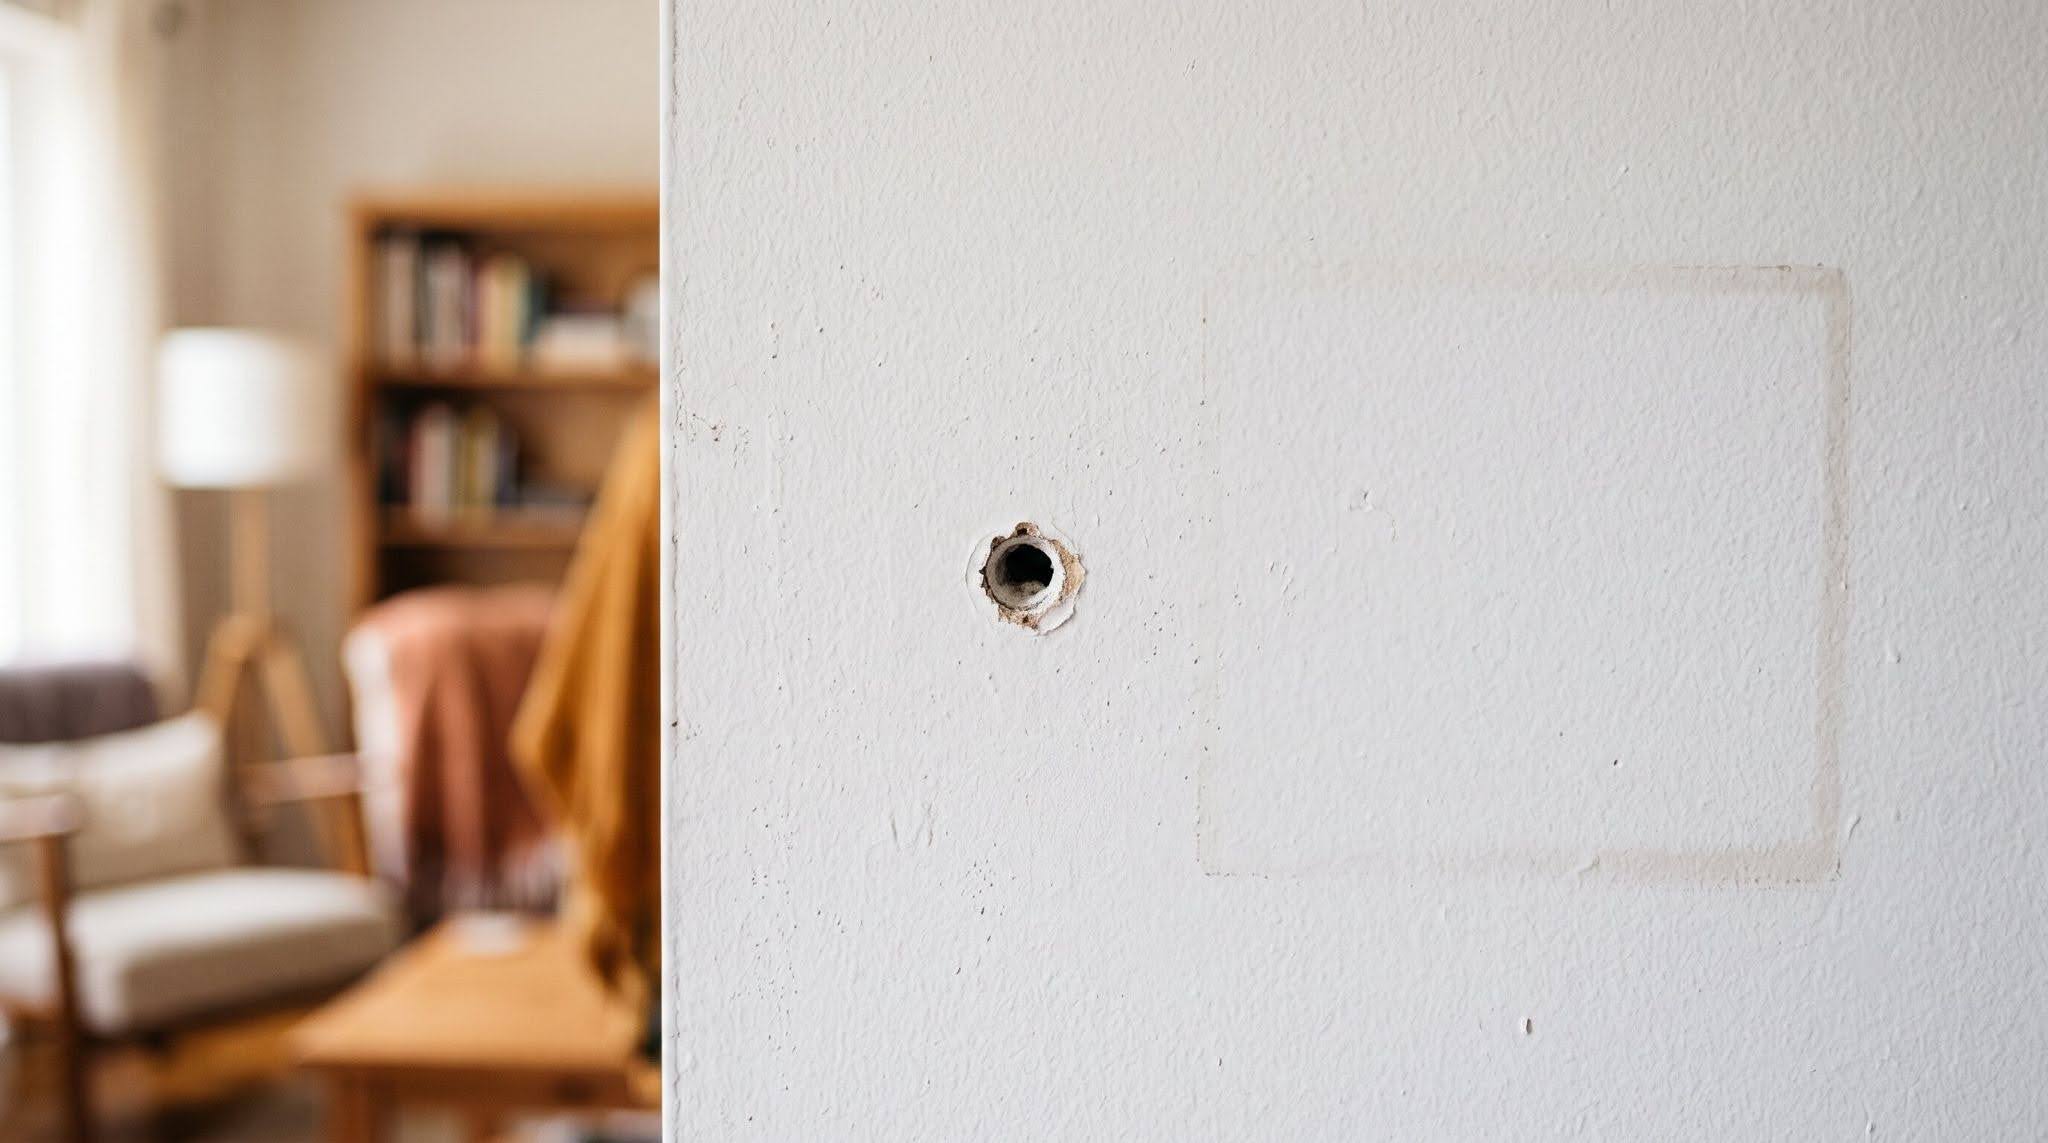
That empty picture frame finally came down, and now there’s a small, awkward hole staring back from the wall. Anyone searching for how to repair drywall anchor holes has likely already run into guides pushing mesh patches and multi day drying schedules. For holes under half an inch, none of that is necessary. This is one size within a much bigger picture though; the full breakdown across every hole size lives in how to patch a hole in the wall. What follows covers exactly which anchor types respond to which removal method, which filler actually holds up, and the small technique differences that decide whether a patch disappears or shows up under every coat of paint.
Why Size Matters Before Starting
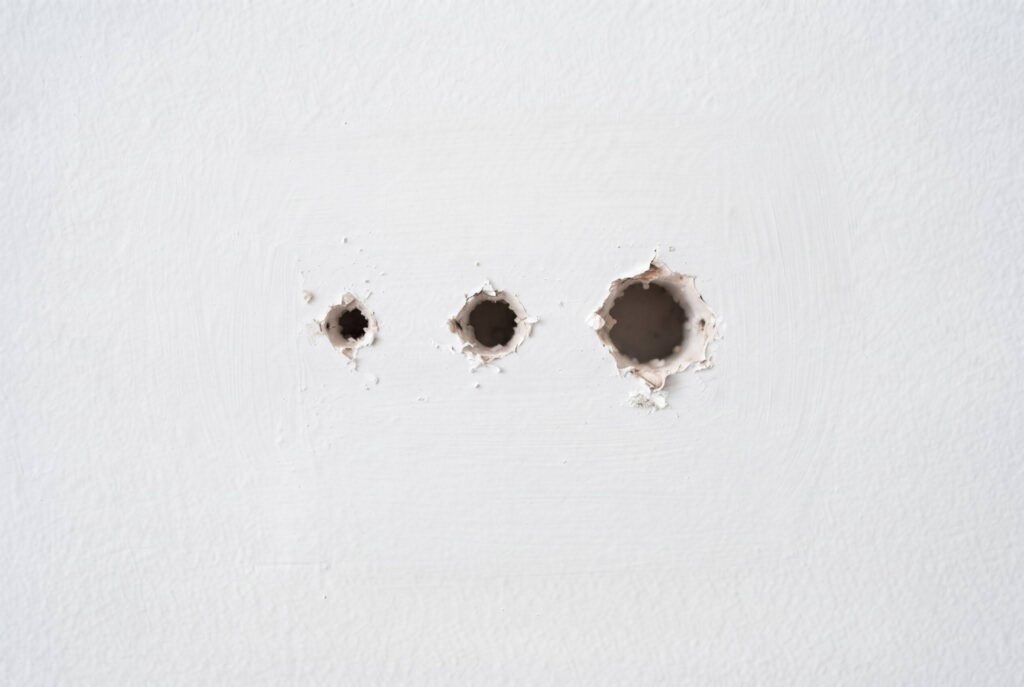
The no mesh approach works reliably on holes up to about half an inch across, which covers plastic anchors, molly bolts, and standard screw holes. Anything larger than an inch, especially from a doorknob impact or a removed toggle bolt with a wide flange, usually needs a mesh or self adhesive patch because the surrounding drywall paper is torn too far back to hold filler on its own. Anything crossing into the 4 inch range and beyond moves into a different repair entirely, covered in how to patch a large hole in drywall. Knowing which category a hole falls into saves a wasted trip to buy supplies that aren’t needed.
How to Repair Drywall Anchor Holes: Matching the Removal Method to the Anchor Type
Not every anchor comes out the same way, and the type installed changes which method works.
- Plastic expansion anchors (the ribbed cone shaped kind) usually respond to needle nose pliers. Grip the rim and twist while pulling straight out. If the plastic starts to crumble instead of sliding free, stop pulling and switch to pushing it through.
- Self-drilling plastic anchors with a screw thread on the outside can often be backed out with a Phillips screwdriver, turning counterclockwise, before pulling the shell out with pliers.
- Molly bolts and toggle bolts, which have a metal sleeve that flares out behind the drywall, will not pull straight out. These need the screw backed out first so the metal wings collapse, then the sleeve can be tapped through with a flathead screwdriver.
When an anchor refuses to budge or starts tearing paper away from the surrounding wall, pushing it through into the cavity is the safer call. It sounds counterintuitive to shove debris into the wall, but a buried anchor patches cleanly, while a half torn hole with frayed paper edges rarely does.
The Divot Trick That Changes Everything
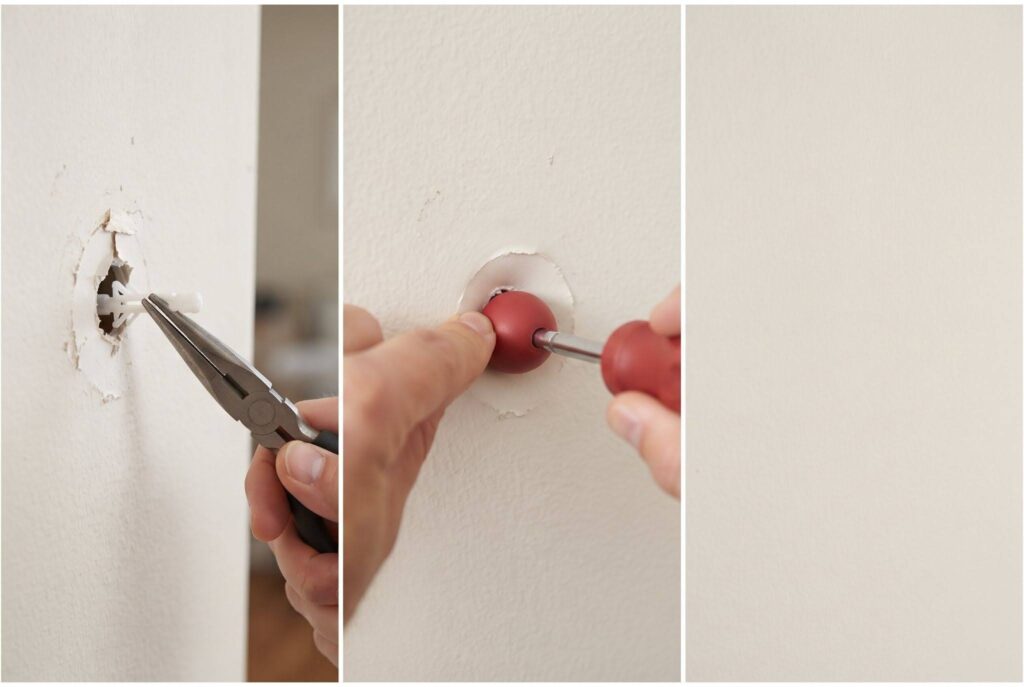
This is the step most tutorials skip, and it’s the real reason so many patches end up looking lumpy once paint goes on. Once the anchor is out, the edges of the hole are usually pushed slightly outward, leaving a thin raised lip of paper around the opening. Filling directly over that lip almost guarantees a visible bump later.
Instead, press the rounded handle of a screwdriver, or the flat end of a putty knife, into the hole and push firmly for a second or two. This forms a shallow, saucer shaped indent called a divot, tapering inward instead of sitting flush with the wall surface. The taper gives the filler a shape to grip and settle into, rather than a flat spot it can slide off. This single adjustment is the difference between a patch that disappears under paint and one that catches light from an angle for years afterward.
Choosing Between Spackle and Joint Compound
Anyone researching how to repair drywall eventually runs into this decision, and picking the wrong product is the most common reason a patch cracks, sinks, or needs a second coat.
Lightweight vinyl spackle comes pre mixed, sets within 30 to 60 minutes, and shrinks very little as it cures, usually under 5% by volume. For a hole this size, that’s the better pick almost every time. Several brands sell a color changing formula that goes on pink and dries white, which removes the guesswork around when sanding can start instead of poking at it to check.
Joint compound, sometimes called drywall mud, spreads thinner and sands down more smoothly, which is why professionals reach for it on wider seams that need feathering across a foot or more of wall. The tradeoff for a small anchor hole is a longer cure window, often 24 hours between coats, along with more noticeable shrinkage that can require a second application to get level. For a drywall hole repair this small, that extra time and a possible second coat isn’t worth it.
Making a Small Amount of Spackle Go Further
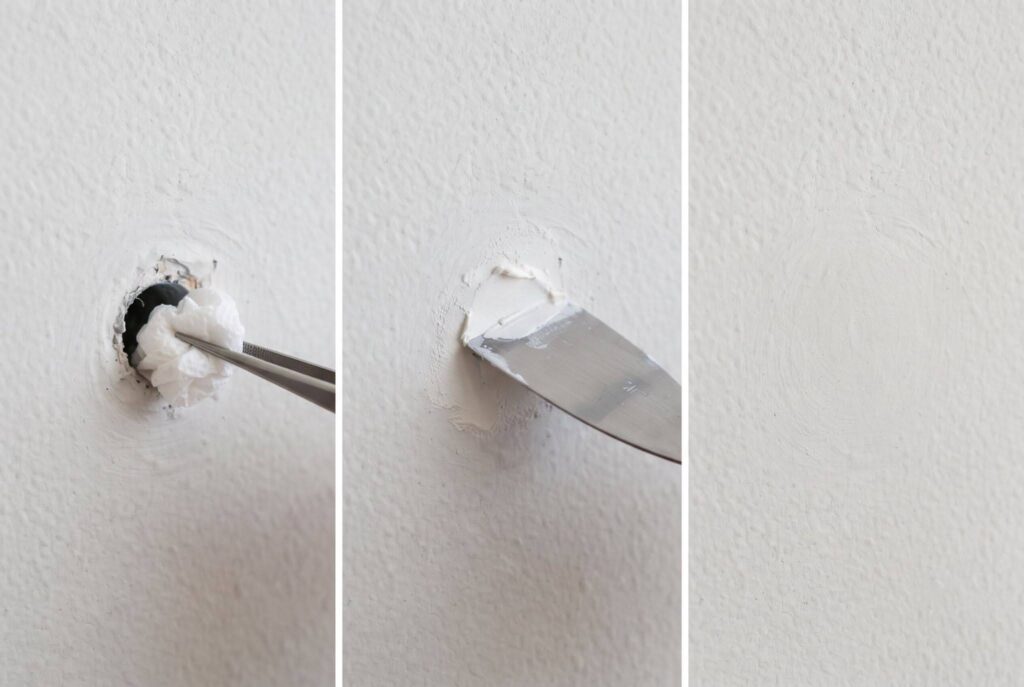
Deeper holes, especially from a molly bolt sleeve, can pull a surprising amount of spackle down into the wall cavity before the surface ever fills flush. A simple fix borrowed from longtime DIY habits solves this. Tear off a small piece of paper towel, newspaper, or a paper grocery bag, wad it loosely into a ball slightly larger than the hole, and press it in a few millimeters below the surface before adding any filler. This scrap gives the spackle something solid to grip instead of sinking further into the cavity, cuts down on shrinkage, and stretches a small container of spackle across several holes instead of one.
Once the paper backing sits in place, load a putty knife with spackle and drag it across the hole from a couple different angles, applying light pressure on each pass. This helps push filler into the divot rather than just resting on top of it.
Sanding and Priming Without Losing the Finish
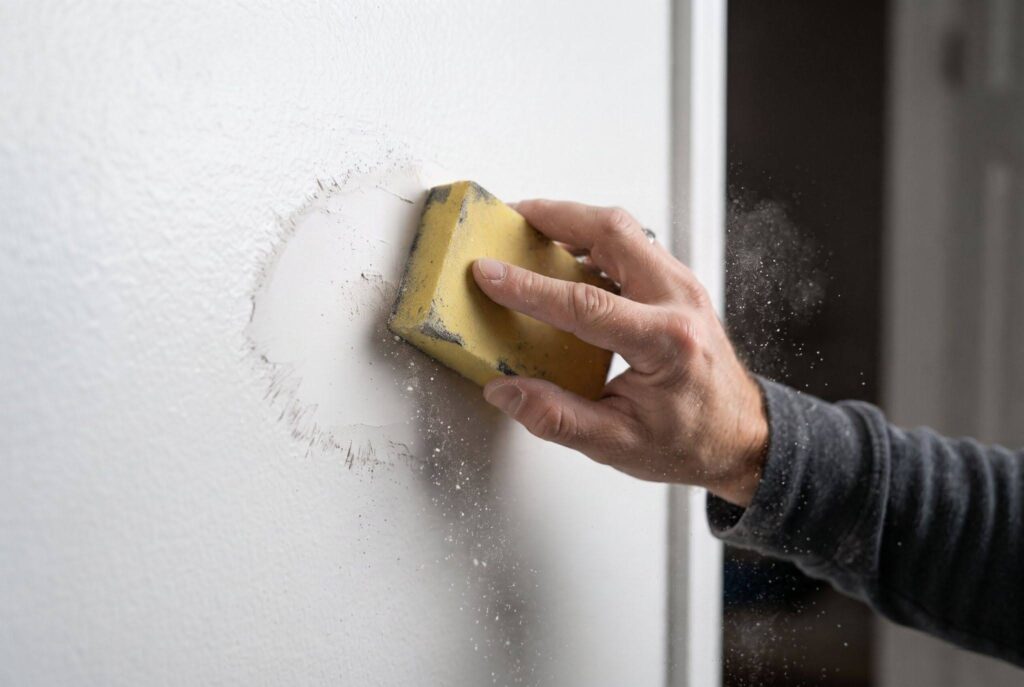
After the recommended drying window, run a fingertip lightly across the patch. If it still feels tacky or cool to the touch, it needs more time. Once fully dry, a fine grit sanding sponge, around 150 to 220 grit, smooths the raised filler down to match the surrounding wall texture. Wiping the area with a damp cloth afterward clears dust that would otherwise show through paint.
Priming the patch before painting matters more than it looks like it would. Spackle and joint compound are both porous, and they absorb paint differently than the painted drywall around them, which leaves a dull, flat looking spot commonly called flashing. A thin coat of primer, or a stain blocking primer sealer if the wall has been painted more than once, evens out that absorption so the finish coat blends in rather than standing out.
Common Mistakes That Undo a Good Patch
A few recurring problems come up again and again with anchor hole repairs, and most trace back to one of two things: rushing the dry time or skipping the divot.
- A sunken or cracked patch usually means filler was applied too thin, or sanding started before it fully cured. Overfilling slightly and sanding down afterward avoids this more reliably than trying to fill exactly flush the first time.
- A dull patch that shows through fresh paint almost always means primer got skipped. This is the flashing problem mentioned above, and it’s an easy step to forget when the repair feels done after sanding.
- Driving a new screw or nail into the same spot should never happen. A filled area has no real holding strength behind it. Anything that needs to hang securely belongs in a stud, or at minimum, in solid original drywall a couple inches away from the old repair.
Conclusion
Small holes left behind by anchors and screws don’t need to turn into a bigger project than they are. Matching the removal method to the anchor, pressing in a proper divot, picking spackle over joint compound for small jobs, and giving primer its due before painting covers what actually makes a patch disappear. Anyone who’s been putting off a scattering of old holes now has a genuinely fast method that holds up, no mesh required.
What’s Next: How to Patch Drywall Corners: Fix Chipped Edges Like a Pro