

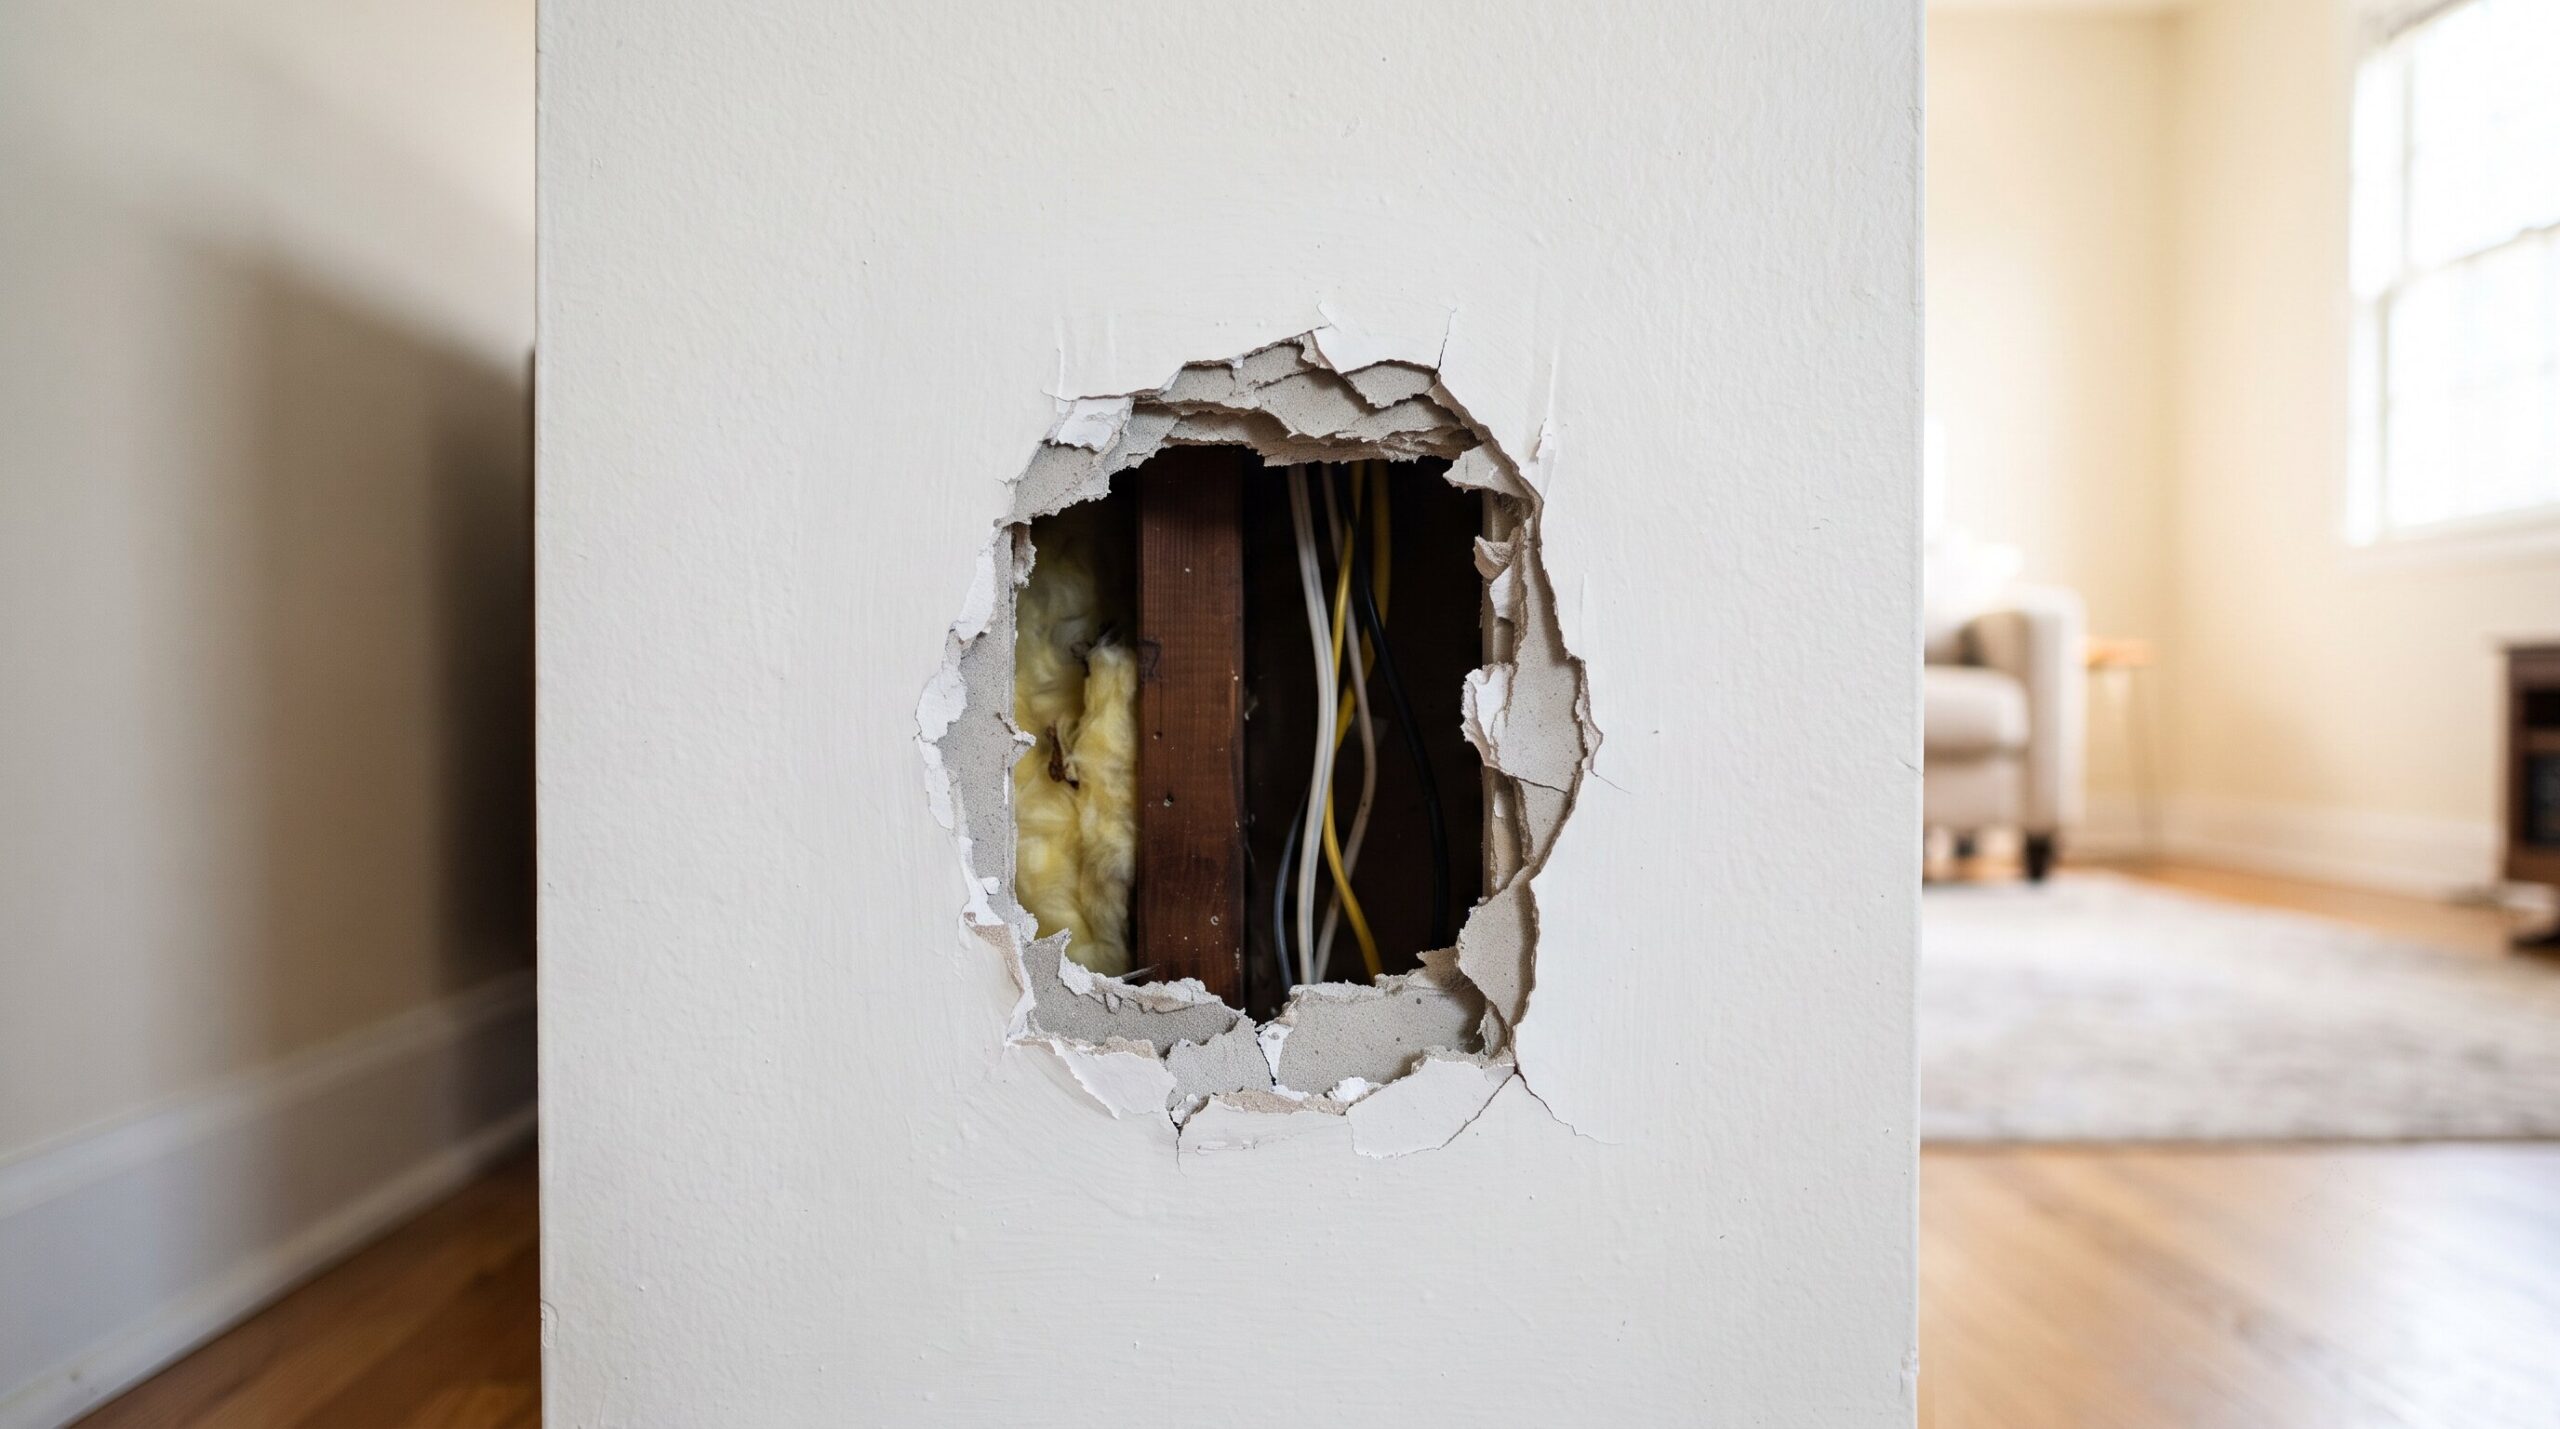
A doorknob swinging into the wall, furniture bumping through during a move, or a piece of equipment catching the drywall the wrong way, all of these leave a hole too big for a mesh patch kit but not big enough to justify tearing into the studs. This guide is for that size range specifically, not the smaller fixes covered by how to repair drywall anchor holes, how to repair small holes in drywall, or how to fix holes in drywall generally.
For anything between roughly 4 and 8 inches across, there’s a faster route than cutting back to the framing and screwing in backing strips. It’s called the California patch, and it uses the drywall’s own paper facing as the adhesive, no screws or backing board involved. This is exactly how to patch a large hole in drywall without a single trip to buy backing boards.
Is This Worth Doing Instead of Calling a Contractor?
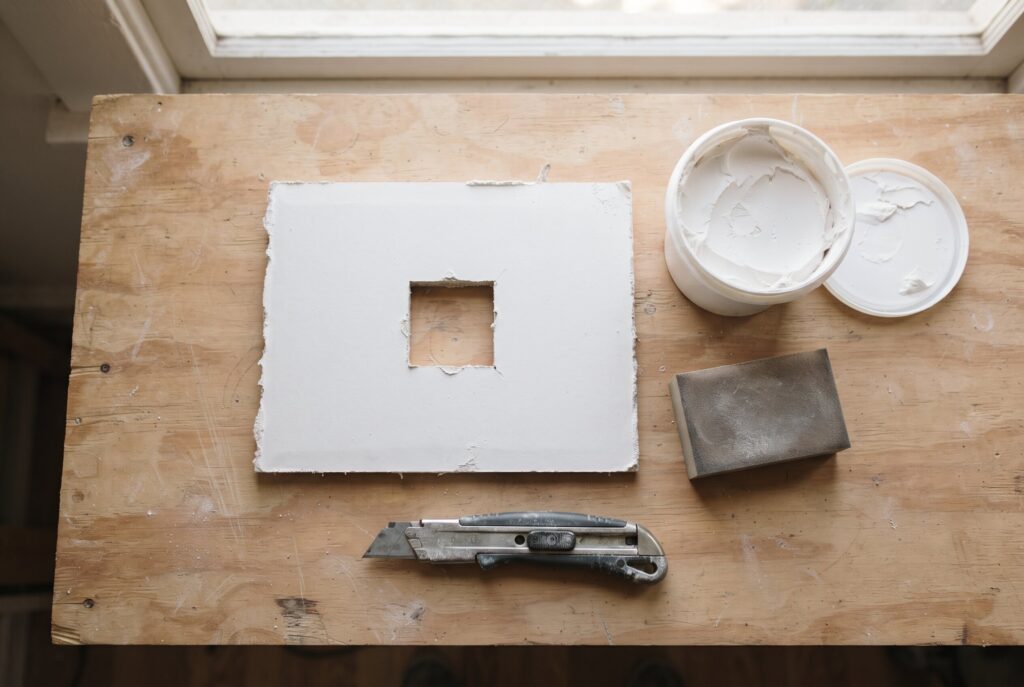
Anyone comparing costs across every guide on how to repair a hole in drywall will notice the price gap widens fast once the hole crosses into this size range. Hiring someone out for a single hole this size typically runs somewhere between $150 and $300 depending on region, and often more if paint matching across the whole wall is included. Buying the materials directly costs a fraction of that.
A drywall offcut runs around $8 if one isn’t already sitting in a garage from a past project, a small tub of lightweight joint compound runs about 12, and a sanding sponge or a sheet of fine grit paper adds a couple more. Total spend for consumables lands closer to $20, and most of that tub of compound and leftover sandpaper carries over to the next repair.
The tradeoff isn’t skill so much as patience. A contractor finishes in one visit because the compound layers dry back to back over a couple days regardless of who’s doing the work. Following the same drying schedule at home produces the same result without the invoice.
Check Before Cutting Anything
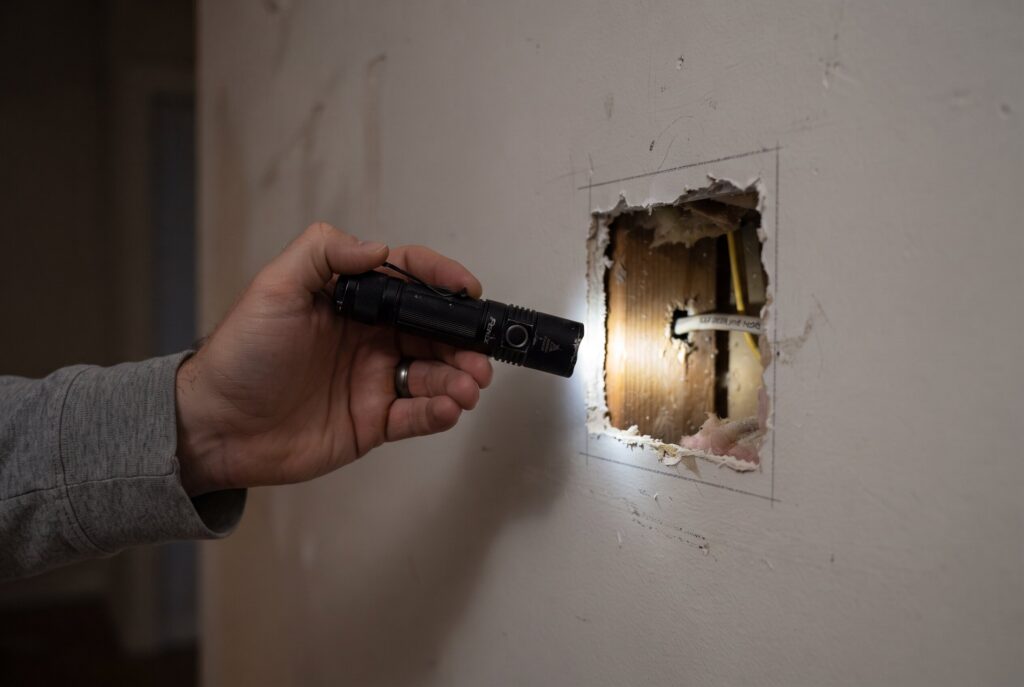
Before a blade goes anywhere near the wall, shine a flashlight into the hole and look around inside the cavity for cable runs or a water line. This matters most near light switches, outlets, or on walls shared with a kitchen or bathroom, where wiring and plumbing tend to cluster.
A dedicated drywall saw, which has a short pointed blade meant for controlled hand pressure, gives far more feel for what’s being cut than a power tool. A jigsaw or reciprocating saw can plunge an inch or more past the drywall’s thickness before there’s time to react, which is exactly the depth where a cable or pipe would sit. Cutting slowly by hand costs a few extra minutes and removes that risk entirely.
It also helps to know the drywall’s thickness before buying a patch. Most interior walls use either half inch or five eighths inch boards, and running a tape measure across the cut edge of the damaged section confirms which one is in place. A patch cut from the wrong thickness sits proud or sunken no matter how carefully the rest of the job goes.
How to Patch a Large Hole in Drywall: Building the California Patch
This method skips backing boards and screws entirely by turning the patch’s own paper edge into the fastening surface, which is what makes it faster than a full framed repair for a hole this size.
Square off the damage: Using a carpenter’s square or a straightedge, draw a clean square or rectangle around the hole, sized to fully contain the damaged area with roughly half an inch of margin on each side. Score along the lines with a utility knife and snap the drywall along the cuts, or use the drywall saw for a cleaner pass, then remove the damaged section so the opening has straight, even edges rather than a ragged tear.
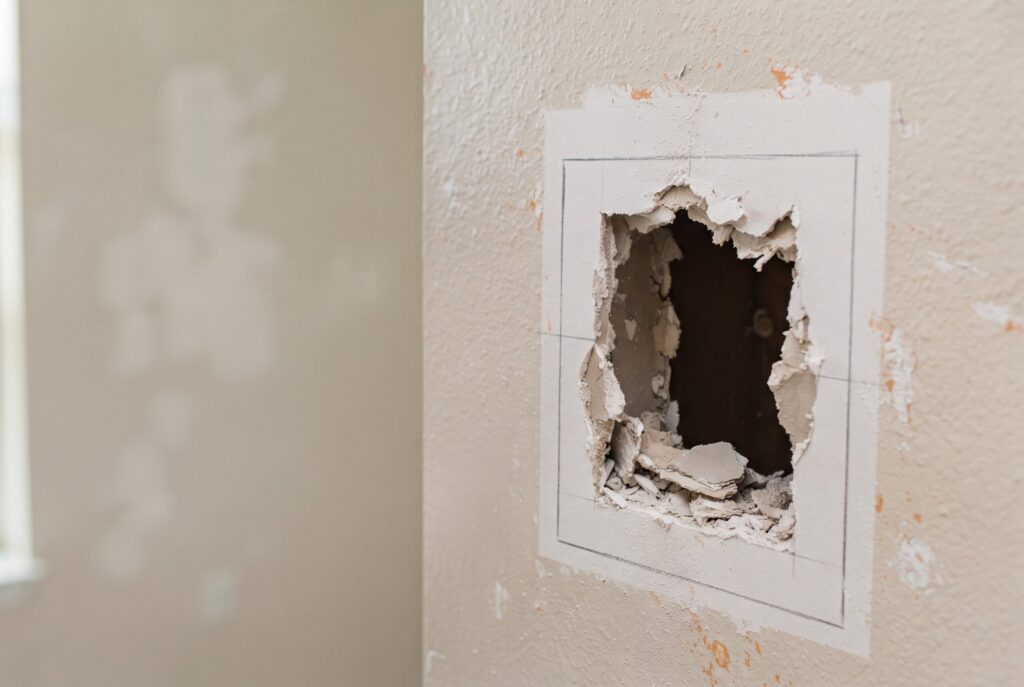
Cut the patch oversized: From the scrap piece, cut a patch that extends about 2 inches past the opening on every side. That 2 inch margin becomes the anchor point in the next step, so it’s worth measuring twice before cutting, since trimming it down early leaves nothing for the collar to grip.
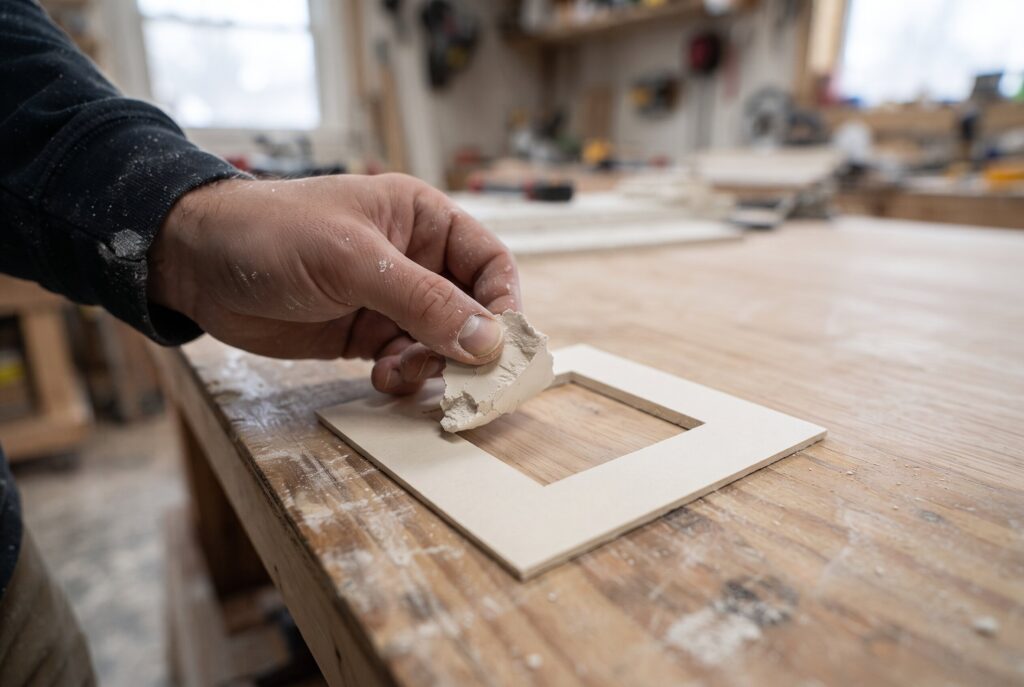
Score and peel the back: Flip the patch face down on a flat surface. Using a utility knife, score a square exactly matching the size of the wall opening, centered within the oversized piece, cutting through the paper backing and gypsum core but stopping short of cutting through the front paper facing.
Snap along the score lines and peel away the gypsum core in that outer 2 inch border, working slowly so the front paper stays intact and doesn’t tear. What remains is a center plug of drywall surrounded by a flat paper collar. That collar is what grips the wall once compound goes on, doing the same job mesh tape would do on a smaller repair, without needing a single screw or backing strip behind it.
Mudding, Feathering, and Catching Every Imperfection
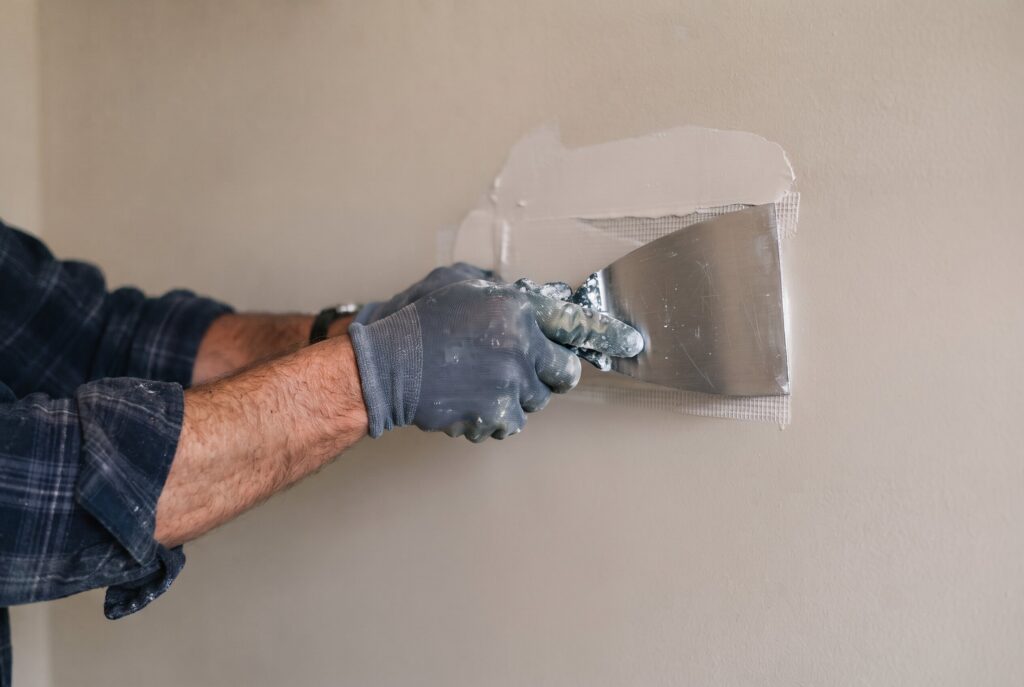
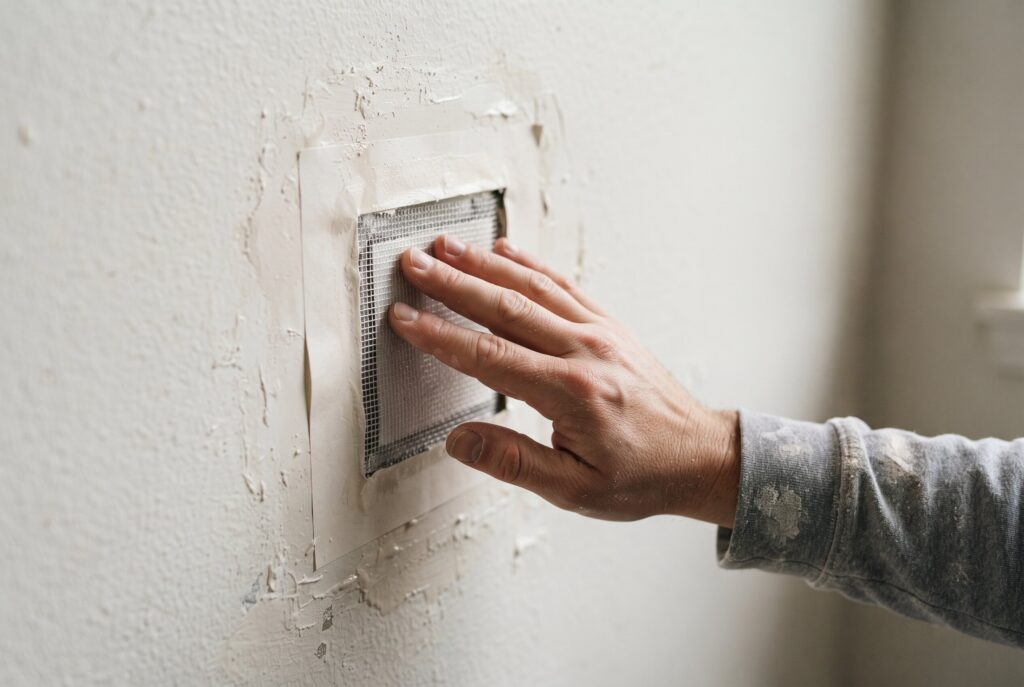
Spread a thin, even layer of joint compound around the border of the wall opening, then press the California patch into place so the paper collar lays flat against the surrounding surface. A 4 or 6 inch putty knife runs across the collar in overlapping passes, pushes out trapped air and seats the paper firmly, which keeps it from bubbling once compound goes over the top.
From there, the compound goes on in three progressively thinner coats. The first coat fills the recess and covers the collar directly, the second extends a few inches wider using a 6 inch knife, and the third feathers out even further with an 8 or 10 inch knife so the edge tapers down to nothing rather than ending in a visible ridge. Each coat needs roughly 24 hours to dry fully before the next goes on, which is the part of the project that can’t be rushed no matter how good the technique is. Compounds that still feel cool or slightly soft to the touch need another few hours regardless of what the drying estimate suggests.
Once the final coat is dry, sanding with a fine grit sponge, somewhere around 150 to 220 grit, brings everything level with the surrounding wall. This is where a flashlight earns a second job on the same project. Holding it flat against the wall and shining the beam sideways rather than straight on, a trick sometimes called raking light, throws every dip, ridge, and leftover sanding mark into sharp relief through the shadows it casts. Checking the surface this way before priming catches flaws that are nearly invisible under normal room lighting but show up instantly once paint goes on.
Matching Texture on a Finished Wall
Smooth walls are straightforward once sanding is done, but a textured surface, whether knockdown, orange peel, or a light popcorn finish, needs one more step before painting. Canned texture spray matched to the existing pattern can be tested on a scrap piece first to dial in distance and spray time, since too close a pass leaves heavy blobs and too far leaves a thin, spotty coat. For a knockdown finish specifically, letting the texture set for a few minutes before lightly flattening it with a wide putty knife recreates the mottled look of the surrounding wall instead of leaving an obviously smoother patch underneath the paint.
A Few Things Worth Watching For
- A seam that telegraphs through paint later almost always means the final coat wasn’t feathered wide enough, leaving a slight edge that catches light at certain angles.
- Small hairline cracks that show up along the patch border months later often trace back to normal house settling rather than a bad repair, and the same thin coat, wide feathering approach used here works just as well for general wall crack repair around doorframes or ceiling corners.
- Skipping primer before the topcoat is one of the most common reasons a patch stays visible after painting, since bare compound is more porous than painted drywall and soaks up color differently, leaving a dull patch commonly called flashing.
Touch Up the Spot, or Repaint the Whole Wall?
Once the primer is down, there’s a decision to make. A small touch up with leftover paint works fine on a wall with even, indirect lighting and paint that hasn’t faded much since it went up. On a wall that gets strong natural light from a nearby window, or where the existing paint has aged and shifted tone even slightly, a touched up patch tends to stand out as a faintly different sheen or shade once the light hits it directly. In that situation, rolling the entire wall from corner to corner blends everything evenly and avoids the kind of mismatch a spot touch up can’t fully hide, especially with satin or eggshell finishes that reflect light differently depending on how fresh the paint is.
Conclusion
Patching a hole this size doesn’t call for tearing into the framing or bringing in extra lumber. Checking behind the wall first, building the paper backed patch to the right measurements, feathering compound out in three thin coats, and catching leftover imperfections with a raking light before paint goes on covers a mid-sized hole from start to finish. Anyone comfortable handling a utility knife and a putty knife can get through this over a couple of evenings, ending up with a wall that looks like nothing ever happened to it.
Related Articles: How to Patch Drywall Corners: Fix Chipped Edges Like a Pro